The Drivetrain Relay: How the Transfer Case and Differentials Connect
When you crawl under your Toyota 4Runner to perform routine maintenance, it is easy to view the axles and the transfer case as completely separate entities. However, in a part-time or full-time four-wheel-drive system, these components operate in a continuous mechanical relay. Understanding this relationship is the key to mastering your 4Runner differential fluid change and ensuring your rig survives decades of off-road abuse.
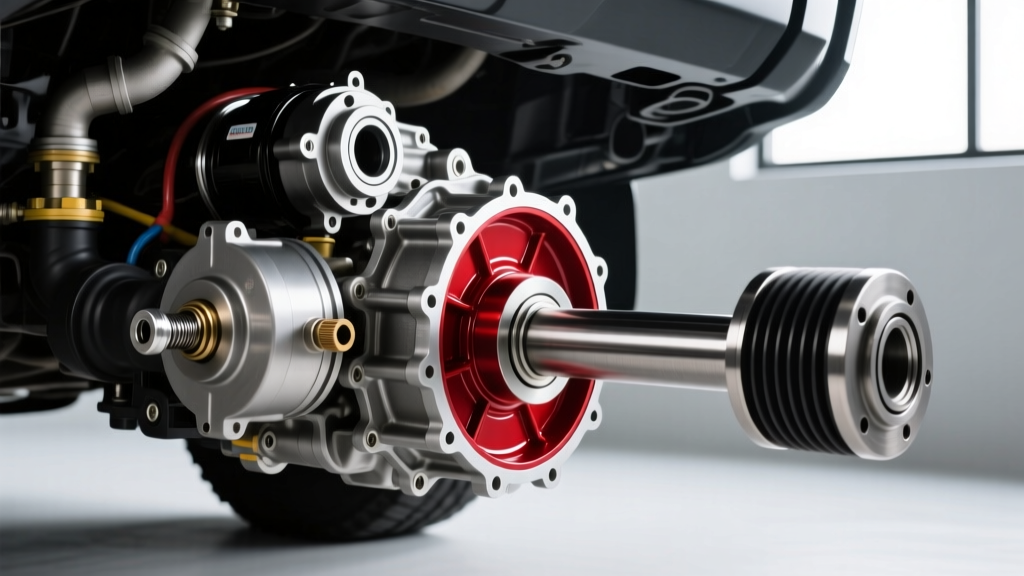
Power flows from the engine into the transmission, then directly into the transfer case (such as the chain-driven VF4B found in most 5th-generation 4Runners, or the Torsen-equipped VF5A in Limited trims). The transfer case acts as the central distribution hub. When you engage 4WD, the transfer case locks the front and rear output shafts together, sending torque down the driveshafts to the front and rear differentials. The differentials then split that torque left and right to the wheels while allowing them to rotate at different speeds during cornering.
Because the transfer case and the differentials share the exact same mechanical burden when 4WD is engaged, they also share the same vulnerabilities: extreme heat, gear shear, and moisture intrusion. Servicing one while neglecting the other is like changing the oil in your engine but ignoring the oil filter.
Why Your 4Runner Differential Fluid Change Must Include the Transfer Case
Many beginners mistakenly believe that because they rarely use 4WD, the transfer case fluid remains pristine. This is a dangerous misconception. Even in 2WD mode, the rear output shaft of the transfer case is constantly spinning, churning the gear oil and generating heat. Furthermore, the internal shift actuator and shift forks rely on clean fluid to move smoothly.
The Chain and Actuator Relationship
Inside the 4Runner's transfer case is a heavy-duty roller chain that connects the input and output shafts when 4WD is engaged. Over time, gear oil loses its viscosity modifiers due to thermal breakdown. When the oil becomes too thin or contaminated with microscopic metal particulates, the chain experiences accelerated stretch and wear. A stretched chain can 'jump' teeth under heavy load, leading to catastrophic transfer case failure.
Additionally, the front differential features an electronic actuator motor that engages the front axle. While the actuator itself is sealed, the internal shift collar inside the front differential relies on clean 75W-85 or 75W-90 gear oil to slide into place without binding. If you perform a 4Runner differential fluid change on the axles but leave sludgy, degraded fluid in the transfer case, you risk internal corrosion that can seize the shift mechanism, leaving you stranded in 2WD when you need 4WD the most.
Fluid Capacities, Specs, and Torque Specifications
To execute this service properly, you need the exact data. Toyota's 5th-generation 4Runner (2010-present) simplified maintenance by standardizing the fluid requirements across the drivetrain. Unlike older generations that required Automatic Transmission Fluid (ATF) in the transfer case, modern 4Runners use GL-5 gear oil across all three components.
| Component | Capacity | Fluid Specification | Plug Torque Spec |
|---|---|---|---|
| Rear Differential | 3.0 Liters (3.2 US Qt) | 75W-85 or 75W-90 GL-5 | 29 ft-lbf (39 Nm) |
| Front Differential | 1.6 Liters (1.7 US Qt) | 75W-85 or 75W-90 GL-5 | 29 ft-lbf (39 Nm) |
| Transfer Case (VF4B/VF5A) | 1.4 Liters (1.5 US Qt) | 75W-85 or 75W-90 GL-5 | 29 ft-lbf (39 Nm) |
Note: Always verify your specific model year using the official Toyota 4Runner Owner's Manual, as slight variations exist between the part-time and full-time 4WD systems.
The Golden Rule: Always Remove the Fill Plug First
If there is one piece of advice veteran mechanics pass down to beginners on forums like IH8MUD, it is this: Never remove the drain plug before you have successfully removed the fill plug.
Differential and transfer case housings are cast aluminum or iron, and over years of heat cycling and off-road impacts, the threads on the fill plug can seize or corrode. If you drain the fluid and then discover you cannot remove the fill plug to refill the component, you are left with an empty axle and a vehicle that cannot be driven to a shop without destroying the ring and pinion gears.
Pro Tip: Most 5th-Gen 4Runners use a 24mm hex bit or a 3/8-inch square drive for the fill and drain plugs. Invest in a high-quality, hardened steel 24mm hex socket to prevent rounding the soft aluminum plug edges.
The E-Locker Myth: Do You Need Friction Modifier?
A common point of confusion during a 4Runner differential fluid change is whether to add a limited-slip friction modifier. If you drive a TRD Off-Road or TRD Pro model, your rear axle is equipped with an electronic locking differential (E-Locker).
Unlike traditional clutch-pack limited-slip differentials (LSDs) found in older sports cars or competitor trucks, the Toyota E-Locker uses a mechanical dog-clutch mechanism that physically locks the axles together via an electromagnetic actuator. Because there are no friction clutches inside the differential, you do not need to add an LSD friction modifier. Adding it is a waste of money and can theoretically alter the fluid dynamics inside the housing. Stick to straight GL-5 gear oil, such as AMSOIL Severe Gear or Toyota OEM 75W-85.
Crush Washers: The $5 Part That Prevents Leaks
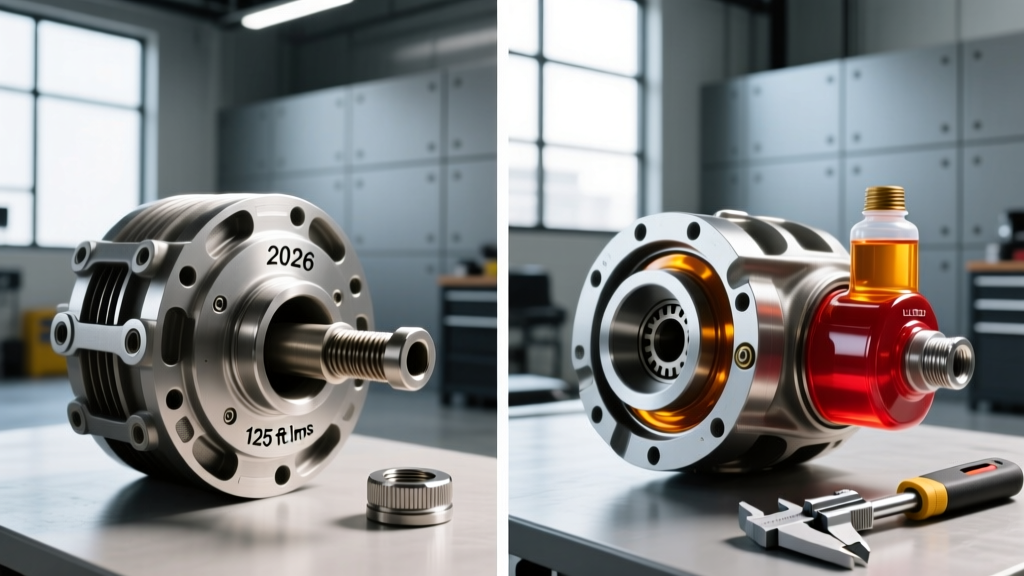
Never reuse the metal crush washers on your drain and fill plugs. The 4Runner typically uses 24mm drain plugs, which require the OEM Toyota crush washer part number 90430-24003 (or 90430-18008 if your specific aftermarket or replacement plugs use an 18mm thread). These washers are designed to deform slightly when torqued to 29 ft-lbf, creating a perfect metal-to-metal seal that prevents gear oil from weeping onto your driveway or brake rotors. A pack of six costs less than $10 at any dealership parts counter.
2026 Cost Breakdown: DIY vs. Dealership Service
As of 2026, dealership labor rates and fluid markups have made drivetrain servicing a premium expense. Here is what you can expect to pay if you farm this job out versus doing it in your own garage.
| Service Route | Estimated Cost (All 3 Components) | Pros & Cons |
|---|---|---|
| DIY at Home | $65 - $90 | Requires basic tools, jack stands, and 45 minutes. You control the fluid quality and verify the crush washers. |
| Independent Shop | $150 - $220 | Saves your back, but some shops may only 'drain and fill' without replacing crush washers or inspecting the magnetic plug. |
| Toyota Dealership | $280 - $380 | Most expensive. Uses OEM fluid, but you are paying a massive premium for labor on a job that requires no specialized computers or diagnostic tools. |
Inspecting the Magnetic Drain Plugs
The drain plugs on the 4Runner's transfer case and differentials are magnetic. When you pull them out, expect to see a fine, gray, glitter-like paste on the magnet. This is normal wear from the synchronizers and gear surfaces. However, if you find large, jagged metal shards or chunks of steel, your differential or transfer case chain is actively failing, and a rebuild is imminent. Always wipe the magnets completely clean with a lint-free rag and brake cleaner before reinstalling them.
Final Thoughts on Drivetrain Longevity
The relationship between your transfer case and differententials is symbiotic. They share the load, they share the stress, and they must share the maintenance schedule. By treating the 4Runner differential fluid change as a comprehensive, three-component service, you ensure that whether you are crawling over rocks in Moab or commuting through a snowy mountain pass, your Toyota's legendary drivetrain will engage smoothly and reliably every single time. Grab your 24mm hex socket, order your crush washers, and tackle the job with confidence.