The Gateway to DIY Transmissions: Why the 4L60E?
For decades, the General Motors 4L60E has been the undisputed king of rear-wheel-drive automatic transmissions. Found in millions of Silverados, Camaros, Corvettes, and Tahoes from 1993 through 2013, this four-speed overdrive unit is widely considered the best entry point for novice transmission builders. As we move through 2026, the 4L60E is increasingly transitioning from daily-driver duty to dedicated weekend project cars, LS-swapped classics, and budget off-roaders. Because of its massive production run, parts are cheap, and knowledge is abundant.
However, relying solely on forum hearsay or fragmented YouTube videos is a recipe for a stranded vehicle and a driveway full of leftover snap rings. Securing a comprehensive 4l60e transmission rebuild manual pdf is the absolute cornerstone of a successful project. Factory Service Manuals (FSMs) and aftermarket guides provide the hydraulic schematics, electrical pinout charts, and precise clearance specifications that separate a reliable rebuild from a catastrophic failure.
Sourcing the Right 4L60E Documentation
Before you unbolt the transmission crossmember, you need the right literature on your workbench. There are two primary routes for obtaining your documentation:
- OEM GM Helm Inc. Manuals: Helm Incorporated is the official publisher of GM service manuals. While they primarily sell physical, spiral-bound manuals, they are the gold standard for factory torque specs and wiring diagrams.
- ATSG (Automatic Transmission Service Group): ATSG produces the industry-standard aftermarket rebuild manuals. Their guides are specifically tailored for rebuilders, featuring exploded views, hydraulic circuit flow charts, and step-by-step disassembly instructions that are often clearer than the OEM FSM.
Many enthusiasts search for a free 4l60e transmission rebuild manual pdf on enthusiast forums like LS1Tech or CorvetteForum. While you can often find older, scanned versions of the ATSG manual circulating on these boards, investing $40 to $60 in a fresh, high-resolution digital or physical copy ensures you aren't missing critical updates regarding late-model (1998+) electronic solenoids and PWM (Pulse Width Modulation) torque converter clutch circuits.
2026 4L60E Rebuild Cost Breakdown
One of the main reasons beginners tackle the 4L60E is the favorable cost-to-reward ratio. Below is a realistic cost breakdown for a standard DIY rebuild in 2026, assuming the transmission case and primary hard parts (like the planetary gears) are in reusable condition.
| Component / Service | Estimated Cost (USD) | Notes for Beginners |
|---|---|---|
| Master Rebuild Kit (Clutches, Steels, Seals, Bands) | $160 - $280 | Look for kits with Raybestos or BorgWarner frictions. Avoid no-name eBay kits. |
| Hard Parts (Sun Shell, Pump Rings, Bushings) | $120 - $250 | Upgrading to a hardened sun shell is mandatory for reliability. |
| High-Energy 2-4 Band & Corvette Servo | $45 - $75 | Essential for firmer 1-2 and 2-3 shifts, preventing band burnout. |
| Fluids, Filter, and Gaskets | $70 - $100 | Requires approx. 11.5 quarts of ACDelco Dexron VI for a dry fill. |
| Specialty Tools (Spring Compressor, Endplay Gauge) | $130 - $200 | Can be rented or borrowed, but owning a compressor saves massive frustration. |
| Total DIY Rebuild Cost | $525 - $905 | Assumes you have standard hand tools, a torque wrench, and a clean workspace. |
| Professional Shop Rebuild (Comparison) | $2,200 - $3,500 | Includes removal, installation, machine shop fees, and a warranty. |
Pro Tip: Do not skimp on the bushings. A $30 complete bushing kit from a reputable supplier like Summit Racing or Transtar will save your pump and planetary gears from premature wear. Always use a bushing driver set; hammering them in with a socket will deform the bushing and crush the oil clearance.
Critical Specifications You Must Follow
Your 4l60e transmission rebuild manual pdf will contain pages of data, but as a beginner, you must pay strict attention to these specific measurements and torque values. Guesswork here leads to immediate failure upon the first test drive.
Essential Torque Specifications
- Valve Body to Case Bolts: 97 lb-in (8 lb-ft). Warning: These are small bolts. Over-torquing will strip the aluminum case or warp the valve body, causing cross-leaks and erratic shifting.
- Transmission Pan Bolts: 97 lb-in (8 lb-ft).
- Bellhousing to Engine Block Bolts: 35 lb-ft.
- Torque Converter to Flexplate Bolts: 46 lb-ft (Use Loctite and ensure the converter is fully seated into the pump before tightening).
- Pump to Case Bolts: 97 lb-in (8 lb-ft).
Clutch Pack Clearances
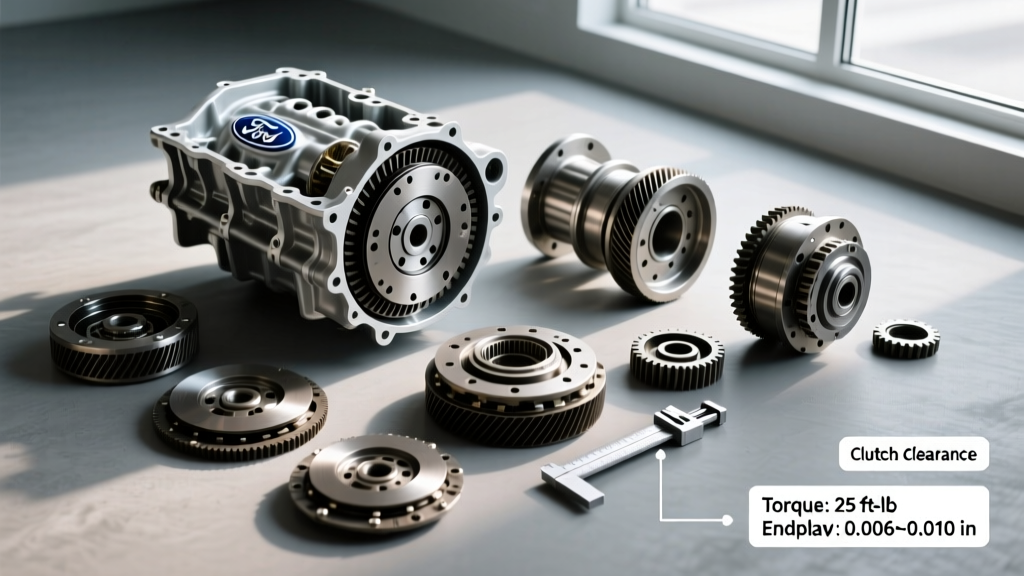
Using a dial indicator and feeler gauges, you must verify clutch pack clearances. If the clearance is too tight, the clutches will drag and burn up. If it is too wide, you will experience delayed, flaring shifts.
- 3-4 Clutch Pack: 0.040" - 0.080" (This is the most failure-prone pack in the 4L60E; aim for the tighter side of the spec using selective thickness snap rings).
- 2-4 Band Clearance: 0.100" - 0.140" (Adjusted via the band apply pin length).
- Forward (Input) Clutch Pack: 0.030" - 0.060".
Addressing the 4L60E's Notorious Weak Points
Every transmission has an Achilles heel. When reviewing your rebuild manual, pay special attention to the disassembly and inspection of these three areas:
1. The Sun Shell Stripping
The factory GM sun shell is made of relatively soft steel and features splines that mate the input sun gear to the reaction sun gear. Under heavy load, or when the 2-4 band applies abruptly, these splines strip out, resulting in an instant loss of 2nd, 3rd, and 4th gears. The Fix: Discard the OEM shell and install a hardened aftermarket unit, universally known in the industry as "The Beast" (Superior K034).
2. The 3-4 Clutch Burnout
The 4L60E applies the 3-4 clutches in both 3rd and 4th gears. Because they are engaged constantly during highway cruising and city driving, they generate immense heat. Furthermore, the apply oil circuit must pass through the input shaft and drum seals. If the piston seals are nicked during assembly, or if the checkballs in the valve body are worn, oil pressure drops and the clutches slip until they turn to ash. The Fix: Use high-energy Raybestos Z-pak frictions, ensure the input drum piston is perfectly seated, and verify the stator support shaft rings are not worn into the aluminum pump bore.
3. Pump Bore Wear
The front pump gears ride on the stator support tube. Over 150,000 miles, the gears can wear a groove into the aluminum pump housing. If your manual's inspection steps reveal a deep gouge in the pump bore, no amount of new seals will fix your low line pressure. You will need to either source a good used pump housing or send yours to a machine shop to be sleeved with a steel liner.
DIY Rebuild vs. Buying Remanufactured: A Beginner's Matrix
Is utilizing a 4l60e transmission rebuild manual pdf the right choice for your specific situation? Use this decision matrix to find out.
- Choose the DIY Rebuild Route If: You have a clean, well-lit garage; you possess basic mechanical aptitude and a torque wrench; the transmission case is undamaged; and you want to save $1,500+ while learning an incredibly valuable mechanical skill.
- Choose a Remanufactured Unit If: The transmission case is cracked; the vehicle is your only daily driver and you cannot afford a week of downtime; the internal planetary gears are shattered (indicating massive metallic contamination throughout the cooler lines and radiator); or you lack the specialized tools like a clutch spring compressor and dial indicator.
Final Thoughts on Your Rebuild Journey
Rebuilding a 4L60E is a rite of passage for GM enthusiasts. By securing a high-quality 4l60e transmission rebuild manual pdf, organizing your workspace with labeled bins for every snap ring and checkball, and adhering strictly to factory torque and clearance specifications, you are setting yourself up for success. Take your time, keep everything surgically clean, and remember that in transmission building, patience is just as important as the parts you install.