The Achilles Heel of the GM 4L60E: Why the 3-4 Clutch Fails
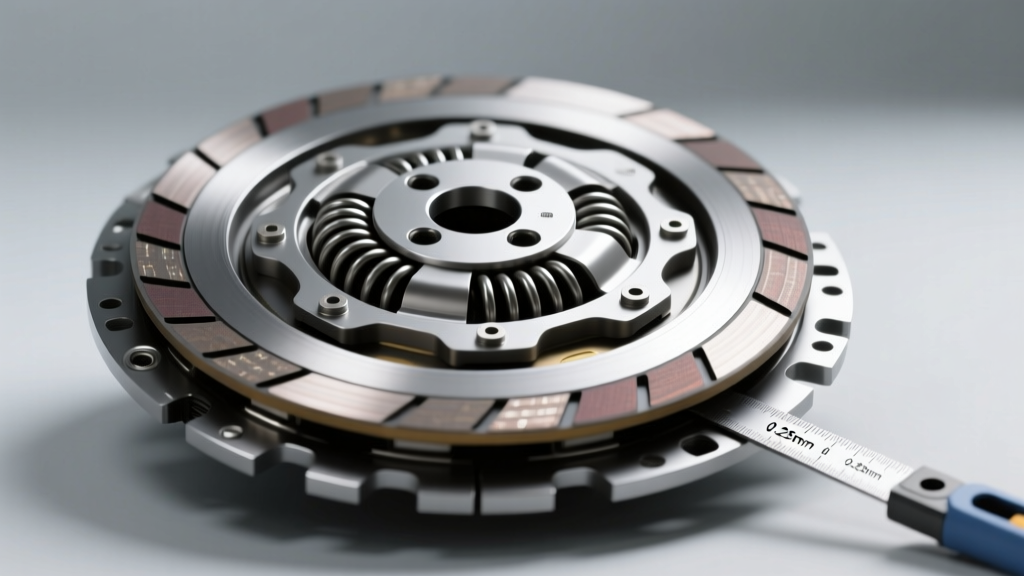
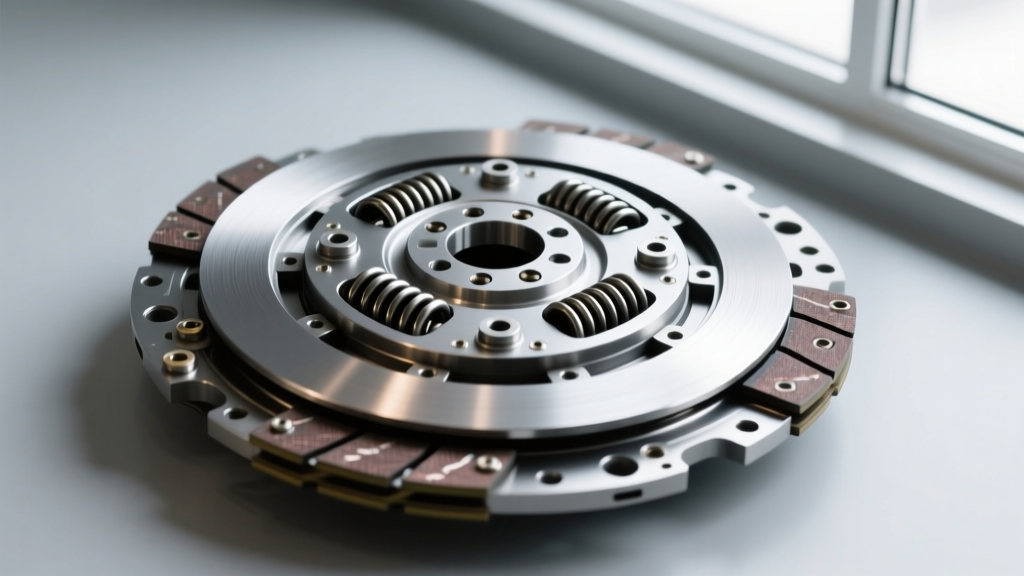
The General Motors 4L60E transmission is one of the most widely produced automatic gearboxes in history, but it harbors a notorious weak point: the 3-4 clutch pack. Responsible for engaging third gear and holding through the 3-4 shift into overdrive, this clutch assembly is subjected to immense thermal and mechanical stress. In stock form, the 3-4 clutch drum utilizes a thin, five-friction setup paired with an aluminum apply piston that is highly prone to hairline cracking and seal failure under heavy loads, towing, or aggressive driving.
When the 3-4 clutch pack fails, drivers typically experience a severe RPM flare during the 3-4 shift, delayed overdrive engagement, or a complete loss of 3rd and 4th gears. Fortunately, the aftermarket has engineered robust solutions to permanently resolve this vulnerability. This comprehensive, step-by-step guide will walk you through executing a high-capacity 4L60E 3-4 clutch pack upgrade using modern, heavy-duty components to safely handle upwards of 450 lb-ft of torque.
Parts Procurement: Selecting Your Upgrade Components
Before tearing down the transmission, you must source the correct high-performance friction materials and reinforced hardware. Relying on OEM-style paper frictions will only result in a repeat failure if the vehicle is modified or used for towing.
| Component | Recommended Part Number | Function & Benefit | 2026 Est. Cost |
|---|---|---|---|
| Raybestos Z-Pak Friction Module | RZ-675 | Provides 6 thinner frictions and 6 steels, increasing surface area by 20% over OEM. | $95 - $115 |
| Sonnax Smart-Tech 3-4 Clutch Housing | 77733-01K | Forged aluminum drum that eliminates piston cracking and features improved lube circuitry. | $210 - $240 |
| ACDelco Dexron VI ATF | 10-9395 | Full synthetic fluid required for soaking Z-Pak frictions and final fill. | $45 (Case) |
| Selective Backing Plates (Assorted) | GM 24230252 (and variants) | Used to dial in exact clutch pack clearance during assembly. | $15 - $25 each |
Pre-Rebuild Preparation and Tooling
Executing a transmission rebuild requires precision measuring tools and specialized assembly lubricants. Ensure your workbench is immaculate. You will need the following tools:
- Internal Snap Ring Pliers: Specifically a heavy-duty set capable of reaching deep into the 4L60E drum.
- Dial Indicator & Magnetic Base: For measuring exact clutch pack clearance.
- Feeler Gauge Set: Metric and SAE (down to 0.015").
- Seal Protector Rings: Mandatory for installing the piston without slicing the lip seals.
- Assembly Lubricant: Trans-Jel or equivalent petroleum-based assembly gel (do not use standard grease, as it will clog the valve body).
Step-by-Step: Executing the 3-4 Clutch Pack Overhaul
Step 1: Teardown and Drum Inspection
With the transmission case secured to an engine stand and the pump removed, extract the input shaft assembly. Locate the 3-4 clutch drum (the forward-most drum on the input shaft). Using your internal snap ring pliers, remove the thick retaining snap ring (GM P/N 24226587). Carefully slide out the backing plate, followed by the alternating steel and friction discs.
Next, apply low-pressure compressed air (no more than 40 PSI) into the apply hole on the drum to pop the aluminum piston out of its bore. Inspect the piston closely. Look for microscopic cracks radiating from the inner seal groove or the outer lip. If you are using the stock drum and find a cracked piston, the drum is compromised; upgrading to the Sonnax Smart-Tech drum is highly recommended at this stage.
Step 2: Friction Material Preparation
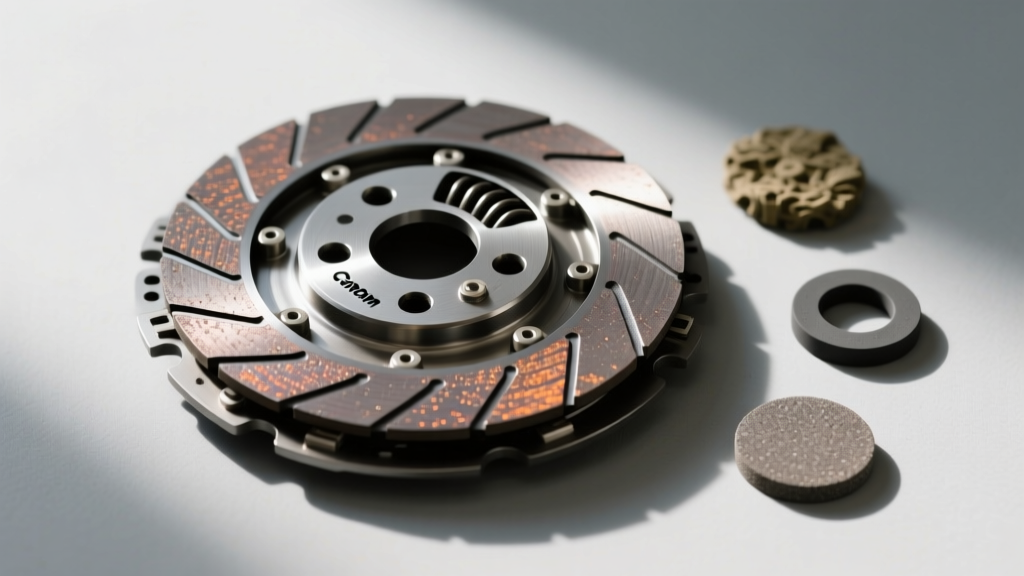
The Raybestos Z-Pak (RZ-675) utilizes a specialized friction material that requires specific preparation. Submerge the six friction discs in a clean pan filled with fresh ACDelco Dexron VI ATF.
Master Builder Warning: Do not soak the Z-Pak frictions overnight. The advanced composite material can begin to delaminate or absorb excessive fluid, leading to swelling. Soak them for exactly 15 to 20 minutes, then allow them to drain on a lint-free shop towel for 5 minutes before assembly.
Step 3: Piston and Seal Installation
Whether reusing the OEM piston (if inspected and deemed flawless) or installing the piston from the Sonnax kit, you must replace the inner and outer O-rings/lip seals. Lubricate the seals generously with Trans-Jel. Slide the seal protector ring over the drum bore, and gently press the piston into place using a smooth, rotating motion. Never force the piston, as a rolled lip seal will cause an immediate pressure leak upon startup.
Step 4: Stacking the Z-Pak Sequence
The Z-Pak alters the traditional 4L60E stacking sequence. Begin by installing the waved cushion plate (provided in the Raybestos kit) at the bottom of the drum against the piston. From there, alternate the steels and frictions. The Z-Pak utilizes 6 frictions and 6 steels, compared to the OEM 5-friction setup. Ensure the splines on the steel plates align perfectly with the internal teeth of the drum. The final component placed into the drum should be a steel plate.
Step 5: The Critical Clearance Check
This step separates professional rebuilds from amateur failures. Clutch pack clearance dictates how the transmission shifts. Too tight, and the clutch will drag, causing premature wear and overheating. Too loose, and the clutch will slip, resulting in a burnt pack within 500 miles.
- Place the thickest available selective backing plate into the drum.
- Install the retaining snap ring.
- Mount a dial indicator to the transmission case, resting the plunger on the center of the backing plate.
- Zero the dial indicator.
- Use a pry bar to gently lift the backing plate upward until it stops, then push it down firmly.
- Read the total travel on the dial indicator.
Target Specification: For a street/strip 4L60E utilizing the Z-Pak, your target clearance is 0.045" to 0.065". If your clearance is outside this window, remove the snap ring and swap the selective backing plate. GM and aftermarket suppliers offer plates in thicknesses ranging from 0.087" up to 0.140" to help you dial in the exact measurement.
Post-Assembly: Tuning and Valve Body Modifications
Upgrading the physical clutch pack is only half the battle. The 4L60E relies on electronic line pressure control (EPC) via the PCM to clamp the 3-4 clutch. If the hydraulic pressure is inadequate, the upgraded frictions will still slip.
For vehicles equipped with aftermarket tuning capabilities (such as HP Tuners VCM Suite), you must modify the transmission pressure tables. Increase the line pressure specifically for the 3-4 shift and 4th gear steady-state driving. A safe target for a reinforced 4L60E is 130-150 PSI during the shift, and 140-160 PSI in 4th gear under wide-open throttle (WOT).
Additionally, consider installing a TransGo SK-4L60E-HD2 shift kit in the valve body. This kit physically modifies the 3-4 shift valve circuit to provide faster, firmer apply rates, reducing the time the clutch spends in the "slip phase" during gear changes. For more information on complementary hydraulic upgrades, consult the technical resources at Raybestos Powertrain.
Final Break-In Procedure
Once the transmission is bolted to the engine and filled with 11-12 quarts of Dexron VI, the break-in procedure is critical. Start the engine and cycle the shifter through all gears while holding the brake pedal to purge air from the clutch drums.
For the first 100 miles, drive the vehicle conservatively. Avoid wide-open throttle and heavy towing. This allows the Z-Pak friction materials to mate perfectly with the steel plates, creating a micro-pattern that ensures long-term grip. After 100 miles, drop the transmission pan, inspect the magnets for excessive metallic debris (a small amount of clutch material is normal), replace the filter, and top off the fluid. Your 4L60E is now equipped to handle serious torque with confidence.