Understanding the Viscous Limited Slip Differential
Setting up a ring and pinion gear set is often viewed as a dark art reserved for seasoned drivetrain mechanics. However, with the right tools, patience, and a methodical approach, it is a skill any dedicated DIYer can master. When your axle housing contains a viscous limited slip differential (VLSD), the mechanical setup of the hypoid gears remains largely the same as an open differential, but the fluid dynamics and internal clearances require special attention.
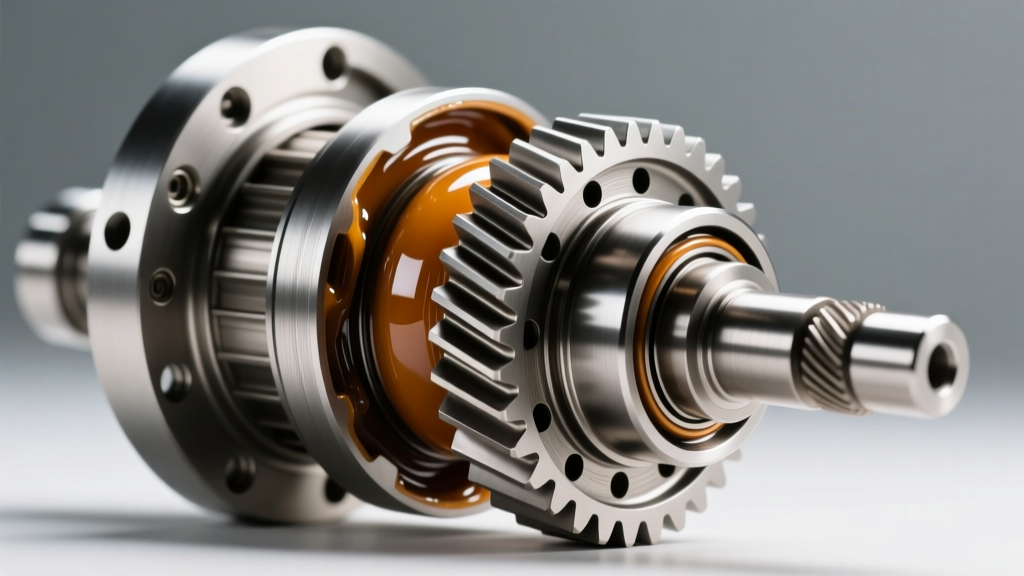
Unlike clutch-type limited slip differentials that rely on friction plates and require specialized friction-modifier additives, a viscous LSD utilizes a sealed drum filled with a shear-thickening silicone fluid. When wheel speed differences occur, the internal shear plates heat and thicken the silicone, transferring torque. Because the viscous coupling is a completely sealed unit, the surrounding ring and pinion gears bathe only in standard hypoid gear oil. This distinction is critical: adding clutch-type LSD friction modifiers to a VLSD housing is a common beginner mistake that offers zero benefit and can actually degrade the external O-rings of the viscous drum over time.
Essential Tools and Consumables
Before tearing into the differential, you must gather the correct tools. Guessing clearances by 'feel' will result in catastrophic gear failure within the first 100 miles.
- Dial Indicator with Magnetic Base: For measuring backlash to the ten-thousandth of an inch.
- Inch-Pound Torque Wrench: Crucial for measuring pinion bearing preload (do not use a standard foot-pound wrench).
- Gear Marking Compound: Yellow for setup, red for final inspection.
- Master Install Kit: Includes Timken or Koyo bearings, crush sleeve, pinion nut, and shims (Part numbers vary by axle, e.g., Yukon Gear YK T-01 for Toyota 8-inch).
- Threadlocker: Loctite 272 (Red) or 262 for ring gear bolts.
- Break-In Gear Oil: High-quality 75W-90 GL-5 (e.g., Mobil 1 Synthetic or Red Line 75W90). Budget roughly $45-$60 for fluids and additives.
Step 1: Setting Pinion Depth
Pinion depth dictates how deeply the pinion gear meshes into the ring gear. This is adjusted via shims placed behind the inner pinion bearing race. If the pinion is too deep, the gears will bind and whine; if it is too shallow, the teeth will ride on the edges and chip under load.
- Press the inner pinion bearing onto the pinion shaft using a specialized bearing press or a heavy-duty shop press.
- Install the pinion into the housing with your estimated shim pack (usually starting around 0.170 inches, referencing the old shim or the gear head's etching).
- Apply yellow marking compound to three or four teeth on the ring gear.
- Rotate the assembly and inspect the wear pattern.
Expert Insight: According to Ring-Pinion.com's technical library, a perfect setup pattern under light drag will show the contact patch centered on the tooth face, slightly biased toward the heel under load. Always prioritize the 'drive' side (convex) pattern over the 'coast' side (concave) when finalizing depth.
Step 2: Adjusting Backlash
Backlash is the microscopic amount of rotational play between the ring and pinion teeth. For most street-driven applications and viscous LSD setups, the target backlash is between 0.006 and 0.010 inches. Because the viscous coupling adds rotational mass and drag to the carrier assembly, maintaining precise backlash prevents harmonic vibrations at highway speeds.
- Mount the dial indicator so the plunger rests at a 90-degree angle against the drive face of a ring gear tooth.
- Hold the pinion flange completely stationary using a flange holder.
- Gently rock the ring gear back and forth and note the measurement.
- Adjust the carrier side bearing adjusters (or shims on older solid-axle designs) to move the ring gear closer to or further from the pinion until you hit 0.008 inches.
Step 3: Bearing Preload and Crush Sleeves
Bearing preload ensures the pinion bearings are tight enough to prevent deflection under heavy torque, but loose enough to prevent overheating. Most modern axles use a collapsible crush sleeve to achieve this.
Using a massive breaker bar or an impact tool (used carefully), tighten the pinion nut to slowly crush the sleeve. You must stop frequently to check the rotational torque using your inch-pound torque wrench. For new bearings, the target pinion preload is typically 18 to 25 inch-pounds. If you overshoot this number, you cannot simply back the nut off; you must install a brand-new crush sleeve and start over. As noted in Motive Gear's installation guidelines, reusing an over-crushed sleeve guarantees premature bearing failure.
Torque Specifications and Setup Data
Below is a reference table for standard street gear setups. Always cross-reference with your specific axle manufacturer's service manual, as specifications for 10-bolt, 12-bolt, and Dana axles vary slightly.
| Measurement / Fastener | Target Specification | Tool Required |
|---|---|---|
| Ring Gear to Carrier Bolts | 75 - 95 ft-lbs (with Loctite) | 1/2" Drive Torque Wrench |
| Pinion Bearing Preload (New Bearings) | 18 - 25 inch-lbs | 1/4" Drive Inch-Pound Wrench |
| Pinion Bearing Preload (Used Bearings) | 10 - 15 inch-lbs | 1/4" Drive Inch-Pound Wrench |
| Target Backlash (Street Gears) | 0.006" - 0.010" | Dial Indicator |
| Pinion Nut Torque (Minimum to crush sleeve) | 200 - 275 ft-lbs | 3/4" Drive Breaker Bar |
Fluid Selection: The Viscous LSD Nuance
Because your differential utilizes a viscous limited slip differential, fluid selection requires a specific approach. The viscous drum itself is sealed at the factory and contains a specialized polydimethylsiloxane (silicone) fluid. You cannot and should not attempt to service the viscous drum itself. Your responsibility lies entirely with the hypoid gear oil that lubricates the ring, pinion, and carrier bearings.
Do You Need a Friction Modifier?
No. Friction modifiers (like Limited Slip Additive) are designed to prevent chatter in clutch-pack style differentials (such as Ford's Trac-Lok or GM's Positraction). Adding these modifiers to a VLSD housing is unnecessary. In fact, excessive friction modifiers can reduce the extreme-pressure (EP) protection of the GL-5 gear oil, leading to accelerated wear on the pinion and ring gear teeth. Stick to a high-quality, straight 75W-90 or 80W-90 GL-5 synthetic gear oil.
The Break-In Procedure and First Fluid Change
The first 500 miles of your new ring and pinion setup are critical. The mating process of the forged steel gears generates immense heat and microscopic metal particulates. If left in the housing, these particulates will embed themselves into the viscous LSD's external seals and the carrier bearings.
- Initial Fill: Fill the axle with 2.5 to 3 quarts of conventional or synthetic blend 75W-90 GL-5. Avoid full synthetic for the break-in phase, as synthetics are 'too slippery' and can prolong the break-in period, causing excessive heat.
- The 50-Mile Cool Down: Drive the vehicle for 15-20 miles at varying speeds (no highway speeds over 55 mph). Let the axle cool completely to ambient temperature.
- The 500-Mile Drain: After 500 miles of mixed city/highway driving, drain the break-in fluid. Expect it to look dark and smell slightly burnt—this is normal. Inspect the magnetic drain plug for large metal chunks (fine glitter is acceptable).
- Final Fill: Refill with your preferred full synthetic 75W-90 GL-5 (e.g., Amsoil Severe Gear or Red Line 75W90). A full synthetic will manage the heat generated by the viscous coupling's drag during high-speed cornering far better than conventional oils.
For more comprehensive drivetrain maintenance schedules and fluid capacities, consult the Drivetrain.com differential installation archives. By respecting the precise clearances of the gear setup and understanding the unique fluid requirements of the viscous limited slip differential, you will ensure a quiet, reliable, and high-performing axle for years to come.