The Drivetrain Architecture: Do FWD Cars Have a Differential?
When automotive enthusiasts and DIY mechanics begin dissecting drivetrain layouts, a common point of confusion arises regarding front-wheel-drive platforms. To answer the frequently asked question, do fwd cars have a differential? The answer is an absolute yes. However, in a FWD configuration, the differential is not a standalone housing bolted to a solid rear axle as seen in traditional rear-wheel-drive (RWD) trucks or muscle cars. Instead, it is integrated directly into the transmission casing, forming a single unified unit known as a transaxle. The transaxle houses the transmission gears, the final drive ratio, and the differential mechanism, which splits torque to the left and right front wheels while allowing them to rotate at different speeds during cornering.
Because FWD vehicles utilize a transverse engine layout and a transaxle, they do not require a longitudinal driveshaft to route power to the rear of the vehicle. Consequently, FWD cars do not use Universal Joints (U-joints). Instead, they rely on Constant Velocity (CV) joints and CV axles to transmit power from the transaxle differential to the wheel hubs while accommodating the extreme steering angles and suspension articulation of the front wheels.
U-joints, on the other hand, are the lifeblood of RWD, 4WD, and longitudinal All-Wheel-Drive (AWD) systems. They are tasked with managing the angular misalignment between the transmission output shaft, the driveshaft, and the rear differential pinion gear. When these components wear out, the results can range from minor annoyances to catastrophic driveline failure. In this 2026 technical deep-dive, we will explore the definitive symptoms of failing U-joints and outline the precise engineering protocols required for their replacement.
Diagnostic Matrix: 4 Definitive U-Joint Symptoms
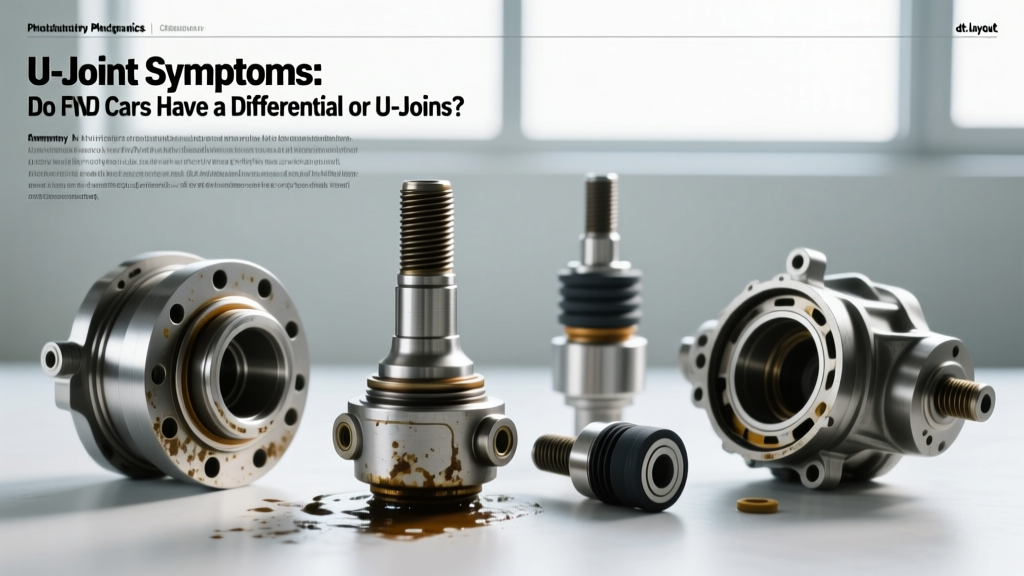
Diagnosing a failing U-joint requires an understanding of its internal mechanics. A standard cross-and-bearing U-joint consists of a steel cross (trunnion) with four needle-bearing caps packed with high-viscosity lithium-complex grease. When the seals fail, moisture infiltrates the caps, and grease purges out, leading to accelerated metal-on-metal wear. Here are the primary symptoms of U-joint degradation:
1. The 'Clunk' on Engagement (Excessive Trunnion Clearance)
If you hear a distinct, metallic clunking noise when shifting from Park to Drive, or Park to Reverse, the U-joint needle bearings have likely worn a groove into the bearing cap or the cross trunnion itself. This wear creates excessive radial clearance. When the drivetrain suddenly takes up the load, the cross shifts violently inside the cap, producing the clunk. This is most easily diagnosed by chocking the wheels, placing the vehicle in neutral, and manually twisting the driveshaft back and forth. Any rotational 'lash' or free-play before the pinion gear engages indicates a worn joint.
2. High-Frequency Squeaking at Low Speeds
A cyclic squeaking or chirping noise that increases in frequency with vehicle speed (not engine RPM) is a hallmark of dry needle bearings. As the factory grease degrades or washes out, the microscopic needles inside the cap begin to skid rather than roll against the trunnion journal. This metal-on-metal friction generates intense localized heat, which can eventually weld the needles to the cross, leading to total joint seizure. According to drivetrain experts at Hagerty Media, ignoring this squeak often results in the U-joint snapping under load, dropping the driveshaft onto the pavement at highway speeds.
3. Driveline Vibration and Shudder
While wheel imbalance typically causes steering wheel shake, a failing U-joint causes a high-frequency vibration felt in the floorboards or seats, usually peaking between 50 and 70 mph. If a U-joint seizes and loses its ability to articulate, it forces the driveshaft to operate out of its designed angular parameters. This creates a secondary harmonic vibration. Furthermore, if the U-joint caps become loose in the yoke ears, the driveshaft can physically shift off its centerline, creating a severe rotating mass imbalance.
4. Grease Slung on the Undercarriage
A visual inspection is just as critical as an auditory one. If you notice thick, dark grease slung in a radial pattern around the driveshaft, transmission bell housing, or rear differential pinion, the U-joint elastomer seals have blown out. Once the seal is compromised, the joint is operating on borrowed time.
Advanced Replacement Protocol: Overcoming Staked Yokes and Phasing Errors
Replacing a U-joint is not simply a matter of unbolting and swapping parts. Modern drivetrains, particularly those found in GM trucks utilizing the 6L80 or 8L90 transmissions, and various Ford 4WD applications, often utilize staked U-joints at the transmission output shaft or the rear differential pinion flange to reduce assembly line costs. Furthermore, improper reassembly can destroy the new joint in under 100 miles.
Step 1: Marking for Driveshaft Phasing
Before unbolting the driveshaft, you must mark the relationship between the driveshaft yoke and the transmission output shaft, as well as the rear pinion flange, using a yellow paint pen. Driveshafts are 'phased' at the factory; the yokes on either end of the shaft are aligned in the exact same plane to cancel out the unequal angular velocity inherent in U-joint operation. Reassembling the shaft even one spline off-phase will induce a violent, destructive vibration that no amount of wheel balancing can fix.
Step 2: Dealing with Staked U-Joints
If your vehicle uses staked U-joints (where the bearing caps are held in place by deformed yoke metal rather than snap rings), you cannot simply press them out. You must use a high-speed rotary tool with a carbide burr to carefully grind away the staked metal flush with the yoke ear, or use a specialized stake-removal chisel. Attempting to press a staked joint without removing the stake will shatter the cast-iron yoke or destroy your hydraulic press.
Step 3: The Press and Rebuild Procedure
Using a heavy-duty C-frame press or a specialized U-joint removal tool (such as the OTC 7248), press the old caps out. Critical Warning: When removing the cross, support the opposite side perfectly. If the cross drops suddenly, it can dislodge the needle bearings inside the remaining cap, causing them to fall out of alignment and making reassembly impossible without a complete cap replacement.
When installing the new joint (e.g., a premium Spicer greasable or non-greasable unit), ensure the zerk fitting (if equipped) is positioned correctly. For driveshaft applications, the zerk fitting should generally face the direction of rotation to prevent centrifugal force from pulling the grease out of the cross. Press the new caps in evenly, ensuring they seat fully against the yoke register before installing the snap rings.
Reference Chart: Spicer U-Joint Series and Torque Specifications
Selecting the correct U-joint series is vital for handling the torque output of modern powertrains. Below is a reference table for the most common Spicer (Dana) U-joint series, their typical applications, and the required torque specifications for the strap bolts securing them to the differential yoke.
| U-Joint Series | Common Spicer Part # | Typical Application | Strap Bolt Torque Spec |
|---|---|---|---|
| 1310 Series | 5-153X | Jeep Wrangler (JK/JL), Light Duty 2WD Pickups, Classic Muscle Cars | 15 - 20 lb-ft |
| 1350 Series | 5-178X | 3/4-Ton Trucks (Silverado 2500, F-250), High-HP Drag Racing | 25 - 30 lb-ft |
| 1410 Series | 5-321X | 1-Ton Dually Trucks, Heavy Off-Road, Rock Crawling Axles | 70 - 85 lb-ft (Flange Bolts) |
Note: Always use new, grade 8 or OEM-grade strap bolts. Reusing old, stretched strap bolts is a leading cause of catastrophic driveline separation.
2026 Cost Analysis: Professional vs. DIY R&R
The financial implications of U-joint replacement vary wildly based on your mechanical aptitude and the specific layout of your vehicle. As of 2026, a standard Spicer 1310 or 1350 U-joint costs between $18 and $45 per joint at most auto parts retailers. If your vehicle requires two joints (front and rear of a two-piece driveshaft), your total parts cost will remain under $100.
However, professional labor rates have continued to climb. A driveline shop or dealership will typically charge between 1.5 and 2.5 hours of labor to remove the driveshaft, press the joints, balance the shaft (if necessary), and reinstall it. At an average shop rate of $150/hour, expect to pay between $250 and $450 for professional service. If your vehicle features a staked U-joint at the transmission output shaft, labor times increase significantly due to the precision grinding required, potentially pushing the bill closer to $600.
For the DIY mechanic equipped with a bench vise, a basic U-joint press kit, and a calibrated torque wrench, this job is highly rewarding and cost-effective. Just remember the golden rule of longitudinal drivetrains: respect the phasing marks, torque the straps to spec, and purge the caps with high-quality NLGI #2 lithium-complex grease until it weeps from all four seals. By understanding the fundamental differences between FWD transaxle differentials and RWD U-joint architectures, you can accurately diagnose, repair, and maintain your vehicle's drivetrain for hundreds of thousands of miles.