The Thermal Threshold: Why Transmissions Overheat
Transmission overheating is the single leading cause of premature automatic transmission failure. When automatic transmission fluid (ATF) exceeds 220°F (104°C), the fluid begins to oxidize rapidly, forming varnish that clogs valve body solenoids and degrades clutch friction materials. For every 20°F increase above 220°F, the lifespan of the ATF is effectively halved. Modern transmissions like the GM 6L80, Ford 10R80, and ZF 8HP rely heavily on precise thermal management to maintain tight clearances and optimal line pressure.
When the factory cooling circuit fails—often due to crushed lines, degraded rubber hose segments, or a stuck thermal bypass valve—the transmission is forced into limp mode to protect itself. Addressing this requires a systematic approach to diagnose the restriction, replace the faulty hardware, and restore proper fluid flow. Below is our comprehensive, step-by-step guide to resolving cooling system failures, including a detailed breakdown of the transmission cooler lines replacement cost.
Step 1: Diagnostic Verification and Line Inspection
Before wrenching, you must verify that the cooler lines or the radiator-integrated cooler are the actual source of the thermal issue. Dash-mounted temperature gauges are notoriously inaccurate and often read up to 30°F lower than actual sump temperatures.
Reading True PID Data
Connect a bi-directional OBD2 scanner capable of reading manufacturer-specific PID (Parameter Identification) data. Monitor the 'Transmission Fluid Temperature' (TFT) sensor while idling and under load. Normal operating temperatures should sit between 185°F and 205°F. If you observe temperatures climbing past 230°F during highway cruising or light towing, you have a confirmed cooling deficit.
Physical Line Inspection
- GM 6L80/6L90 Applications: Inspect the quick-connect fittings at the radiator. These plastic retainers become brittle from heat cycling and can develop micro-leaks or internal O-ring collapses that restrict flow.
- Ford 6R80/10R80 Applications: Check the factory rubber hose sections that bridge the metal hard lines to the transmission case. Over time, the inner lining of these hoses can delaminate, creating a 'flapper valve' effect that blocks fluid return under high line pressure.
- ZF 8HP Applications: Verify the operation of the Thermal Management Module (TMM). If the bypass valve is stuck open, fluid bypasses the cooler entirely during warm-up and fails to redirect when hot.
Step 2: Safe Depressurization and Fluid Drain
Transmission cooler lines operate under significant pressure. At idle, cooler line pressure typically ranges from 40 to 60 PSI, but under heavy load or during aggressive shifts, line pressure can spike well over 150 PSI. Never disconnect a cooler line while the transmission is warm or pressurized.
- Allow the vehicle to sit overnight or use an infrared thermometer to verify the transmission pan is at ambient temperature.
- Place a high-capacity drain pan (minimum 10 quarts) beneath the transmission pan and cooler line routing.
- If your vehicle features a transmission pan drain plug, remove it to relieve internal sump pressure.
- Clean the area around the cooler line fittings with brake cleaner to prevent debris from entering the open hydraulic circuit.
Step 3: Line Removal and Hardware Replacement
The removal process depends heavily on the fitting type used by the OEM. Using the wrong technique will destroy the mating surface on the transmission case or radiator, turning a simple line swap into a massive repair bill.
Quick-Connect Fittings (GM/Chrysler)
Do not use pliers or excessive force on plastic quick-connects. You must use a dedicated quick-connect release tool set (such as the Lisle 39400 set). Insert the tool into the fitting to depress the internal metal retaining claws, then pull the line straight out. Inspect the O-rings on the male end of the line; if they are flattened or nicked, they must be replaced using an ATF-compatible Viton O-ring kit.
Flare Nut and Banjo Fittings (Ford/Toyota)
Use a line wrench (flare nut wrench) to prevent rounding the soft brass or aluminum nuts. When removing the hard lines from the transmission case, support the adapter fitting with a secondary wrench to prevent twisting the internal case threads. According to Valvoline Global's technical service bulletins, reusing stretched flare nuts is a primary cause of post-repair cooler line leaks.
Pro-Tip: When reinstalling GM 6L80 case adapter fittings, the factory torque specification is exactly 15 lb-ft (20 Nm). Over-torquing these aluminum adapters will strip the transmission case threads, requiring a helicoil repair or case replacement.
Analyzing the Transmission Cooler Lines Replacement Cost
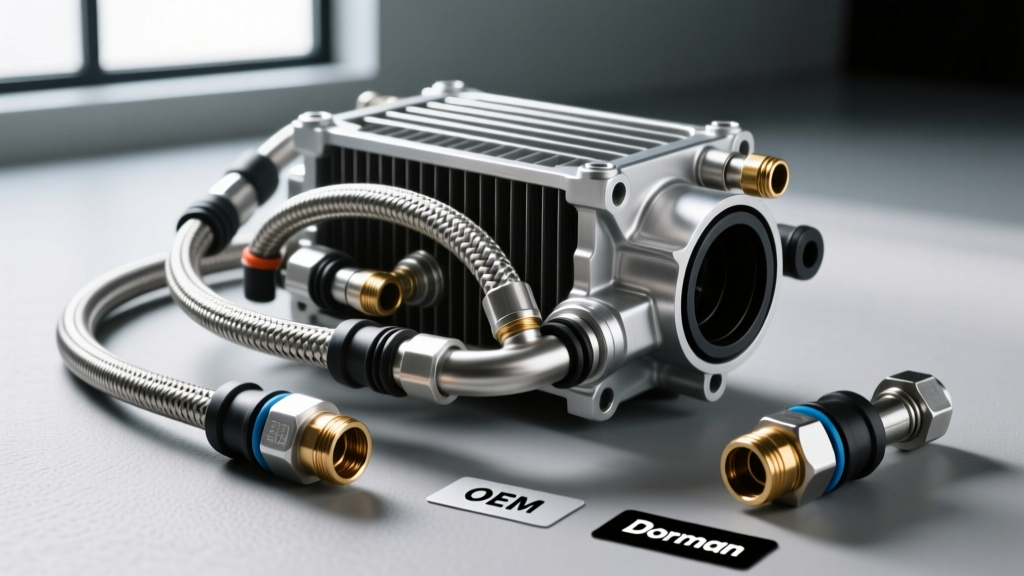
When budgeting for this repair, understanding the true transmission cooler lines replacement cost is vital. Prices fluctuate based on whether you choose OEM hard lines, aftermarket pre-bent assemblies, or custom-fabricated hydraulic hoses. Furthermore, labor times vary drastically depending on whether the crossmember or exhaust components must be dropped to access the lines.
According to industry repair data aggregated by RepairPal, the national average for this service leans heavily toward the labor side, as the parts themselves are relatively inexpensive unless proprietary quick-connect adapters are required.
| Cost Component | OEM / Dealer Parts | Aftermarket / Custom | Notes |
|---|---|---|---|
| Hard Lines (Front/Rear) | $120 - $280 | $45 - $90 | Aftermarket lines often require minor bending adjustments. |
| Rubber Hose Segments | $30 - $60 | $15 - $25 | Must use high-pressure, ATF-rated reinforced hose. |
| Quick-Connect Adapters | $15 - $40 (each) | N/A | Often required if old plastic retainers break during removal. |
| Labor (1.5 - 3.0 Hours) | $150 - $450 | $150 - $450 | Varies by shop rate ($100-$150/hr) and exhaust removal. |
| ATF Top-Off / Flush | $40 - $120 | $40 - $120 | Dexron ULV and ZF Lifeguard fluids are premium priced. |
| Total Estimated Cost | $355 - $950 | $250 - $705 | Averages based on standard light-duty trucks and SUVs. |
Step 4: Upgrading the Cooling Circuit for Prevention
If your vehicle is used for towing, off-roading, or track use, simply replacing the factory lines is a temporary band-aid. To permanently prevent transmission overheating, you must upgrade the thermal management system.
Thermal Bypass Valve Delete
Many modern transmissions, including the ZF 8HP and Chrysler 850RE, utilize a thermal bypass valve designed to restrict cooler flow during cold starts to speed up cabin heating. However, these valves frequently stick closed, causing catastrophic overheating under load. Installing a thermal bypass delete kit (a simple CNC-machined aluminum block) forces 100% of the fluid through the cooler at all times. This is a mandatory upgrade for any ZF-equipped vehicle tuned for higher torque output.
Auxiliary Stacked-Plate Coolers
For heavy-duty applications, splice a stacked-plate auxiliary cooler (such as the Derale 15800 series) into the return line after the factory radiator cooler. Stacked-plate designs offer 30% more surface area than traditional tube-and-fin coolers and are less prone to clogging from debris. Use high-pressure hose clamps (minimum 50 PSI rating) and route the auxiliary cooler ahead of the A/C condenser for maximum ambient airflow.
Step 5: Precision Refill and Thermal Cycling
The final and most critical step is refilling the system with the exact OEM-specified fluid. Modern transmissions are incredibly sensitive to fluid viscosity. Using standard Dexron VI in a transmission requiring Dexron ULV (Ultra Low Viscosity) will result in delayed shifts and immediate overheating due to improper torque converter clutch (TCC) slip rates.
- Reconnect all cooler lines and verify fitting security.
- Add the baseline amount of ATF (usually 4-6 quarts to replace what was lost in the lines and cooler).
- Start the engine, cycle the gear shifter through all positions (P-R-N-D-L), pausing for 3 seconds in each gear to fill the clutch drums and torque converter.
- Connect your OBD2 scanner and monitor the TFT. The fluid must be between 45°C and 55°C (113°F - 131°F) for an accurate level check.
- With the engine idling on a perfectly level surface, remove the transmission check plug. Fluid should drip out steadily. If it pours, let it drain until it drips. If no fluid emerges, pump in ATF via the fill tube or check plug until the drip is achieved.
- Reinstall the check plug and torque to factory specifications (typically 10-15 lb-ft depending on the pan material).
By following this meticulous diagnostic and replacement protocol, you eliminate the root causes of thermal degradation. Whether you are tackling the job in your home garage or evaluating a shop's quote against the average transmission cooler lines replacement cost, prioritizing correct fluid specs, precise torque values, and targeted cooling upgrades will ensure your drivetrain survives the harshest operating conditions. For more technical specifications on ZF and GM cooling circuits, refer directly to the engineering guidelines provided by ZF Group and OEM service portals.