The Hidden Lifeline: Why Transmission Oil Cooler Maintenance Matters
When most vehicle owners think about transmission maintenance, they immediately picture a simple fluid drain and fill. However, the unsung hero of your drivetrain's longevity is the transmission oil cooler. Heat is the number one enemy of automatic transmissions. For every 20°F your transmission fluid temperature rises above the optimal 200°F baseline, the life of your Automatic Transmission Fluid (ATF) is effectively cut in half. If you are towing a trailer, navigating stop-and-go traffic, or pushing a high-horsepower build, maintaining your cooling system is not optional—it is critical.
As a beginner, the idea of servicing cooling lines might seem intimidating. But transmission oil cooler maintenance is actually one of the most accessible and rewarding DIY tasks you can perform. In this guide, we will break down the anatomy of your cooling system, provide a step-by-step maintenance routine, and share the exact torque specifications and flow rates used by professional transmission builders.
Understanding Your System: OEM vs. Auxiliary Coolers
Before you grab a wrench, you need to know what kind of system you are working with. Most modern vehicles utilize one of two primary setups, or a combination of both.
Integrated Radiator Coolers
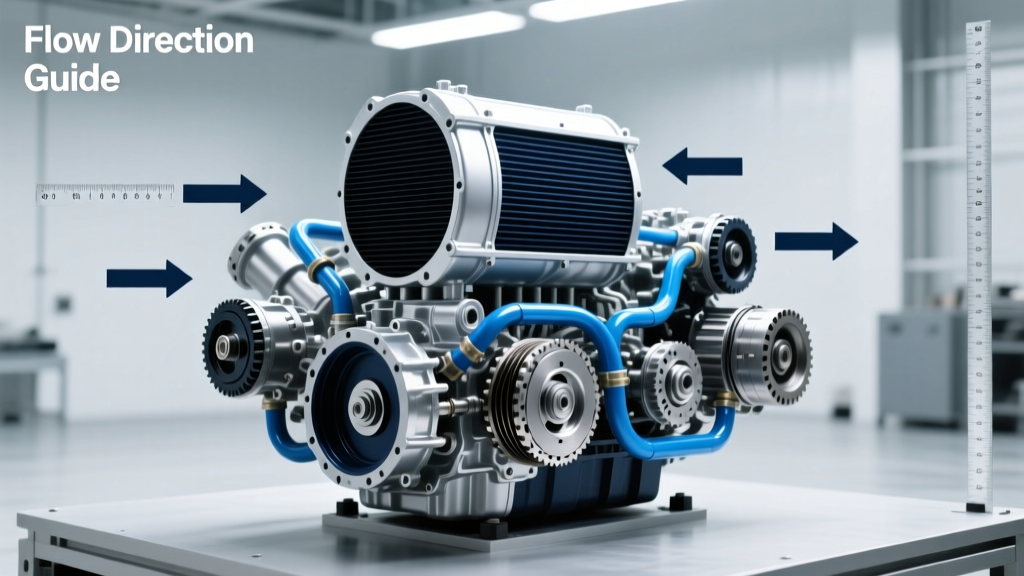
The vast majority of daily drivers use a tube-and-fin cooler integrated directly into the vehicle's radiator. The engine coolant acts as a heat sink, bringing the transmission fluid up to operating temperature quickly in cold weather, while capping the maximum temperature during normal driving. While efficient, these are prone to catastrophic internal failures if the radiator's internal end-tanks crack, leading to cross-contamination.
External Auxiliary Coolers
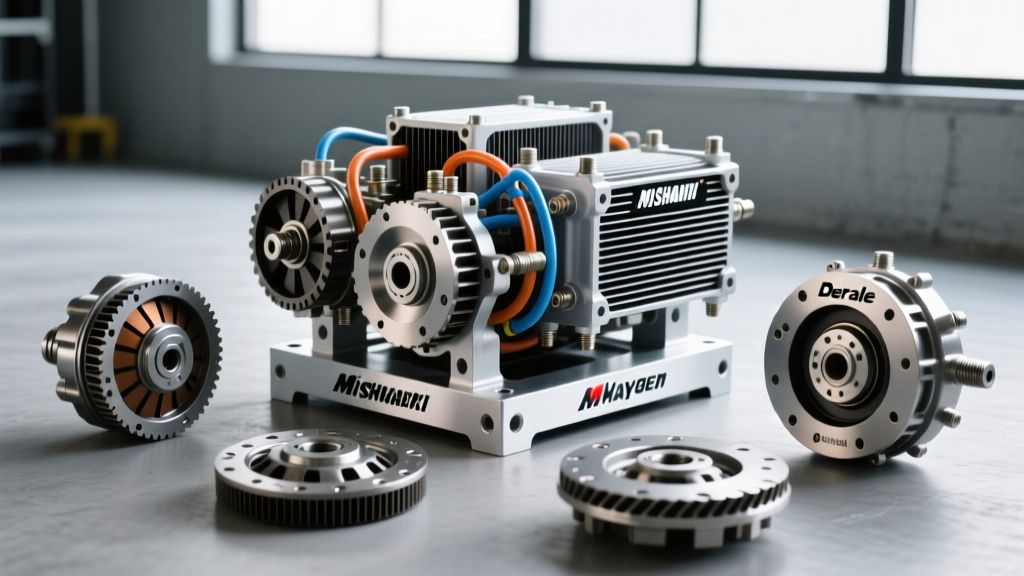
Trucks, SUVs, and performance vehicles often feature an auxiliary transmission oil cooler mounted in front of the A/C condenser. These are typically plate-and-fin or stacked-plate designs (like the popular Hayden 678 Rapid-Cool or Derale 13503). They offer superior thermal dissipation but are exposed to road debris, salt, and physical damage. According to engineering data from Hayden Automotive, stacked-plate coolers offer the highest heat transfer rates but require stricter maintenance to prevent fin clogging from bugs and grime.
The Beginner's 4-Step Maintenance Routine
You do not need a professional shop lift to perform basic transmission oil cooler maintenance. Here is a beginner-friendly, four-step routine to ensure your system is flowing correctly and free of contaminants.
Step 1: Visual and Tactile Line Inspection
Start by tracing the metal and rubber cooler lines from the transmission pan to the radiator or auxiliary cooler. On common transmissions like the GM 4L60E or 6L80, the factory uses a combination of hard metal lines and short rubber hose segments to absorb engine vibration.
- Check the Rubber: Squeeze the rubber hose segments. If they feel spongy, excessively hard, or show dry rot cracking, replace them immediately. Use only high-pressure, oil-resistant transmission cooler hose (SAE J1019 spec), never standard fuel line.
- Inspect the Clamps: Factory setups often use constant-tension spring clamps. If these have been replaced with cheap worm-gear clamps, check for hose cutting. Upgrade to fuel-injection style clamps or constant-tension clamps to prevent weeping under high line pressure.
- Look for Weeping: Pay special attention to the radiator end-tanks. Early GM 6L80 applications are notorious for developing micro-cracks in the plastic radiator tanks where the metal cooler lines insert, leading to slow, sticky ATF leaks.
Step 2: The 'Bucket Test' for Flow Rate Verification
A clogged transmission oil cooler will starve your transmission of lubrication and cause rapid overheating. You can test your cooler's flow rate at home using the 'Bucket Test'.
- Locate the cooler return line (the line bringing fluid back from the radiator to the transmission).
- Disconnect the return line at the transmission and route it into a clean, graduated catch bucket.
- Have an assistant start the engine and let it idle for exactly 15 seconds (do not rev the engine, as this can cause the transmission to pump fluid out faster than the pan can replenish it, starving the pump).
- Shut off the engine and measure the fluid.
The Benchmark: Most stock passenger vehicle transmissions (like the Chrysler 8HP45/845RE or GM 8L90) should pump roughly 0.5 to 1.0 quarts of fluid in 15 seconds at idle. If you get a weak trickle or less than half a quart, your cooler or lines are restricted by clutch material or varnish.
Step 3: Checking for Cross-Contamination
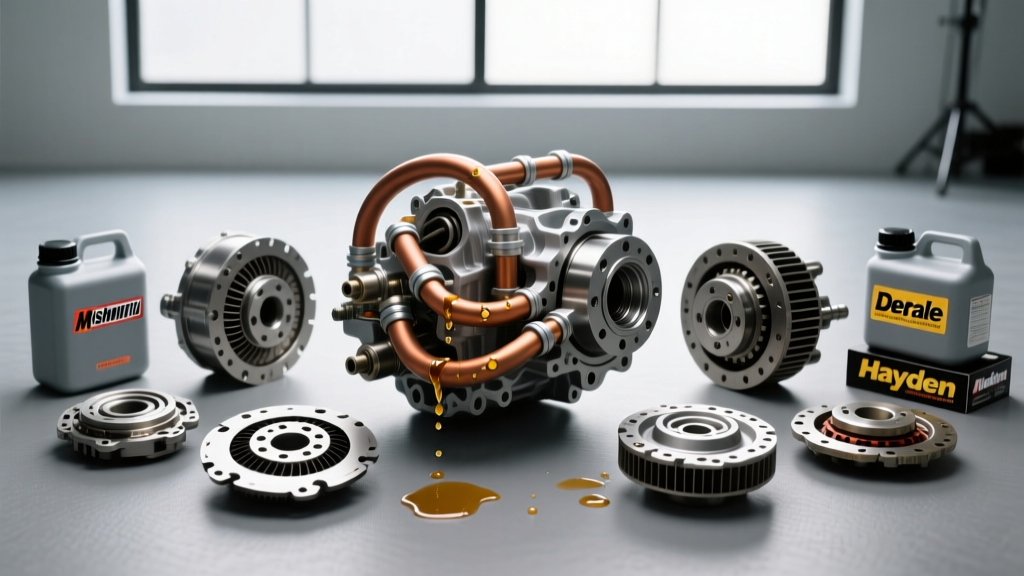
Inspect the fluid in your bucket. Healthy ATF should be translucent red or light brown. If the fluid looks like a pink, frothy 'strawberry milkshake', you have an internal radiator failure. Engine coolant has breached the transmission oil cooler and mixed with the ATF. Do not drive the vehicle. Coolant destroys the friction modifiers in ATF and will cause total clutch pack failure within miles. This requires a full transmission flush, radiator replacement, and potentially a torque converter replacement.
Step 4: Flushing the Cooler and Lines
If you are replacing a transmission or doing a major service, you must flush the cooler to remove old varnish and metal shavings. Industry experts at Sonnax emphasize that failing to flush the cooler is a leading cause of premature failure in rebuilt units.
- The Right Solvent: Never use brake cleaner or harsh mineral spirits, as they leave a chemical residue that ruins ATF friction modifiers. Use a dedicated, residue-free transmission cooler flush (like Lubegard 98901) or flush the system using fresh, inexpensive Dexron III ATF.
- Air Evacuation: After flushing, use compressed air to blow out the lines. Warning: Regulate your air compressor to under 40 PSI. High-pressure shop air (120+ PSI) can easily rupture the delicate internal brazing of a plate-and-fin cooler.
Essential Fitting Sizes and Torque Specifications
Stripping a cooler line fitting is a common beginner mistake that leads to massive fluid leaks and tow-truck bills. Always use a line wrench (flare-nut wrench) rather than an open-end wrench to grip the fittings. Below is a reference table for common transmission oil cooler fittings.
| Application / Transmission | Common Line Size | Fitting Type | Recommended Torque |
|---|---|---|---|
| GM 4L60E / 4L80E | 5/16' or 3/8' | Quick-Disconnect / Flare | 15-20 ft-lbs (Flare) |
| GM 6L80 / 8L90 | 12mm / 3/8' | Push-Lock / O-Ring | Snap-Ring Seated (No Torque) |
| Ford 6R80 / 10R80 | 3/8' or 1/2' | Quick-Disconnect | Snap-Ring Seated |
| Dodge/Jeep ZF 8HP45/8HP70 | AN-6 (9/16-18) | AN Flare / Adapter | 15-20 ft-lbs |
| Aftermarket Auxiliary Lines | AN-6 or AN-8 | Aluminum AN Fittings | 12-15 ft-lbs (Lubricate threads) |
Real-World Costs: Preventative Maintenance vs. Rebuilds
One of the best aspects of transmission oil cooler maintenance is the incredible return on investment. Let us look at the real-world pricing for 2026 to understand why this DIY task is so valuable.
- DIY Visual Inspection & Clamp Replacement: $15 - $25 (Cost of high-quality constant tension clamps and a pair of hose-cutting pliers).
- Professional Cooler Flush Service: $120 - $180 (Shops use heated, pressurized flush machines to reverse-cycle the cooler).
- Aftermarket Auxiliary Cooler Kit (e.g., Hayden 678): $65 - $95 (Includes mounting hardware, zip-ties, and hose).
- Catastrophic Failure (Overheated Transmission Rebuild): $2,800 - $4,500+ (Includes new clutches, steels, torque converter, and fluid).
Spending twenty minutes and a few dollars inspecting your lines and verifying flow can easily save you from a four-figure repair bill.
Expert Sourcing and Replacement Tips
If your inspection reveals that your auxiliary cooler is damaged, or your integrated cooler is leaking, sourcing the right replacement is vital. Avoid cheap, no-name tube-and-fin coolers found on generic e-commerce sites; they often lack the internal turbulators required to agitate the fluid and maximize heat transfer. Stick to reputable brands like Hayden, Derale, or Mishimoto. Furthermore, when installing a new auxiliary cooler, always mount it with the fittings pointing downward or horizontally. If the fittings point upward, air can become trapped inside the cooler core, creating a 'vapor lock' that severely restricts fluid flow and causes localized hot spots.
Pro Tip from the Bench: If you are upgrading a heavy-duty towing vehicle, consider installing an inline transmission fluid thermostat (like the Derale Hyper-Cool remote mount kit). As noted by thermal management engineers featured in Transmission Digest, running an auxiliary cooler in freezing winter climates without a thermostat can cause the fluid to over-cool, increasing viscosity and starving the lubrication circuits. A thermostat ensures your ATF stays in the optimal 180°F to 200°F sweet spot year-round.
Final Thoughts
Transmission oil cooler maintenance does not require you to be a master mechanic. By performing a visual inspection, executing a simple bucket flow test, and ensuring your fittings are torqued to spec, you can dramatically extend the life of your drivetrain. Treat your cooling system with the same respect you give your engine's radiator, and your transmission will reward you with hundreds of thousands of miles of reliable, cool-running service.