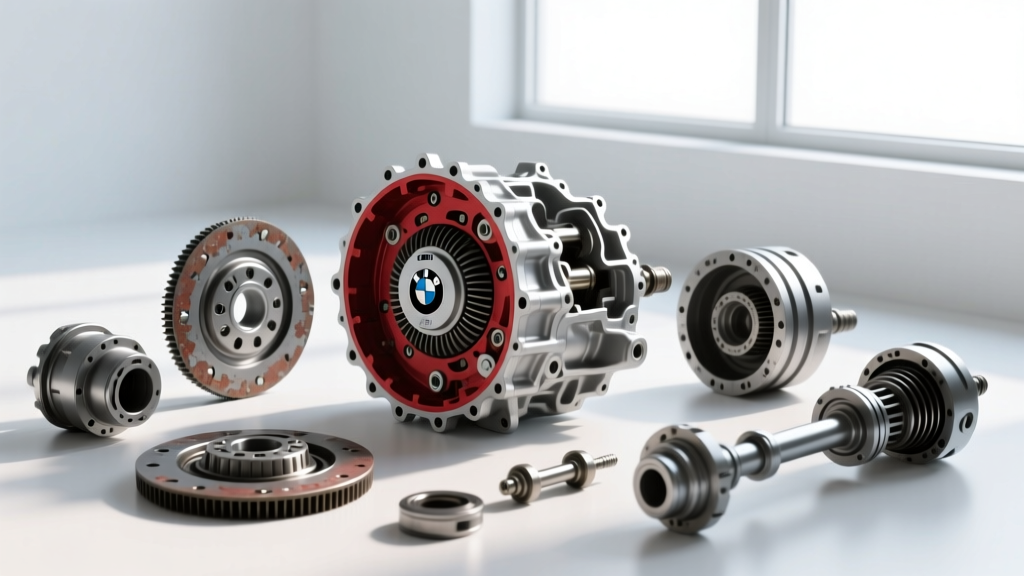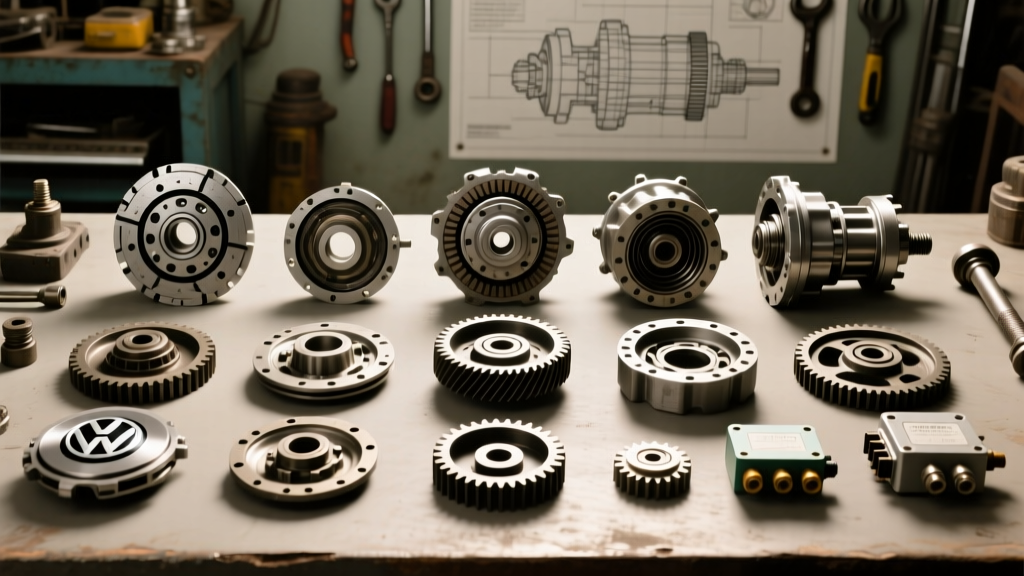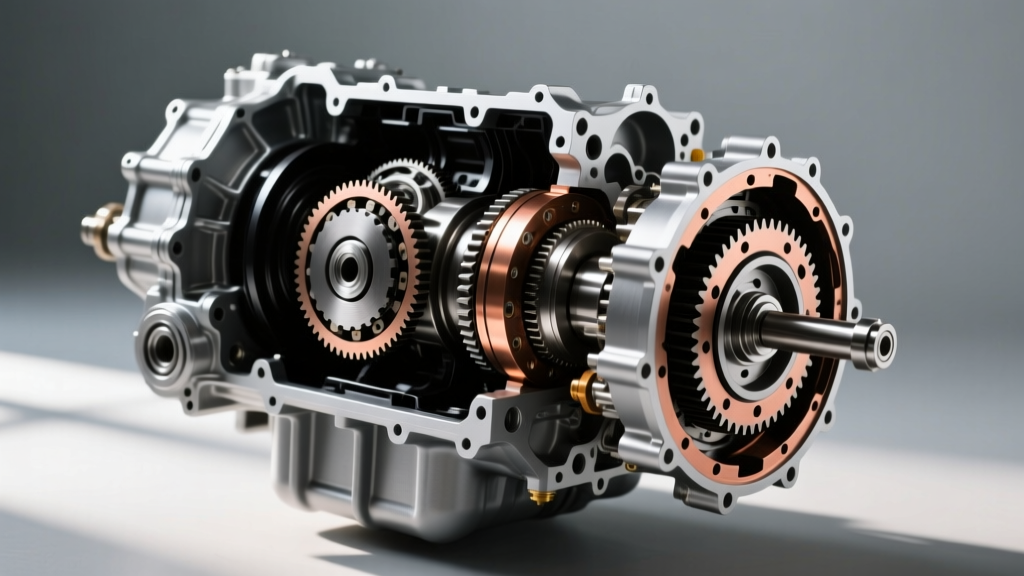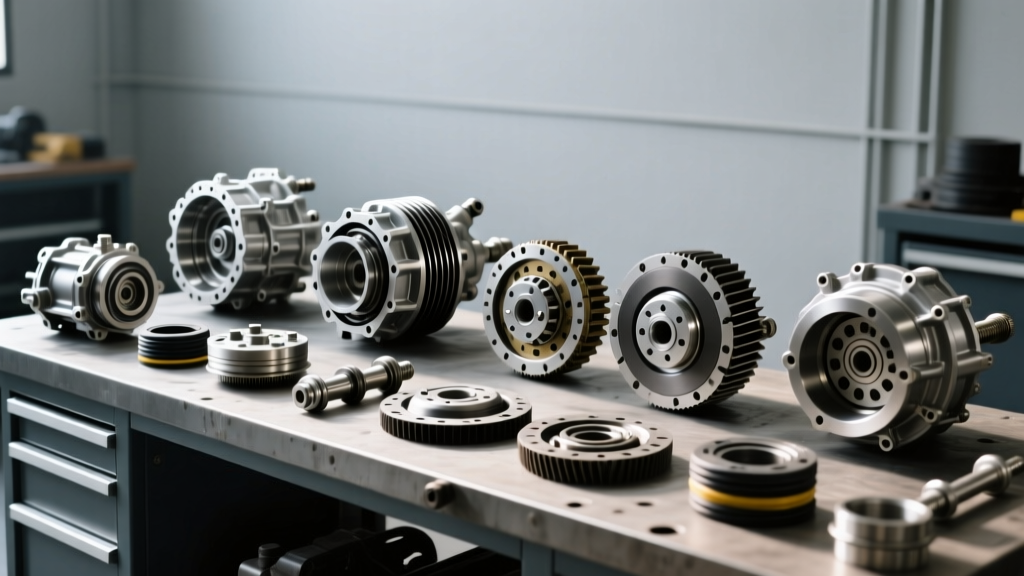
While internet forums and video tutorials offer a glimpse into automatic transmission repair, true mastery is forged on the workbench. Professional transmission rebuild classes emphasize that a successful overhaul is not merely about swapping worn clutches; it is a highly orchestrated sequence of forensic inspection, precision measurement, and exact torque application. Whether you are tackling a GM 6L80, a ZF 8HP, or a Ford 10R80, the bench build procedure dictates the lifespan of the unit.
This step-by-step guide distills the core bench build procedures taught in elite ATSG and manufacturer-certified transmission rebuild classes, focusing on the GM 6L80 as our primary case study. We will also break down the real-world costs of outfitting your bench versus paying for formal tuition, addressing the financial realities of professional-grade transmission repair.
Phase 1: Forensic Teardown and Documentation
In formal training environments, teardown is treated as an autopsy. The goal is not just disassembly, but understanding the root cause of failure before the new parts are even unpacked.
Step 1: External Component Removal and Fluid Analysis
- Fluid Inspection: Before draining, note the fluid condition. A burnt smell with high particulate matter indicates severe clutch degradation, while a milky appearance points to coolant intrusion via the radiator transmission cooler.
- TEHCM Removal: For the 6L80, carefully unbolt the Transmission Electro-Hydraulic Control Module. Inspect the connector pins for micro-corrosion, a common culprit for erratic shift solenoid codes (e.g., P0711 or P0717).
- Case Tagging: Document the specific calibration ID on the TEHCM. Mixing up TEHCM units between different vehicle applications without reprogramming will result in immediate limp-mode upon installation.
Step 2: Pump and Stator Extraction
The oil pump is the heart of the transmission. Using a dedicated pump puller, extract the 6L80 pump assembly. Master builders immediately inspect the stator support shaft splines and the pump slide bore. According to Sonnax technical resources, wear in the pump slide bore is a primary cause of low line pressure and delayed engagements in high-mileage 6L80 units. If scoring is visible to the naked eye or a fingernail catches on the bore wall, the pump housing must be replaced or sleeved.
Phase 2: Ultrasonic Cleaning and Component Validation
One of the most heavily stressed protocols in transmission rebuild classes is the rejection of traditional solvent tanks for valve bodies. Modern electro-hydraulic systems feature micro-valves and sensitive solenoid screens that trap microscopic friction material.
"A solvent tank will clean the outside of a valve body, but it will not dislodge the 5-micron clutch debris trapped inside the solenoid regulator valves. Ultrasonic cleaning is non-negotiable for modern 6-speed and 8-speed units." — Senior Instructor, Automatic Transmission Rebuilders Association (ATRA) seminars.
The Ultrasonic Protocol
- Remove all solenoids, checkballs, and separator plates from the valve body.
- Submerge the bare aluminum valve body casting in an ultrasonic cleaner filled with a specialized, non-corrosive aqueous solution heated to 140°F (60°C).
- Run the ultrasonic cycle for 45 minutes.
- Rinse thoroughly with distilled water, then immediately dry with filtered, oil-free compressed air to prevent flash rusting or water spotting.
Phase 3: Sub-Assembly and Clutch Pack Stroking
This is where the bench build separates the amateurs from the professionals. Assembling clutch packs requires strict adherence to clearance specifications and proper lubrication.
Step 1: Friction and Steel Preparation
Soak all new friction plates in the exact OEM-specified ATF (e.g., Dexron VI for the 6L80) for a minimum of 30 minutes prior to assembly. Never install dry frictions; doing so will cause immediate glazing and failure upon the first high-pressure apply.
Step 2: Air-Testing and Clearance Measurement
Using a dial indicator mounted to a magnetic base, measure the travel of the clutch apply piston. Apply regulated shop air (capped at 40 PSI to prevent seal blowout) to the feed holes to stroke the pack. Measure the total clearance between the backing plate and the retaining snap ring.
| 6L80 Clutch Pack | Target Clearance (Inches) | Target Clearance (mm) | Common Failure Mode if Out of Spec |
|---|---|---|---|
| 1-2-3-4 Clutch | 0.040" - 0.060" | 1.01 - 1.52 mm | Flare shifts on 1-2 upshift; burnt frictions. |
| 3-5-Reverse Clutch | 0.030" - 0.050" | 0.76 - 1.27 mm | Harsh reverse engagement; neutralizing in drive. |
| 4-5-6 Clutch | 0.020" - 0.040" | 0.50 - 1.01 mm | Slipping in 5th/6th gear; high RPM cruising. |
Note: Always refer to the specific ATSG update manual for your exact transmission model year, as wave plate thicknesses and selective backing plates vary by production run.
Phase 4: Final Case Assembly and Torque Sequencing
The final mating of components to the main case requires meticulous attention to torque specifications and fastener stretch. Modern aluminum cases are highly susceptible to thread stripping if over-torqued.
Lubrication and Sealing
Use a high-tack, petroleum-based assembly lube like TransJel or Lubegard BenchMate on all O-rings, lip seals, and bushings. Never use silicone-based RTV on internal transmission seals; a single bead of silicone breaking off and lodging in a valve body orifice will destroy the unit upon startup.
Critical 6L80 Torque Specifications
- Oil Pump to Case (M6 Bolts): 10 Nm (89 lb-in). Tighten in a crisscross pattern to ensure the pump gears do not bind.
- Valve Body to Case (M6 Bolts): 8 Nm (71 lb-in). Over-torquing these bolts will warp the valve body casting, causing cross-leakage between adjacent hydraulic circuits.
- TEHCM to Case: 8 Nm (71 lb-in).
- Extension Housing to Case: 34 Nm (25 lb-ft).
After final assembly, rotate the input shaft by hand. It should spin freely with slight drag from the clutch seals. Any binding or metallic clicking requires immediate teardown to locate the misaligned component or pinched seal.
The Economics of Bench Mastery: Tooling vs. Tuition
Because this guide falls under the rebuild-cost analysis category, it is vital to weigh the financial investment of setting up a professional bench against the cost of attending formal transmission rebuild classes. Both are necessary, but they represent different types of capital allocation.
| Investment Category | Item / Service | Estimated Cost (USD) | ROI / Value Proposition |
|---|---|---|---|
| Bench Tooling | Professional Dial Indicator & Magnetic Base | $150 - $250 | Prevents $3,000+ comebacks from incorrect clutch clearances. |
| Bench Tooling | Ultrasonic Cleaner (2.5 Gallon, Heated) | $180 - $300 | Essential for valve body salvage; saves $400+ per unit in new VB costs. |
| Bench Tooling | Master Spring Compressor & Adapter Set | $400 - $800 | Safety and efficiency; prevents case damage during snap ring removal. |
| Formal Education | ATRA / ATSG Multi-Day Rebuild Seminar | $600 - $1,200 | Provides proprietary updates, TEHCM programming secrets, and networking. |
| Formal Education | OEM-Specific Certification (e.g., ZF, GM) | $1,500 - $3,000+ | Required for dealership-level warranty work and advanced diagnostics. |
As the data from industry publications like Transmission Digest frequently highlights, the shops with the lowest comeback rates are those that invest continuously in both physical bench tooling and ongoing education. A $200 dial indicator pays for itself on the very first 6L80 rebuild by ensuring the 4-5-6 clutch pack clearance is perfectly set, preventing a catastrophic 5th-gear slip that would otherwise require pulling the transmission from the vehicle a second time.
Conclusion
Mastering transmission bench build procedures is a discipline that bridges mechanical aptitude with forensic science. By adopting the rigorous teardown, ultrasonic cleaning, precision measuring, and torque-sequencing protocols taught in top-tier transmission rebuild classes, independent rebuilders and DIY enthusiasts can achieve OEM-level reliability. Whether you are rebuilding a heavy-duty 4L80E or a complex ZF 8HP, respect the bench, trust your measurements, and never compromise on the details.