The Hidden Cost of Transmission Cooler Location
When a puddle of red or brown fluid appears on your driveway, the immediate panic is often followed by a call to the dealership or local mechanic. However, the final invoice you receive is rarely just about the cost of a replacement hose. In modern automotive repair, your transmission cooler location is the single largest variable dictating diagnostic labor hours, accessibility challenges, and ultimately, the total cost of resolving a leak. As we navigate the 2026 repair landscape, where average dealership labor rates have climbed to between $145 and $195 per hour according to AAA's latest auto repair index, understanding how cooler placement affects your wallet is critical for any vehicle owner or fleet manager.
Common Transmission Cooler Locations & Labor Multipliers
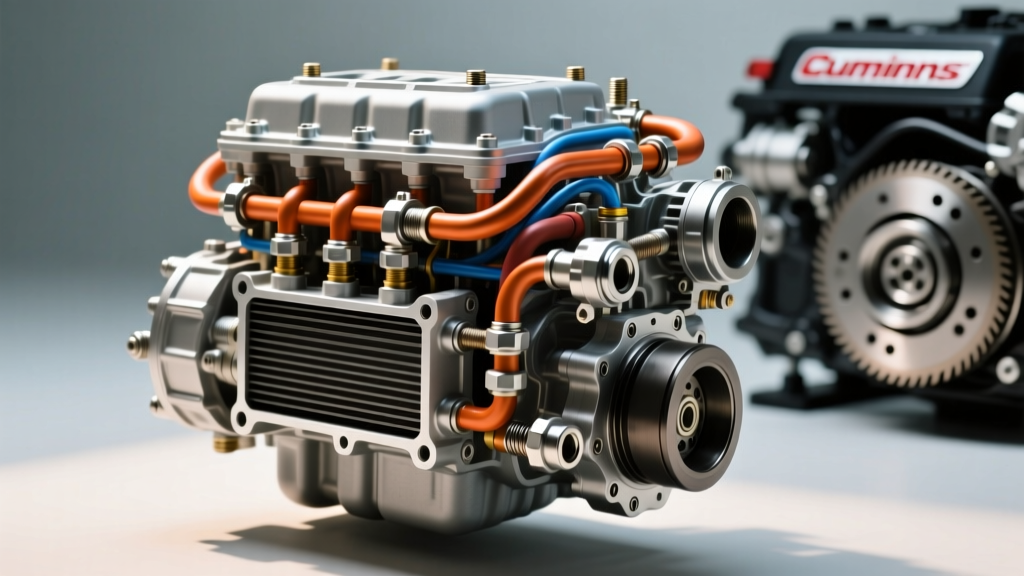
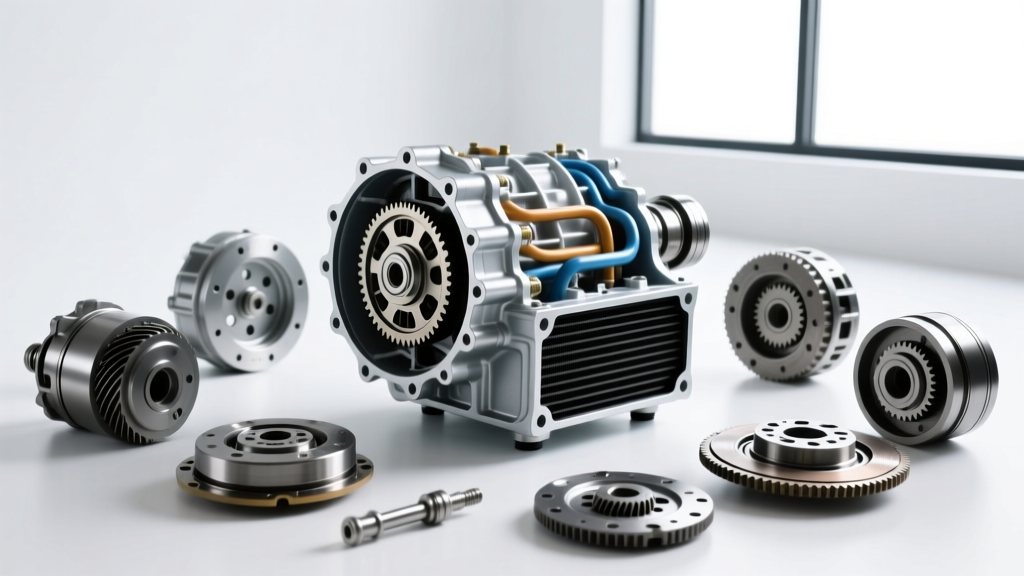
The architecture of transmission cooling systems varies wildly between a standard commuter sedan and a heavy-duty towing rig. The transmission cooler location determines whether a technician can diagnose a leak in thirty minutes with a UV flashlight, or if they must spend three hours removing a front bumper cover, air dam, and intercooler piping just to visually inspect a stacked-plate unit. Let us break down the primary cooler locations and their associated diagnostic labor multipliers.
| Cooler Location | Common Vehicles | Avg Diagnosis Time | Est. Labor Cost |
|---|---|---|---|
| Radiator-Integrated | GM 4L60E, Ford 6R80 | 0.5 - 1.0 Hours | $75 - $195 |
| Front-Mount Auxiliary | HD Trucks, Towing Packages | 1.0 - 1.5 Hours | $150 - $290 |
| Standalone Stacked-Plate | Performance Builds, ZF 8HP Swaps | 1.5 - 2.5 Hours | $225 - $485 |
Radiator-Integrated Coolers
Found in older or lighter-duty applications like the GM 4L60E or Ford 6R80, the transmission fluid cooler is a small heat exchanger located inside the bottom tank of the engine radiator. Diagnosis is relatively straightforward. A technician will typically perform a visual inspection of the radiator end-tanks and the two external rubber-to-metal transition hoses. If the leak is external, labor is minimal. If the leak is internal, diagnosis requires a cooling system pressure test and a transmission fluid analysis to check for coolant cross-contamination.
Front-Mount Auxiliary Coolers
Common on factory towing packages (e.g., GM 6L80/6L90 trucks), these tube-and-fin or plate-and-fin coolers are mounted directly in front of the radiator or AC condenser. While they offer superior thermal management, their location exposes them to road debris, salt, and physical damage. Diagnosing a leak here often requires removing the lower air deflector and sometimes the entire bumper cover to access the line routing and mounting brackets, instantly adding 1.0 to 1.5 hours of labor to the diagnostic ticket.
Standalone Stacked-Plate Coolers
Often seen in performance builds, diesel swaps, or heavy-duty commercial vehicles, these coolers are mounted remotely, sometimes behind the grille or in the wheel well. The plumbing involves long runs of hydraulic hose and AN-fittings. Tracing a leak across 15 feet of braided line routed through frame rails requires meticulous cleaning, UV dye injection, and a road test, pushing diagnostic times well past the two-hour mark.
Step-by-Step Leak Diagnosis: What You Are Actually Paying For
Before a single wrench is turned, professional shops employ specific diagnostic protocols to isolate the leak source. In 2026, guessing is not an option; misdiagnosing a weeping adapter sleeve as a blown cooler line can cost a customer hundreds of dollars in unnecessary parts and labor.
Step 1: Chemical Cleaning and UV Dye Injection
The first step in any reputable shop is to power-wash the undercarriage and engine bay to remove old, oxidized fluid. Once clean, a UV-visible dye is injected into the transmission dipstick tube or fill plug. The vehicle is then driven under load to build internal hydraulic pressure and heat, forcing the dyed fluid past failing O-rings or crimped hose ends. A blacklight inspection reveals the exact origin. This process typically costs $85 to $125 in flat-rate diagnostic fees.
Step 2: Isolated Pressure Testing
If the UV dye is inconclusive—often the case with micro-leaks that only occur at operating temperatures of 190°F or higher—technicians will use a dedicated transmission cooler line pressure tester. By capping the transmission output ports and applying regulated shop air or hydraulic pressure to the cooler circuit, they can force a leak without running the engine. This isolates the cooler and lines from the valve body and torque converter, ensuring the leak is strictly in the cooling circuit.
Step 3: The 'Strawberry Milkshake' Coolant Test
For vehicles with radiator-integrated coolers, technicians will pull the transmission dipstick or remove the fill plug to check for a milky, pink emulsion. If coolant has breached the internal radiator tank and entered the transmission, the diagnosis is immediate: the radiator is condemned, and a full transmission flush and filter service is mandatory to prevent catastrophic clutch pack failure.
Real-World Cost Breakdown by Transmission Model
To illustrate how transmission cooler location and specific transmission architectures impact your final bill, we have analyzed three of the most common transmissions on the road today, factoring in current OEM part pricing from RockAuto and 2026 labor averages.
GM 6L80 and 6L90 (Silverado, Sierra, Camaro SS)
The 6L80 utilizes an external auxiliary cooler routed via metal lines that transition to rubber hoses near the transmission case. These rubber-to-metal crimp connections and the quick-disconnect fittings at the transmission housing are notorious failure points. The quick-connect fittings rely on internal O-rings that harden and crack after years of thermal cycling. Diagnosis usually takes 1.0 hour. If the quick-connect is the culprit, the OEM ACDelco cooler line kit costs roughly $65 to $90. Labor to swap the lines and refill the lost Dexron VI fluid (approx. $9 per quart) brings the total repair to roughly $350 to $500. When reinstalling, the quick-connect line fittings must be torqued to exactly 27 Nm (20 lb-ft) to prevent case stripping. However, if the metal lines have corroded where they pass over the exhaust crossover, the labor time doubles due to the need to lower the exhaust system for clearance.
ZF 8HP (Ram 1500, BMW, Audi, Jaguar)
The ZF 8-speed is a masterpiece of engineering, but it features a notorious diagnostic trap. The transmission cooler lines connect to the transmission via a plastic Mechatronic sealing sleeve located at the rear of the case. Over time, the plastic degrades and the integrated O-rings flatten, causing fluid to weep down the back of the transmission pan and pool on the ground. Inexperienced mechanics often misdiagnose this as a cooler line leak or a pan gasket failure, leading to unnecessary line replacements or pan drops. The actual fix is the ZF sealing sleeve (OEM part number 68004393AB or equivalent), which costs under $40. Diagnosis requires removing the fill plug and using a mirror and light to inspect the sleeve above the pan. Proper diagnosis saves the customer from an $800 line replacement bill, reducing the actual repair to about $250 in labor and parts. Note that dropping the pan on a ZF 8HP requires replacing the integrated plastic pan and filter assembly (approx. $180) and refilling with expensive ZF LifeguardFluid 8, which can cost upwards of $25 per quart at the dealership. If the pan is dropped, the new pan bolts must be torqued to 10 Nm plus a 45-degree turn.
GM 4L60E (Older Silverado, Tahoe, Corvette)
As mentioned, the 4L60E typically relies on a radiator-integrated cooler. The primary failure mode here is not the external lines, but the cracking of the plastic radiator end-tanks or the failure of the internal brazing. When this fails, you do not just have a leak; you have cross-contamination. Diagnosing this takes less than an hour, but the repair is catastrophic. A replacement Denso radiator costs around $130, but the mandatory transmission flush, multiple filter changes, and potential torque converter replacement to remove trapped coolant can push the invoice past $1,500. Preventative maintenance, such as replacing the radiator at the 100,000-mile mark, is highly recommended to avoid this 'strawberry milkshake' tax.
DIY vs. Professional Diagnosis: Is the Savings Worth It?
Many enthusiasts attempt to diagnose and repair transmission cooler leaks in their driveways to avoid the $150+ hourly shop rates. While replacing a simple rubber hose section is well within the capabilities of a weekend wrench, modern quick-connect fittings and stacked-plate AN-lines require specialized tools. For example, disconnecting the quick-connects on a Ford 10R80 or GM 6L80 requires specific master-disconnect tool sets to avoid snapping the brittle aluminum transmission case ports. Furthermore, properly bleeding the cooling circuit after a repair is critical. Air pockets in the cooler lines can lead to delayed fluid circulation, causing immediate overheating and clutch glazing upon the first test drive. If you lack a transmission fluid exchange machine or the patience to perform multiple manual top-off cycles, professional diagnosis and repair remain the most cost-effective route.
Preventative Measures and Final Thoughts
Ultimately, the cost to diagnose a transmission cooler leak is inextricably linked to where that cooler lives on your vehicle. A front-mounted auxiliary cooler on a heavy-duty truck will always demand more labor to access than a simple radiator loop on a commuter sedan. By understanding the specific failure points of your transmission—whether it is the quick-connects on a 6L80, the Mechatronic sleeve on a ZF 8HP, or the radiator tanks on a 4L60E—you can have an informed conversation with your service advisor. Always insist on a UV dye test and a clear explanation of the leak's origin before authorizing any parts replacement. For more technical specifications and fluid capacity charts, consult the ZF Aftermarket technical bulletins or your vehicle's specific factory service manual.