Why Your 4Runner Demands Timely Differential Service
The Toyota 4Runner is legendary for its longevity, often surpassing 300,000 miles with basic maintenance. However, the drivetrain's unsung heroes—the front and rear differentials—are frequently neglected. As of 2026, the oldest 5th-generation 4Runners (2010-2024) are pushing 16 years of age. Even if your odometer is low, factory-filled gear oil degrades over time, losing its shear stability and extreme-pressure (EP) additive efficacy. Whether you are daily driving a 2021 TRD Pro or wheeling a 2015 Trail Edition, executing a proper Toyota 4Runner differential fluid change is critical to prevent catastrophic ring and pinion gear failure.
In this comprehensive guide, we will walk through the exact procedures, fluid specifications, and torque values required to service both the 8-inch rear solid axle and the reverse-rotation Independent Front Suspension (IFS) differential.
Factory vs. Real-World Service Intervals
If you consult the official Toyota Owners Portal, the factory maintenance schedule typically recommends inspecting the differential gear oil every 15,000 miles and replacing it only every 60,000 miles under 'normal' driving conditions. However, 'normal' is a myth for most 4Runner owners.
Severe Driving Intervals (The Expert Recommendation):
- Every 30,000 miles: If you tow trailers, carry heavy roof-top tent loads, or drive in stop-and-go mountainous terrain.
- Every 15,000 miles: If you frequently submerge your axles in water during off-road trail runs. Water ingestion through the axle breather tubes emulsifies gear oil, turning it into a milky, ineffective sludge that will quickly destroy pinion bearings.
Sourcing the Right Gear Oil and Parts
Choosing the correct fluid is paramount. The 5th-generation 4Runner requires API GL-5 certified gear oil. While Toyota sells their own OEM 75W-85 fluid, high-quality synthetic 75W-90 alternatives like AMSOIL Severe Gear or Mobil 1 Synthetic offer superior thermal stability and shear resistance under heavy loads.
CRITICAL E-LOCKER WARNING: If your 4Runner is equipped with the rear electronic locking differential (standard on TRD Off-Road and Trail models), you must NOT use gear oil containing friction modifiers, nor should you add aftermarket LSD friction modifier additives (like Ford XL-3). The Toyota e-locker relies on a mechanical dog-clutch engagement, not clutch packs. Friction modifiers can cause the e-locker mechanism to slip or fail to engage entirely.
Fluid Capacities and Specifications Chart
| Component | Capacity | Viscosity / Spec | Friction Modifier? |
|---|---|---|---|
| Rear Differential (Open) | 3.3 L (3.5 qt) | API GL-5 SAE 75W-90 | No |
| Rear Differential (E-Locker) | 3.3 L (3.5 qt) | API GL-5 SAE 75W-90 | NO (Strictly Prohibited) |
| Front Differential (IFS) | 1.3 L (1.4 qt) | API GL-5 SAE 75W-90 | No |
Note: Always purchase at least 5 quarts to account for spillage and the fluid pump's pickup tube dead-space.
Step-by-Step Rear Differential Fluid Replacement
The rear axle on the 5th Gen 4Runner is a robust 8-inch ring gear assembly. The fill and drain plugs are located on the differential carrier housing (the pumpkin), not on the axle tubes.
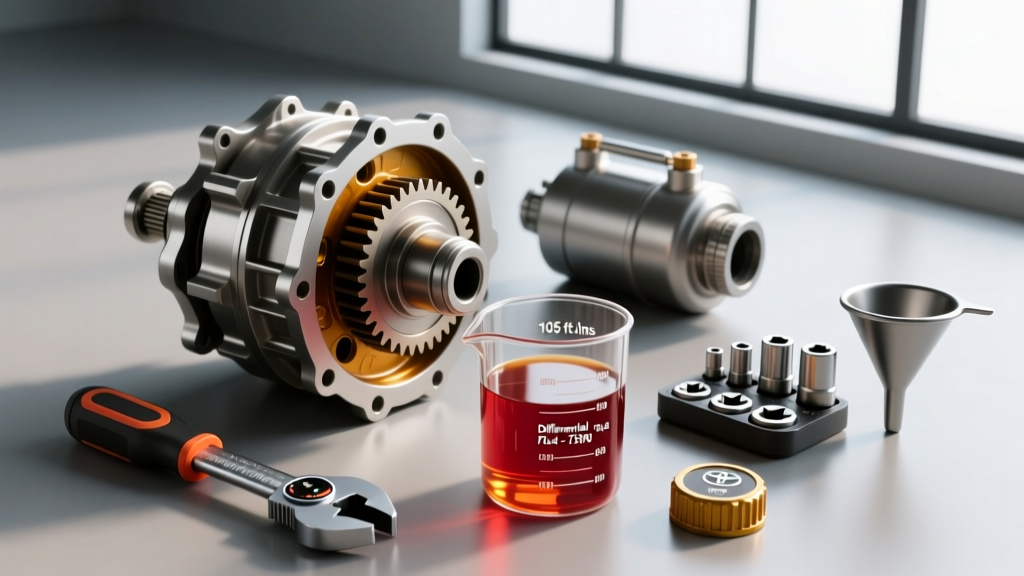
Tools Required: 10mm hex socket (or 24mm socket depending on model year), torque wrench, fluid transfer pump, drain pan, nitrile gloves, and new aluminum crush washers.
- Prep the Vehicle: Park on a level surface. Engage the parking brake and chock the front wheels. You do not necessarily need to lift the rear end unless you lack clearance for your drain pan.
- Remove the FILL Plug First: This is the golden rule of differential service. Use your 10mm hex bit to break loose the upper fill plug. If the drain plug strips or you lack the tools to remove it, you want to know before you drain the fluid and strand the vehicle.
- Drain the Old Fluid: Position your catch pan and remove the lower drain plug. Allow the fluid to drain completely. Inspect the drain plug magnet; a fine metallic paste is normal, but large metal flakes or chunks indicate internal gear or bearing failure.
- Clean and Prep Plugs: Wipe the magnet clean with a lint-free rag. Replace the aluminum crush washers on both the fill and drain plugs to prevent future weeping.
- Reinstall the Drain Plug: Thread it in by hand to avoid cross-threading, then torque to 59 ft-lbs (80 Nm).
- Pump in New Fluid: Attach your fluid transfer pump to the 75W-90 bottle and feed the hose into the fill hole. Pump in approximately 3.5 quarts until the fluid begins to trickle out of the bottom lip of the fill hole.
- Reinstall the Fill Plug: Quickly thread the fill plug back in and torque to 59 ft-lbs (80 Nm).
Step-by-Step Front Differential (IFS) Service
The front differential is integrated into the IFS assembly and is significantly more cramped. Because it is a reverse-rotation design, the fluid sits higher in the housing relative to the fill plug, making it prone to spilling if overfilled.
Tools Required: 12mm socket (or 10mm hex), torque wrench, fluid pump with a long extension hose, rags.
- Access the Plugs: Crawl under the front driver's side. The front differential fill and drain plugs are located on the front-facing side of the IFS carrier. You may need to remove the plastic skid plate or splash guard (typically held on by 10mm bolts and plastic clips) for clear access.
- Break the Fill Plug Loose: Use a 12mm socket or 10mm hex to loosen the upper fill plug.
- Drain the Assembly: Remove the lower drain plug. The front diff only holds about 1.4 quarts, so it will drain relatively quickly. Inspect the magnet for debris.
- Reinstall Drain Plug: Clean the plug, install a new crush washer, and torque to 29 ft-lbs (39 Nm). Note that the front diff requires significantly less torque than the rear.
- Fill the Differential: Due to the tight clearance, a standard fluid pump might not reach. Use a pump with a flexible extension hose. Pump in 1.4 quarts of 75W-90 GL-5 gear oil. Stop when the fluid reaches the bottom edge of the fill hole threads.
- Seal the Fill Plug: Install the fill plug with a new crush washer and torque to 29 ft-lbs (39 Nm).
Torque Specifications Checklist
Keep this reference handy to ensure you do not overtighten and strip the aluminum carrier threads, a common and costly mistake among novice DIYers.
- Rear Drain Plug: 59 ft-lbs (80 Nm)
- Rear Fill Plug: 59 ft-lbs (80 Nm)
- Front Drain Plug: 29 ft-lbs (39 Nm)
- Front Fill Plug: 29 ft-lbs (39 Nm)
Troubleshooting Post-Service Whine and Leaks
After completing your Toyota 4Runner differential fluid change, it is normal to detect a faint sulfur smell from the gear oil as it cures off the hot exhaust components during your test drive. However, you should monitor the drivetrain closely for the first 50 miles.
Dealing with Gear Whine:
If you experience a new, high-pitched whine that correlates with vehicle speed (not engine RPM), the differential may be slightly under-filled, or the fluid you chose lacks the necessary EP additives for the worn gear pattern. Verify the fluid level is exactly at the bottom of the fill hole. If the whine persists, consult the experts at IH8MUD or a local drivetrain specialist, as this can indicate pre-existing ring and pinion wear that the thicker, older fluid was masking.
Addressing Leaks:
If you spot 75W-90 weeping from the plug sites, you likely reused the old crush washers or overtightened the plug, distorting the aluminum threads. Back the plug out, inspect the threads for galling, apply a new OEM aluminum crush washer (Toyota Part #90430-12003 for 12mm plugs), and re-torque to spec. Never use Teflon tape on differential plugs, as torn tape debris can circulate and clog the internal oil galleries or jam the e-locker actuator fork.
By adhering to this severe-duty maintenance schedule and utilizing the correct API GL-5 synthetic lubricants, your 4Runner's axles will remain bulletproof, ready to tackle both the daily commute and the most punishing off-road trails for hundreds of thousands of miles to come.