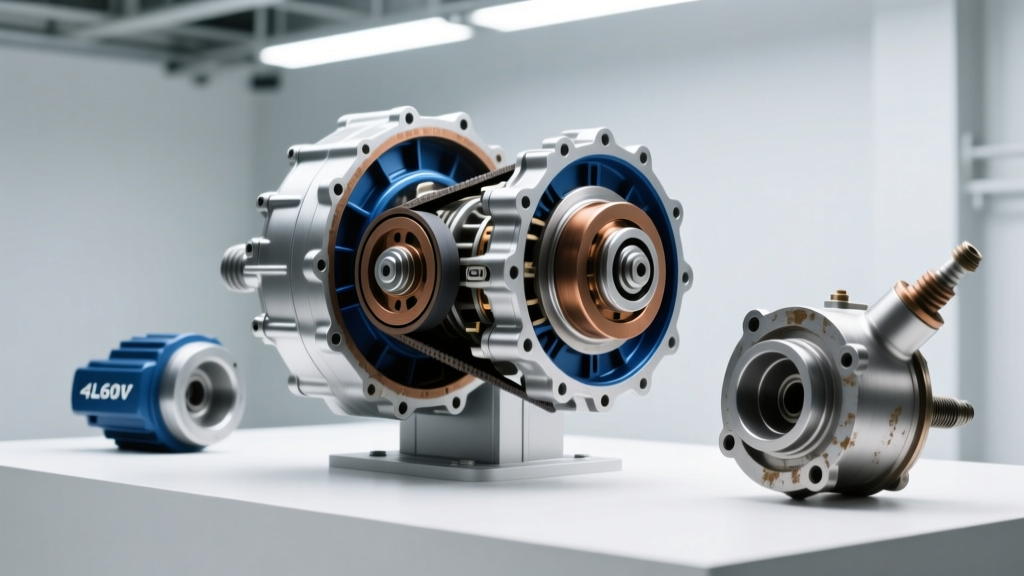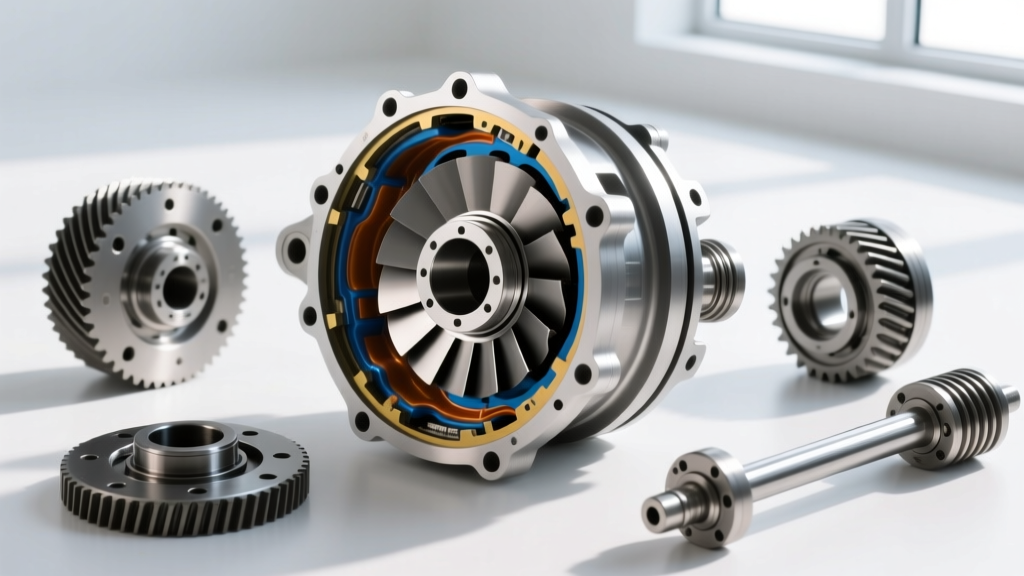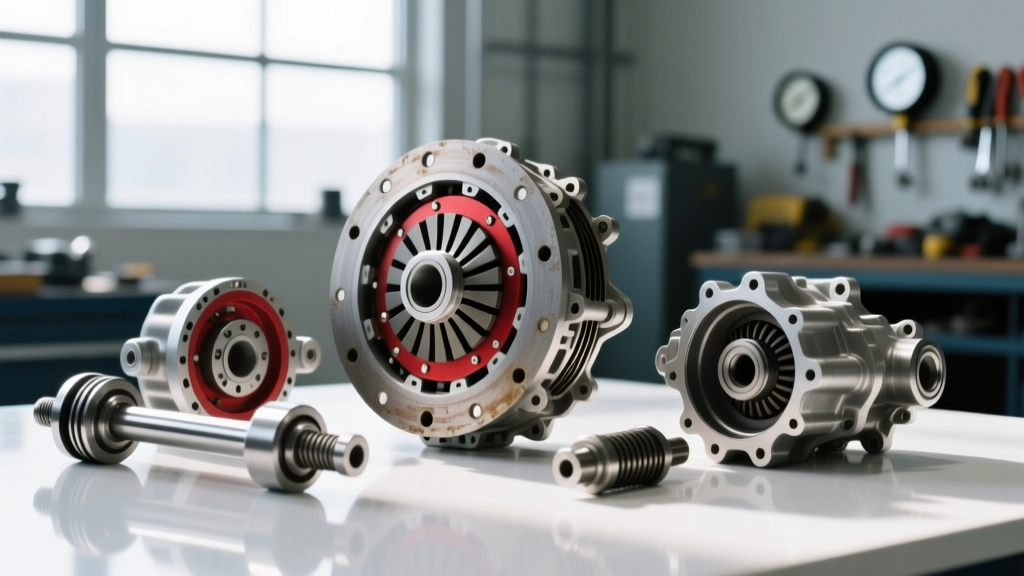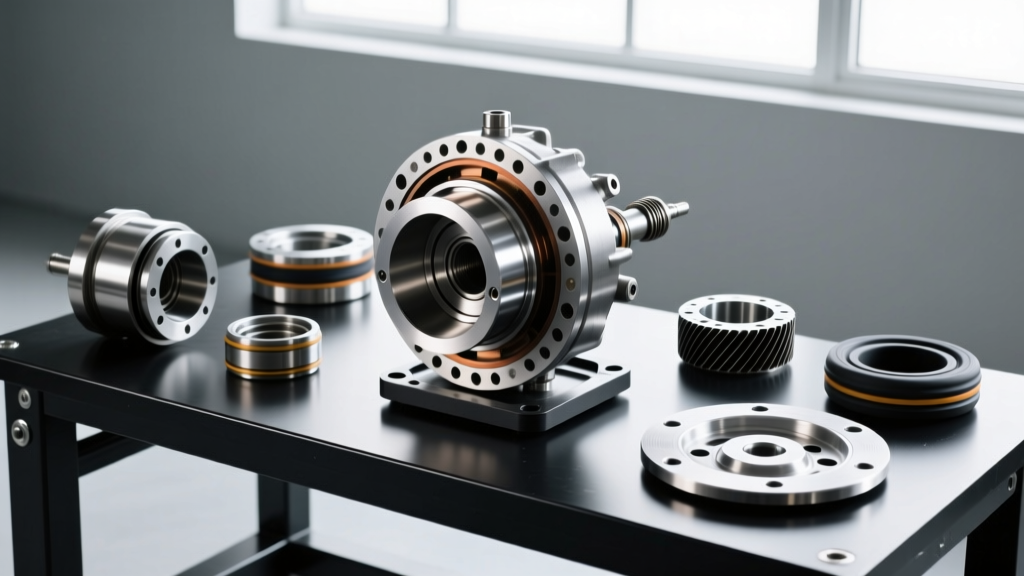
The TH400 and the 2500 RPM Stall Sweet Spot
The General Motors Turbo-Hydramatic 400 (TH400) remains one of the most robust and revered three-speed automatic transmissions ever engineered. Whether you are building a dedicated drag car, a heavy-duty tow rig, or a street/strip weekend warrior, upgrading from a stock 1600-1800 RPM stall to a TH400 torque converter 2500 stall is often the single most transformative modification you can make. A 2500 RPM flash stall allows engines with aggressive camshafts (typically 220-240 degrees of duration at 0.050) to bypass the sluggish, off-boost, or low-torque portion of the powerband, launching the vehicle directly into the meat of the torque curve.
However, installing a high-performance torque converter into a TH400 is not a simple 'drop-in' procedure. The TH400 relies on precise clearances, specific pilot engagements, and exact flexplate alignments. A mistake during the installation of a billet-cover 2500 stall converter (such as the popular TCI StreetFighter Part #112500 or Circle D Specialties equivalents, which currently retail between $450 and $650 in 2026) will result in catastrophic pump failure, destroyed crank thrust bearings, or severe driveline shudder. This model-specific repair guide details the exact procedures, tolerances, and torque specifications required for a flawless TH400 torque converter replacement.
Pre-Installation: Block, Crank, and Flexplate Preparation
Before the transmission is even mated to the engine block, you must verify the physical interface between the engine and the torque converter. Unlike many modern transmissions where the converter pilot rides in a bearing, the TH400 converter pilot rides directly inside the machined bore of the engine crankshaft.
Crank Pilot Bore Inspection and Chamfering
The pilot diameter of a standard TH400 torque converter is exactly 1.703 inches. You must measure the inner diameter of your crankshaft pilot bore using a dial bore gauge. It should measure between 1.703' and 1.705'. More critically, the leading edge of the crank bore must be chamfered. If the machinist left a sharp 90-degree edge on the crank bore, it will act as a blade, peeling the outer surface of the torque converter pilot as it slides in. This causes binding, which pushes the converter forward, eliminating your flexplate clearance and ultimately crushing the transmission pump. Use a die grinder or a specialized chamfering tool to bevel the edge of the crank bore by at least 0.030'.
Flexplate Runout and Dowel Alignment
Using a dial indicator mounted to the engine block, measure the runout of the flexplate. Total Indicated Runout (TIR) must not exceed 0.020'. Excessive runout will cause the torque converter pads to bind against the flexplate, leading to cyclical loading on the crankshaft thrust bearing and severe torque converter shudder at highway speeds. Furthermore, ensure the engine block dowel pins are perfectly concentric. The TH400 bellhousing relies on these dowels for alignment; if the transmission is offset by even 0.010', the pump drive hub will wear an oblong hole into the stator support.
The Core Procedure: Seating the Converter into the TH400
The most common cause of immediate TH400 failure after a torque converter swap is failing to fully seat the converter into the transmission pump. According to Bowtie Overdrives TH400 technical documentation, the converter must engage three distinct internal components. You must physically feel and hear three distinct 'clunks' as you slide the converter into the bellhousing.
- First Clunk (Stator Support): The inner hub of the converter slides over the stator support shaft.
- Second Clunk (Pump Drive Gear): The converter's drive hub (which features flats or splines depending on the year) engages the inner pump gear.
- Third Clunk (Turbine Hub): The turbine splines fully mesh with the transmission input shaft.
If you only feel one or two clunks, the converter is hanging on the pump gear. If you bolt the transmission to the engine block in this state, the bellhousing bolts will pull the transmission forward, forcing the converter into the pump. The moment you fire the engine, the pump gear will shatter, sending metal shards throughout the entire TH400 valve body and clutch pack assembly.
The Pre-Fill Debate: To Fill or Not to Fill?
While modern sealed units often discourage pre-filling, the TH400 benefits immensely from it. Before seating the converter, pour exactly 1.5 to 2.0 quarts of your chosen ATF directly into the converter's center hub. This prevents the pump from cavitating and running dry during the critical first 5 seconds of initial startup, protecting the pump gears and stator support bushing from immediate scuffing.
Critical Clearances: Flexplate to Converter Pad Gap
Once the transmission is bolted to the engine block (using the bellhousing bolts, not the converter-to-flexplate bolts), you must measure the gap between the torque converter mounting pads and the flexplate. This is the most critical measurement in the entire replacement procedure. As detailed in the Summit Racing Torque Converter Installation Guide, improper gap clearance will destroy your engine or transmission.
| Measurement Gap | Status | Consequence of Improper Spec |
|---|---|---|
| 0.000' (Zero Gap / Tight) | Critical Failure | Converter bottoms out in crank pilot. Pushes forward, crushing the pump gear and stator support upon startup. |
| 0.062' to 0.125' (1/16' to 1/8') | Borderline / Risky | Thermal expansion may cause binding at operating temperature. Not recommended for high-stall units. |
| 0.125' to 0.187' (1/8' to 3/16') | Ideal Specification | Provides adequate clearance for thermal expansion, fluid pressure ballooning, and crank end-play. |
| 0.250'+ (Greater than 1/4') | Critical Failure | Flexplate must dish forward to meet the converter. Causes cyclic stress, flexplate cracking, and crank thrust bearing failure. |
How to Correct the Gap: If the gap is too tight (less than 1/8'), do not simply use longer bolts and pull the flexplate to the converter. You must remove the transmission and either machine the converter pads down or install a precision-ground flexplate spacer ring between the crank and the flexplate. If the gap is too wide, you must use hardened steel shims between the converter pads and the flexplate, ensuring you use correspondingly longer, high-strength mounting bolts.
Fastener Selection and Torque Specifications
The TH400 utilizes a standard GM 3-bolt torque converter pattern. Never use standard hardware store bolts to secure a 2500 stall torque converter. The rotational shock and stall multiplication forces require high-tensile fasteners. Use Grade 8 (yellow zinc) or ARP (chrome-moly) bolts, typically sized 3/8'-24 UNF. Apply a medium-strength threadlocker (such as Loctite 243) to the threads to prevent backing out due to harmonic vibration.
| Component | Fastener Size | Torque Specification | Notes |
|---|---|---|---|
| Transmission to Engine Block (Bellhousing) | 1/2'-13 UNC | 35 - 45 lb-ft | Ensure dowel pins are seated fully before tightening. |
| Flexplate to Crankshaft | 7/16'-20 UNF | 60 - 75 lb-ft | Use red threadlocker on OEM bolts; follow ARP specs for aftermarket. |
| Torque Converter to Flexplate | 3/8'-24 UNF | 28 - 32 lb-ft | Apply Loctite 243. Torque in a star pattern to avoid flexplate warping. |
Fluid Fill, Priming, and First Startup Protocol
The TH400 system, when equipped with a deep cast-aluminum pan and a new, larger-diameter 2500 stall converter, will require between 11 and 13 quarts of fluid. For 2026 builds, we strictly recommend using a high-quality synthetic Dexron VI compatible fluid, such as Mobil 1 Synthetic ATF or Red Line D4. Dexron VI offers superior shear stability compared to the obsolete Dexron III, which is vital for managing the increased heat generated by a 2500 RPM stall converter during street driving.
The Startup Sequence
Do not simply start the engine and rev it. Follow this exact priming procedure to save your transmission:
- Disconnect the ignition system (or pull the fuel pump relay) and crank the engine in 10-second bursts to allow the mechanical pump to draw fluid from the pan and push it into the converter and cooler lines.
- Reconnect the ignition and start the engine. Immediately verify that the transmission is in Neutral or Park.
- Allow the engine to idle at 800-900 RPM. Listen closely to the bellhousing area. A high-pitched 'whine' indicates pump cavitation (starvation). If you hear this, shut the engine off immediately, add more fluid, and wait for it to settle.
- With the engine idling and the parking brake firmly applied, slowly cycle the shifter through every gear position (P-R-N-D-L), pausing for 5 seconds in each. This fills the TH400's direct clutch, forward clutch, and servo accumulators.
- Recheck the fluid level with the engine idling and the transmission at operating temperature. The fluid should be precisely at the 'Full Hot' mark on the dipstick.
By adhering to these exact clearances, torque specifications, and priming protocols, your TH400 torque converter 2500 stall upgrade will deliver immediate, brutal acceleration while maintaining the legendary reliability that the Turbo-Hydramatic 400 is famous for.