Introduction: Routine Maintenance or Impending Failure?
The Toyota Tacoma is renowned for its drivetrain durability, but even the most robust axles require meticulous care. For most owners, a Toyota Tacoma differential fluid change is a routine maintenance item scheduled every 30,000 to 60,000 miles. However, draining the gear oil often serves as a critical diagnostic window into the health of your ring and pinion. As of 2026, with a massive number of 2nd and 3rd generation Tacomas logging heavy off-road and towing miles, the line between a simple fluid swap and a complete differential rebuild is frequently crossed.
This comprehensive guide bridges the gap between standard fluid maintenance and advanced differential rebuild procedures. We will walk through the diagnostic drain process, analyze gear oil debris, and provide a master-level, step-by-step teardown and setup procedure for the Toyota 8.0-inch front dropout (3rd member) differential.
Step 1: Performing the Diagnostic Fluid Drain
Before committing to a rebuild, you must execute a proper fluid change and inspection. The front differential on a 3rd Gen Tacoma (2016-2023) requires approximately 1.5 liters (1.6 quarts) of 75W-85 GL-5 gear oil. Toyota recommends their Genuine Hypoid Gear Oil SX (Part #08885-81080), though high-quality synthetics like Amsoil Severe Gear 75W-90 are excellent alternatives for severe-duty applications.
The Golden Rule: Fill Plug First
Never remove the drain plug before verifying that the fill plug can be loosened. Both plugs typically require a 24mm socket or a 10mm hex bit. If the fill plug is seized due to galvanic corrosion and you drain the housing, the vehicle is undrivable until the housing is removed or the plug is destructively extracted.
- Prep: Warm the differential by driving for 15 minutes. This suspends metallic particulates in the oil.
- Remove Fill Plug: Located on the passenger side of the front dropout housing or the rear clamshell.
- Remove Drain Plug: Note the condition of the magnetic tip immediately.
- Reseal: Torque both plugs to 29 lb-ft (39 Nm). Do not overtighten, as the aluminum housings strip easily.
Step 2: Analyzing the Gear Oil Debris
The magnetic drain plug tells the story of your differential's internal friction. Use this diagnostic matrix to determine your next steps:
- Fine Grey Paste: Normal wear. The ring and pinion are bedding in or experiencing standard operational friction. Proceed with a standard fluid fill.
- Glitter/Metallic Flake: Indicates accelerated bearing wear or ring gear surface spalling. Monitor closely; a rebuild is approaching within 10,000 miles.
- Needle-like Shards or Chunks: Catastrophic failure. A pinion bearing cage has likely disintegrated, or a gear tooth has sheared. A fluid change will not save this axle. A full differential rebuild is mandatory.
Expert Insight: If your Tacoma exhibits a rotational 'howl' on deceleration (coast side whine), the pinion bearing preload has likely collapsed, allowing the pinion gear to deflect away from the ring gear under load. Fresh 75W-90 fluid will not mask this mechanical deflection.
Step 3: Toyota 8.0-Inch Dropout Rebuild Procedures
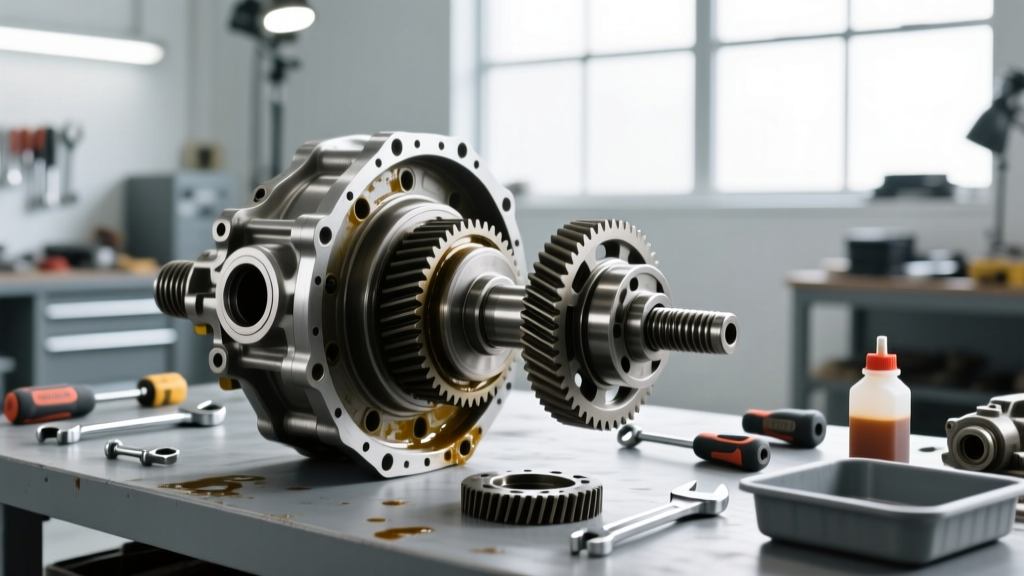
When the drain plug reveals chunks of steel, it is time to rebuild. We will focus on the front 8.0-inch dropout (often called the 3rd member), as it is a serviceable, shim-adjusted unit that requires precision setup. For authoritative setup data, many technicians reference Marlin Crawler's Technical Archives and Yukon Gear & Axle installation guides.
Phase A: Teardown and Component Extraction
- Remove the 3rd Member: Unbolt the 12mm perimeter nuts securing the dropout to the axle housing. Use a dead-blow hammer to break the RTV seal.
- Mark the Bearing Caps: Before removing the carrier bearing caps, use a center punch to mark the left and right caps. They are line-bored from the factory and are not interchangeable.
- Extract the Carrier: Use a differential spreader tool or pry bars (with extreme caution) to pop the carrier assembly out of the housing.
- Remove the Pinion: Unstake and remove the pinion nut. Use a puller to extract the pinion gear from the housing. Note the pinion head shim thickness.
Phase B: Pinion Depth and Bearing Preload
Pinion depth dictates how deeply the pinion gear meshes into the ring gear's centerline. Toyota stamps a deviation code on the pinion head (e.g., '+1', '-2', '0'). This code indicates the variance in thousandths of an inch from the nominal pinion depth setting. You must use a pinion depth gauge tool to measure and select the correct shim that sits behind the inner pinion bearing race.
The Crush Sleeve Dilemma: OEM differentials use a crush sleeve to establish pinion bearing preload. While cheap to manufacture, crush sleeves are prone to fatigue under heavy off-road impacts. During a 2026-era rebuild, it is highly recommended to machine the pinion spacer and install a Solid Spacer Shim Kit. This eliminates the variable of sleeve crush and allows you to set exact bearing preload via shims.
- Target Pinion Preload (New Bearings): 9 to 14 in-lb (1.0 - 1.6 Nm) of rolling resistance.
- Target Pinion Preload (Used Bearings): 4 to 7 in-lb (0.5 - 0.8 Nm).
Phase C: Carrier Setup, Backlash, and Pattern Reading
Once the pinion is set, install the ring gear onto the carrier using new ring gear bolts. Apply red Loctite 271 and torque to 58 lb-ft in a star pattern. Install the carrier bearings and press them into the dropout housing using side shims to adjust backlash and carrier bearing preload.
Setting Backlash
Mount a dial indicator on the housing with the plunger resting on the drive side of a ring gear tooth. Rotate the carrier back and forth while holding the pinion stationary.
- Target Backlash: 0.0051" to 0.0071" (0.13 - 0.18 mm).
- Adjustment: To increase backlash, move the carrier away from the pinion (thicker shim on the left, thinner on the right). To decrease, move it closer.
Reading the Contact Pattern
Apply a thin layer of Prussian Blue or yellow gear marking compound to 4-5 ring gear teeth. Apply drag to the carrier (using a rag or brake caliper tension) and rotate the pinion through the marked teeth in both drive and coast directions.
- Ideal Pattern: Centered vertically on the tooth face, slightly biased toward the toe (the inner edge of the ring gear).
- Too Deep (Pinion too close): Pattern shifts toward the root of the tooth. Fix: Decrease pinion depth shim.
- Too Shallow (Pinion too far): Pattern shifts toward the top land of the tooth. Fix: Increase pinion depth shim.
Setup Data and Torque Specifications Table
| Parameter | Specification / Measurement | Notes |
|---|---|---|
| Ring Gear Backlash | 0.0051" - 0.0071" (0.13 - 0.18 mm) | Measure at 3 equidistant points on the ring gear |
| Ring Gear Runout | Max 0.002" (0.05 mm) | Indicates warped carrier or improper ring gear mounting |
| Pinion Bearing Preload (New) | 9 - 14 in-lb (1.0 - 1.6 Nm) | Measured via beam-style inch-pound torque wrench |
| Pinion Bearing Preload (Used) | 4 - 7 in-lb (0.5 - 0.8 Nm) | Reusing bearings requires less preload |
| Ring Gear Bolt Torque | 58 lb-ft (78 Nm) | Must use Red Loctite 271; replace bolts if stretched |
| Bearing Cap Bolt Torque | 58 lb-ft (78 Nm) | Verify cap alignment marks before torquing |
Cost Breakdown: Maintenance vs. Rebuild
Understanding the financial commitment helps owners decide whether to rebuild, replace with a remanufactured unit, or scrap the vehicle. Below is a realistic 2026 market estimate for Toyota Tacoma front differential services.
| Service Type | Parts Cost | Labor Cost (Shop) | Total Estimated Cost |
|---|---|---|---|
| Routine Fluid Change (DIY) | $35 - $60 | $0 | $35 - $60 |
| Fluid Change (Dealership) | $40 | $80 - $120 | $120 - $160 |
| Full Rebuild (Master Kit + Labor) | $350 - $600 | $800 - $1,200 | $1,150 - $1,800 |
| Remanufactured 3rd Member Swap | $1,200 - $1,800 | $300 - $450 | $1,500 - $2,250 |
Conclusion
A Toyota Tacoma differential fluid change is much more than a drain-and-fill exercise; it is a vital health check for your drivetrain. By paying close attention to the magnetic drain plug and understanding the acoustic symptoms of gear wear, you can intercept minor issues before they cascade into catastrophic axle failure. When a rebuild is necessary, abandoning the OEM crush sleeve in favor of solid spacers, and meticulously verifying pinion depth and backlash with precision instruments, will ensure your Tacoma's differential survives the most punishing trails and highway miles for another 200,000 miles.