The GMT800 platform remains one of the most capable truck architectures on the road, but approaching the 150,000-mile mark inevitably exposes vulnerabilities in the drivetrain. Pinion weeps, axle seal failures, and bearing howl are common afflictions for the GM 8.625-inch 10-bolt and AAM 10.5-inch 14-bolt axles. Addressing these issues requires more than just swapping rubber; it demands a meticulous understanding of bearing preload, seal geometry, and precise fluid volume metrics.
The Teardown: Axle Identification and Fluid Metrics
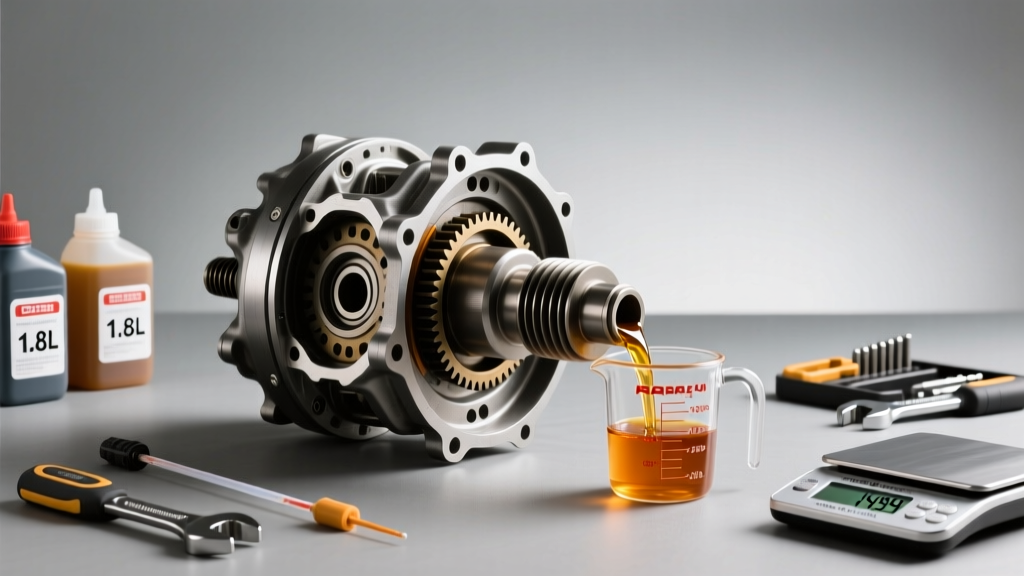
Before unbolting the differential cover, you must definitively identify your axle. The 2000 Silverado 1500 typically houses the GM 8.625-inch 10-bolt semi-floating axle, while the 2500HD variants utilize the robust AAM 10.5-inch 14-bolt. When planning a seal or bearing overhaul, determining the exact 2000 Silverado rear differential fluid capacity is non-negotiable to prevent catastrophic gear starvation upon reassembly.
A common mistake among novice DIYers is overfilling the differential, which leads to fluid aeration, overheating, and blown seals due to internal pressure buildup. Conversely, underfilling starves the pinion bearings. Below is the definitive capacity and lubricant matrix for the GMT800 rear axles.
| Axle Type | Ring Gear Size | Fluid Capacity | Recommended Lubricant |
|---|---|---|---|
| GM 10-Bolt (1500) | 8.625" | 2.2 Quarts (2.1L) | 75W-90 Synthetic GL-5 |
| AAM 14-Bolt (2500HD) | 10.5" | 2.75 Quarts (2.6L) | 75W-90 Synthetic GL-5 |
The G80 Locker Friction Modifier Myth
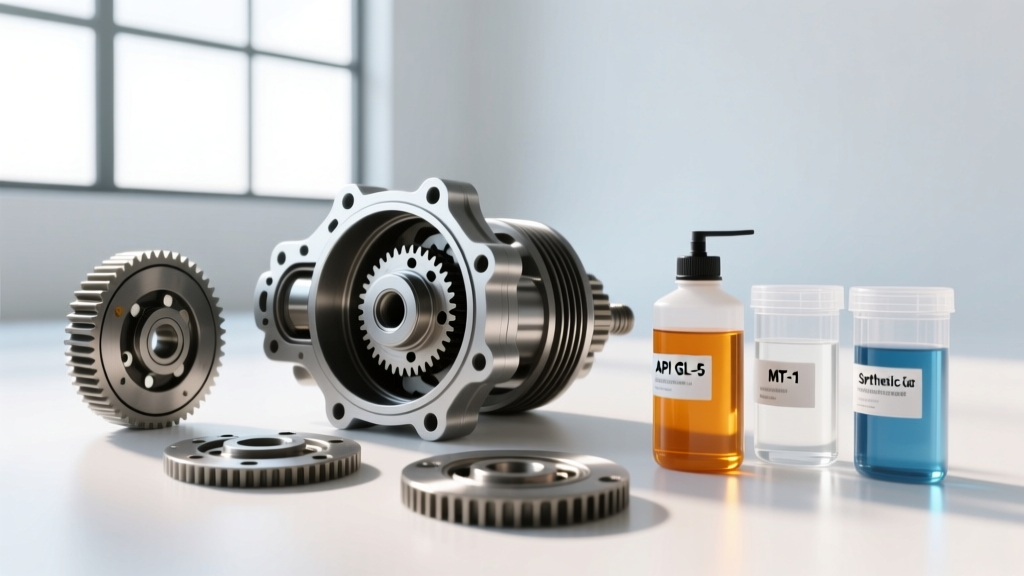
If your Silverado is equipped with the RPO G80 automatic locking differential, do not add limited-slip friction modifier. According to GM Truck Club technical archives and official GM service bulletins, the G80 is a mechanical locking unit, not a clutch-based limited-slip differential. Adding friction modifier will delay the G80 engagement mechanism and cause erratic locking behavior under slip conditions. Use a high-quality straight 75W-90 GL-5 synthetic gear oil, such as AMSOIL Severe Gear or Mobil 1 Synthetic Gear Lubricant.
Bearing and Seal Replacement: The Expert’s Parts List
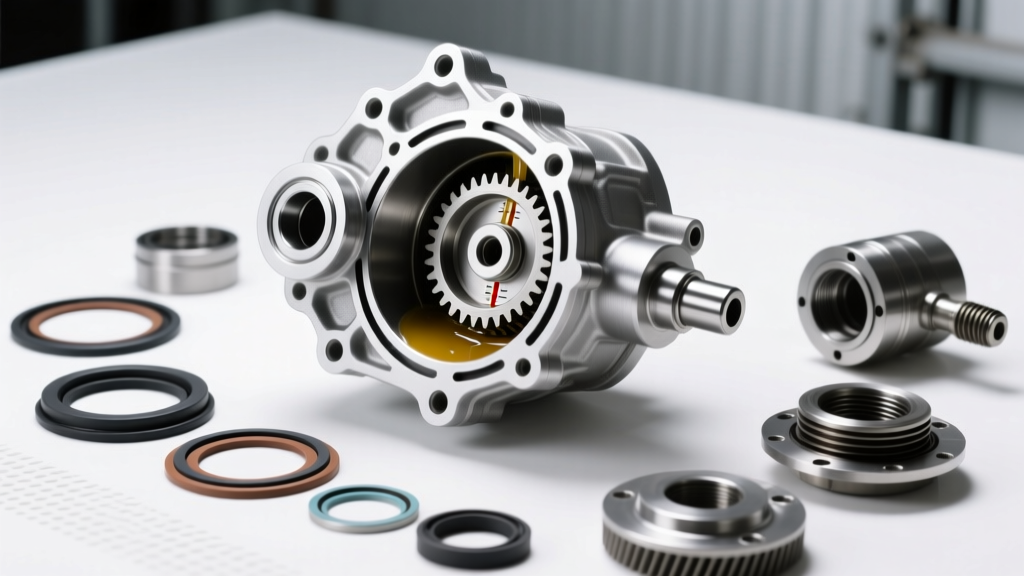
When a pinion seal fails, it is often symptomatic of a worn pinion bearing or a scored yoke. Similarly, an axle seal leak can be traced back to a grooved axle shaft bearing surface or a clogged axle vent. Never compromise on bearing metallurgy; always use premium Timken or National components to ensure proper heat treatment and load distribution.
| Component | Timken / National Part Number | Application Notes |
|---|---|---|
| Axle Shaft Seal | 710986 | 8.625" 10-Bolt Semi-Floating |
| Pinion Shaft Seal | 710928 | Requires Yoke Sleeve if scored |
| Carrier Bearing Set | LM501349 / LM501314 | Cone and Cup set (Qty 2 needed) |
| Inner Pinion Bearing | M86649 / M86610 | Cone and Cup (Requires press) |
| Outer Pinion Bearing | LM102949 / LM102910 | Cone and Cup (Requires press) |
| Crush Sleeve | GM 26064369 | Mandatory one-time use item |
Step-by-Step Pinion Seal & Bearing Preload Protocol
Replacing the pinion seal is deceptively complex. The GM 10-bolt utilizes a crush sleeve to establish pinion bearing preload. If you are only replacing the seal and leaving the existing crush sleeve intact, you must mark the pinion nut and yoke to return the nut to its exact original depth. However, if you are replacing the pinion bearings, the old crush sleeve must be destroyed and replaced.
Setting Rotational Preload (The Inch-Pound Method)
Bearing preload is not measured in foot-pounds of fastener torque; it is measured in inch-pounds of rotational friction. You will need a beam-style inch-pound torque wrench to execute this correctly.
- Initial Tightening: Install the new crush sleeve, yoke, and a new staked pinion nut. Tighten the nut using a heavy-duty breaker bar or impact wrench in short bursts. Expect to apply upwards of 250 ft-lbs to begin crushing the sleeve.
- Measuring Friction: Stop frequently to measure the rotational torque required to turn the pinion yoke. For new Timken bearings, the target rotational preload is 20 to 25 inch-pounds. For used bearings (if only replacing the seal and sleeve), target 10 to 15 inch-pounds.
- The Point of No Return: Once you overshoot the target inch-pound spec, the crush sleeve is over-compressed. You cannot simply back off the nut. You must install a brand-new crush sleeve and start over. This is why patience and frequent measurements are critical.
Axle Shaft Bearing & Seal Extraction Best Practices
The 8.625-inch 10-bolt axle retains the axle shafts using internal C-clips. To access the axle seals and bearings, the differential cover must be removed, and the 8mm (or 5/16") cross-pin bolt securing the spider gear shaft must be extracted. Once the shaft is pushed outward, the C-clips can be removed, allowing the axle shafts to slide out of the tubes.
When extracting the old axle bearings and seals, avoid using blind pullers that can score the delicate inner surface of the axle tube. Instead, use a dedicated internal bearing puller attached to a slide hammer. If the bearing has spun on the axle shaft or inside the housing, inspect the tube for galling. A spun bearing requires axle tube sleeving or complete housing replacement.
Seal Installation Geometry
Driving a new National 710986 axle seal into the tube requires a precision seal driver tool. Tapping the seal in with a socket or hammer often results in a cocked seal, which will immediately leak and destroy the rubber lip upon first rotation. The seal must be driven in perfectly square until it seats flush against the internal tube shoulder. Apply a thin film of 75W-90 gear oil to the rubber lip before inserting the axle shaft to prevent dry-start burning.
Reassembly, Torque Specs, and the Critical Break-In
Proper reassembly of the differential cover and ring gear hardware ensures long-term reliability. While many mechanics rely on pre-cut cork or rubber gaskets, OEM GM practice favors high-temperature RTV silicone for the differential cover to prevent micro-leaks caused by gasket compression set over time.
| Hardware Location | Torque Specification | Expert Notes & Sealants |
|---|---|---|
| Ring Gear Bolts | 85 - 95 ft-lbs | Apply Loctite 271 (Red) to threads. Left-hand threads on some variants. |
| Cross-Pin Bolt | 15 - 20 ft-lbs | Use Loctite 242 (Blue). Critical to prevent catastrophic axle disassembly. |
| Differential Cover | 25 ft-lbs | Use Permatex Ultra Black RTV. Allow 2 hours to skin before filling. |
| Brake Caliper Bracket | 130 ft-lbs | Must be removed to slide axle shafts past the backing plate. |
The 500-Mile Break-In Protocol
After confirming the 2000 Silverado rear differential fluid capacity is met and the RTV has fully cured, the break-in procedure is vital for new ring and pinion or bearing sets. For the first 500 miles, avoid sustained highway speeds over 65 MPH and avoid towing heavy loads. The gear oil must reach operating temperature to properly mate the bearing rollers to their races. After 500 miles, drain the fluid to remove the metallic break-in particulate suspended in the oil, clean the magnetic drain plug (if equipped), and refill with fresh 75W-90 synthetic to the exact fill-plug level.