Decoding Class 8 Clutch Failure Modes and Root Causes
In the heavy-duty commercial trucking sector, a clutch failure is rarely a simple case of normal wear and tear. Class 8 vehicles equipped with manual or automated manual transmissions (AMTs)—such as the Eaton Fuller RTLO-18918B or Volvo I-Shift—endure immense torsional stress, often exceeding 2,050 lb-ft of torque. When a clutch system degrades prematurely, it is almost always traceable to specific failure modes driven by improper maintenance, component mismatch, or a flawed semi truck clutch adjustment. For fleet managers and independent owner-operators, understanding these root causes is the first step toward selecting the correct replacement components and diagnostic tools.
This 2026 buyer's guide and diagnostic manual breaks down the primary failure modes of heavy-duty clutch systems, provides exact adjustment specifications, and compares the top replacement kits and diagnostic tools available on the market today.
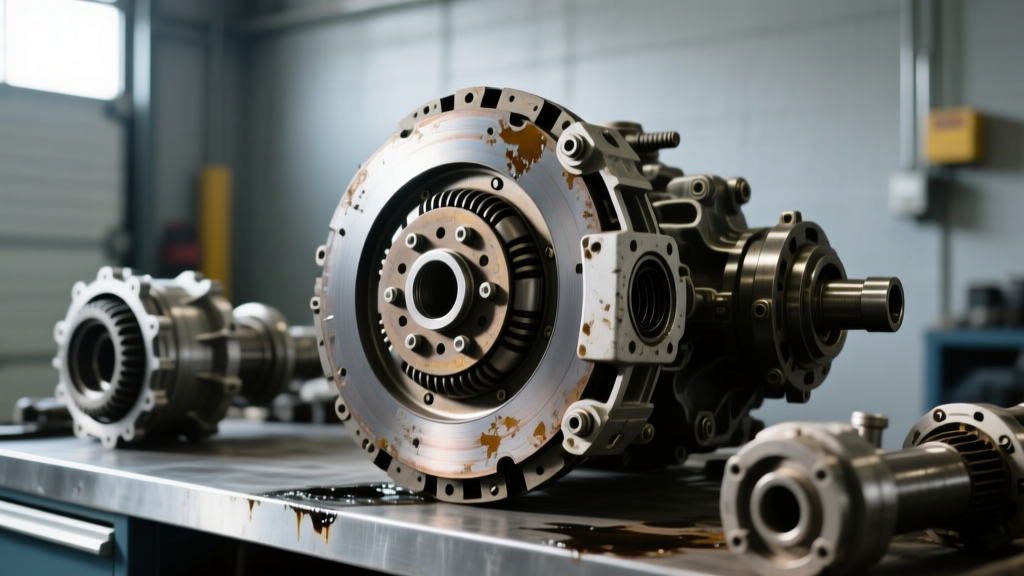
The Big Four: Heavy-Duty Clutch Failure Modes
Before purchasing a replacement kit, technicians must perform a root cause analysis. Installing a new $1,200 clutch pack into a truck with an unresolved underlying issue will only result in a repeat failure within 20,000 miles.
1. Release Bearing and Yoke Wear
Symptom: Squealing or grinding noises at idle that disappear when the pedal is depressed; stiff pedal feel. Root Cause: Insufficient pedal free travel. If the release bearing is constantly resting against the clutch brake or pressure plate fingers due to a lack of free play, it will overheat and disintegrate. In hydraulic systems, a failing slave cylinder or improperly adjusted master cylinder pushrod is usually the culprit.
2. Clutch Brake Failure and Hard Shifting
Symptom: Inability to engage first gear or reverse from a dead stop without gear grinding. Root Cause: Excessive free travel or a worn clutch brake pad. Unlike passenger vehicles, heavy-duty trucks utilize a clutch brake to stop the input shaft's rotation for stationary gear engagement. If the Eaton Solo clutch is adjusted with too much free play, the release bearing never travels far enough forward to compress the clutch brake against the transmission bearing cap.
3. Friction Disc Glazing and Thermal Cracking
Symptom: Clutch slipping under heavy load, burning odor, erratic torque delivery. Root Cause: Prolonged slipping during hill starts, 'riding' the clutch pedal, or improper torsional damper selection. When ceramic or organic friction materials exceed their thermal threshold (often above 800°F), the resins crystallize, creating a glass-like surface that cannot grip the flywheel.
4. Spline Wear and Hub Failure
Symptom: Harsh engagement, driveline clunk, vibration at cruising speeds. Root Cause: Driveline misalignment, excessive bellhousing runout, or lack of spline lubrication. If the transmission input shaft and the clutch disc hub are not perfectly concentric, the disc wobbles, chewing up the internal splines and eventually stripping the hub.
Mastering the Semi Truck Clutch Adjustment
Proper adjustment is the single most critical factor in maximizing clutch lifespan. The industry standard for a manual semi truck clutch adjustment requires verifying two distinct measurements: pedal free travel and clutch brake squeeze.
- Pedal Free Travel: Must be between 1.5 inches and 2.0 inches. This ensures the release bearing completely retracts from the clutch brake, allowing the pressure plate to fully engage the friction disc without drag.
- Clutch Brake Squeeze: Must be between 0.5 inches and 0.75 inches from the floorboard. This guarantees the release bearing travels far enough to stop the input shaft for stationary shifting without bottoming out and bending the pressure plate fingers.
- Internal Linkage Clearance: For mechanical setups, there should be approximately 1/8-inch to 3/16-inch clearance between the release yoke fingers and the bearing wear pads.
Pro-Tip for 2026 AMT Conversions: If you are diagnosing a modern Automated Manual Transmission, physical pedal adjustment is replaced by electronic actuator calibration. Always use the OEM diagnostic software (e.g., Davie4 or Cummins INSITE) to perform a 'Clutch Wear Index' reset and actuator relearn after replacing the clutch pack.
2026 Buyer's Guide: Top Clutch Kits and Replacement Components
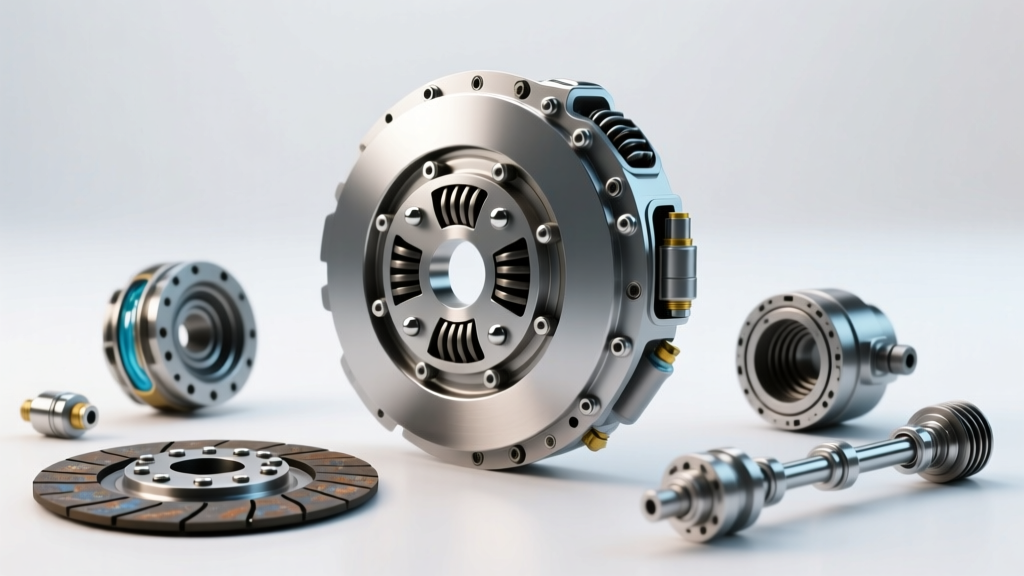
When root cause analysis dictates a full replacement, choosing the right friction material and pressure plate design is vital. Below is a comparison of the leading heavy-duty clutch kits for Class 8 applications.
| Component / Kit | Part Number Example | Est. Price Range (2026) | Best Application & Features |
|---|---|---|---|
| Eaton Solo 15.5" Clutch Kit | 128928X | $950 - $1,250 | Standard Highway. Features a self-adjusting mechanism that extends service intervals and reduces pedal effort. |
| Spicer Twin-Plate 15.5" Cerametallic | 811040 | $1,100 - $1,450 | Vocational / Heavy Haul. Twin friction surfaces handle extreme torque loads; cerametallic material resists thermal fade. |
| LuK RepSet HD Organic | HD0441 | $800 - $1,050 | Regional Haul. Smooth engagement characteristics ideal for lighter loads and frequent stop-and-go traffic. |
| Eaton Clutch Brake Assembly | 509321 | $85 - $130 | Universal Replacement. Must be replaced if squeeze travel exceeds 0.75" even if the main clutch disc is viable. |
Diagnostic Tools for Root Cause Analysis
You cannot accurately diagnose spline wear or bellhousing misalignment by eye. Investing in precision measurement tools prevents costly comebacks. For a comprehensive diagnostic bay, the following tools are mandatory:
1. Dial Indicator Kits for Bellhousing Runout
According to Spicer technical service bulletins, bellhousing bore runout must not exceed 0.005 inches. Excessive runout forces the clutch disc to operate at an angle, leading to rapid spline wear and premature release bearing failure. A magnetic-base dial indicator kit (such as the OTC 71024 or Lisle 20750, priced between $45 and $180) is required to map the housing bore before installing the new transmission.
2. Clutch Alignment Shafts
While many technicians use the old input shaft from the removed transmission to align the new disc, this is a flawed practice. If the old shaft has worn splines or a bent tip, it will misalign the new clutch. Always purchase a dedicated, precision-machined dummy alignment shaft specific to your spline count (e.g., 10-spline 1.875" or 14-spline 2.5"). Expect to spend $60 to $120 for a high-grade steel alignment tool.
3. Feeler Gauges and Straight Edges
Before mounting a new clutch, the flywheel friction surface must be checked for runout and thermal warping. Using a precision straight edge and a feeler gauge, verify that flywheel runout does not exceed 0.008 inches. If it does, the flywheel must be resurfaced or replaced; otherwise, the new clutch will chatter violently upon engagement.
Troubleshooting Matrix: Symptom to Solution
Use this quick-reference matrix to guide your diagnostic and purchasing decisions:
- Clutch Chatter on Engagement: Check for oil contamination (rear main seal leak), warped flywheel, or broken torsional damper springs. Action: Replace rear main seal, resurface flywheel, install new damper-equipped disc.
- Pedal Pulsation / Vibration: Inspect for uneven pressure plate finger heights, bent release yoke, or excessive engine crankshaft end-play. Action: Replace pressure plate assembly; verify crank end-play is under 0.010".
- Slipping Under Load (No Burn Smell): Weak pressure plate springs or incorrect clutch free travel (too tight). Action: Perform a proper semi truck clutch adjustment to restore 1.5" free travel; if issue persists, replace pressure plate.
- Slipping Under Load (Severe Burn Smell): Glazed friction material due to operator abuse or gross vehicle weight (GVW) exceeding clutch torque rating. Action: Upgrade to a higher torque-rated Cerametallic or Twin-Plate Spicer kit.
Installation Best Practices and Torque Specifications
When installing the replacement kit, adherence to torque specifications is non-negotiable. Improper torque on the clutch cover can warp the pressure plate, leading to immediate release issues.
- Flywheel to Crankshaft Bolts: For common Class 8 engines like the Cummins X15 or Detroit DD15, flywheel bolts typically require 225 to 250 lb-ft of torque, applied in a crisscross pattern. Always use new OEM stretch bolts; never reuse them.
- Clutch Cover to Flywheel: Generally 35 to 50 lb-ft (verify with the specific Eaton or Spicer manual based on bolt thread pitch). Tighten in a star pattern, one turn at a time, to ensure the pressure plate seats evenly against the friction disc without binding.
- Spline Lubrication: Apply a very light coating of high-temperature molybdenum-based grease to the transmission input shaft splines. Wipe away any excess. Excess grease will migrate to the friction disc during operation, causing catastrophic slipping.
Final Thoughts on Proactive Fleet Maintenance
Mastering the nuances of a semi truck clutch adjustment and understanding the root causes of failure modes transitions a shop from reactive part-swapping to true diagnostic repair. By investing in precision alignment tools, adhering strictly to runout tolerances, and selecting the correct friction materials for the specific vocational duty cycle, fleets can easily extend clutch service life past 750,000 miles. Always reference the latest OEM technical service bulletins when sourcing components, as manufacturers continually update torsional damper profiles to match the aggressive torque curves of modern emissions-compliant diesel engines.