Why You Hear Rear Differential Noise While Accelerating
If you have ever pressed the gas pedal and heard a distinct, rhythmic howling or whining emanating from the rear axle, you are not alone. Experiencing rear differential noise while accelerating is one of the most common drivetrain complaints among truck and SUV owners. While it is easy to blame bad bearings or low fluid, the root cause often traces back to one critical factor: an improper ring and pinion gear setup.
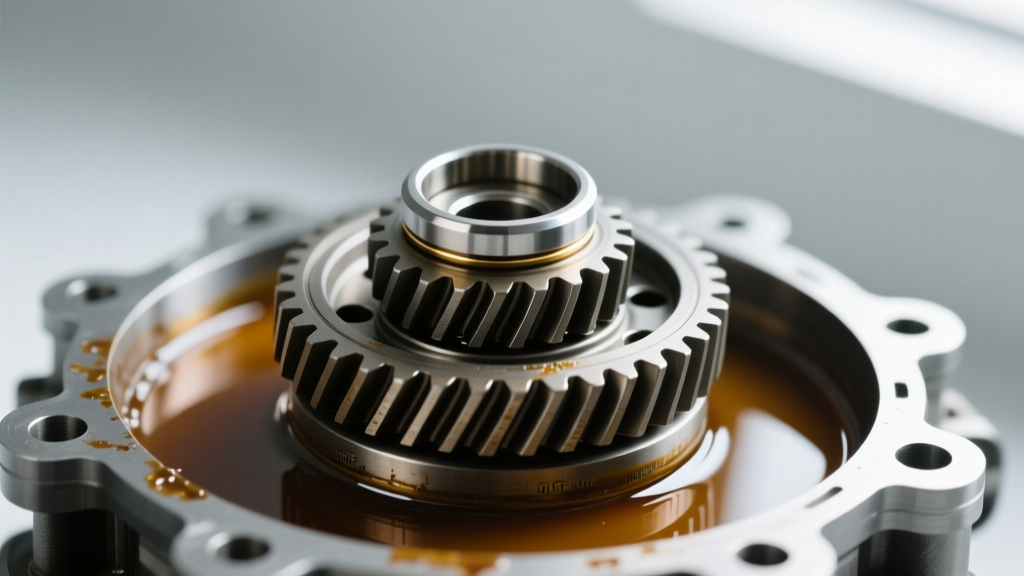
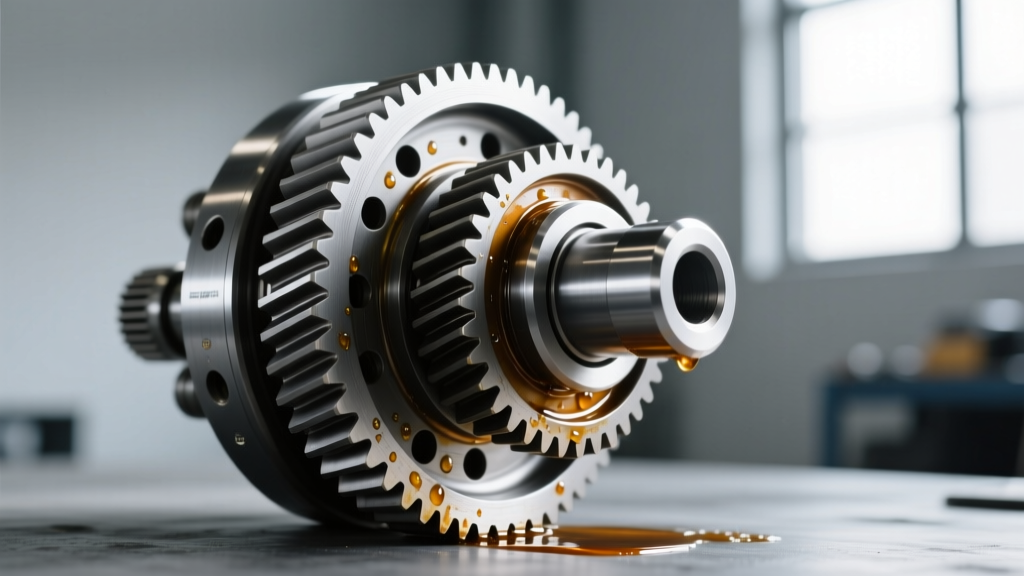
To understand why this noise happens specifically under load, we have to look at the physics of hypoid gears. The teeth on your ring and pinion are not perfectly straight; they are curved and offset. When you accelerate, the pinion gear pushes against the concave "drive" side of the ring gear teeth. When you let off the gas (coasting), the load shifts to the convex "coast" side. If your gear setup is incorrect, the contact patch between these two massive steel components will be misaligned. Instead of rolling smoothly, the gears scrub against each other, creating harmonic vibrations that translate directly into the cabin as a high-pitched whine.
For beginners, setting up a ring and pinion can seem like dark magic reserved for seasoned drivetrain mechanics. However, by breaking the process down into measurable, repeatable steps, you can diagnose and correct this acceleration noise yourself.
The Three Pillars of Ring and Pinion Setup
Eliminating rear differential noise while accelerating requires balancing three distinct mechanical measurements. If even one of these is off by a few thousandths of an inch, your gears will whine, overheat, and eventually fail.
1. Pinion Depth
Pinion depth dictates how far the pinion gear sits into the ring gear. This is adjusted using shims located behind the inner pinion bearing (or on the pinion shaft itself, depending on the axle design). If the pinion is too deep, the gear contact pattern will shift toward the heel of the tooth. If it is too shallow, the pattern shifts toward the toe. Getting this right is the foundation of a quiet differential.
2. Backlash
Backlash is the amount of side-to-side rotational play between the ring gear and the pinion gear. It is measured in thousandths of an inch using a dial indicator. Proper backlash allows for thermal expansion and a microscopic film of gear oil between the teeth. For most street-driven solid axles (like the ubiquitous Ford 8.8-inch or GM 10-bolt), the target backlash is typically between 0.006" and 0.010". Too tight, and the gears will bind and overheat; too loose, and you will hear a clunking noise when shifting from reverse to drive.
3. Bearing Preload
Bearing preload is the amount of friction applied to the pinion and carrier bearings to keep them seated firmly in their races. Pinion preload is usually set by crushing a steel sleeve or using a solid spacer with shims, while carrier preload is achieved by forcing shims behind the carrier bearings to create a tight press-fit inside the axle housing.
Decoding the Contact Pattern
The only way to verify your pinion depth and backlash is by "reading" the gears. This involves painting the teeth with a specialized marking compound and rotating the assembly to see where the gears make contact. According to Randy's Ring & Pinion technical bulletins, the ideal contact pattern should be centered vertically on the tooth and slightly biased toward the toe (the inner edge of the ring gear).
Below is a diagnostic table to help you interpret your marking compound results and determine your next adjustment:
| Observed Pattern | What It Means | Mechanical Correction |
|---|---|---|
| High on the tooth (near the top land) | Pinion is too far away from the ring gear centerline. | Add shims to increase pinion depth (move pinion inward). |
| Low on the tooth (near the root/fillet) | Pinion is too deep into the ring gear. | Remove shims to decrease pinion depth (move pinion outward). |
| Heavy on the Heel (outer edge) | Backlash is too tight, or pinion depth is slightly off. | Increase backlash by moving the carrier away from the pinion. |
| Heavy on the Toe (inner edge) | Backlash is too loose, or pinion depth is slightly off. | Decrease backlash by moving the carrier closer to the pinion. |
The Art of the Marking Compound
Beginners often make the mistake of applying too much marking compound, which results in a smeared, unreadable mess. To get a crisp pattern, use a high-contrast gear marking paste like Permatex 80085. Apply a very thin, even coat to three or four consecutive teeth on the drive side and the coast side.
Using a socket on the pinion yoke, apply resistance to the ring gear with a gloved hand or a brake caliper tool to simulate load. Rotate the pinion through the painted teeth three to four times in the drive direction, then reverse and rotate three to four times in the coast direction. Wipe the teeth clean and inspect the pattern under bright light. Remember: the drive side pattern (the one causing your acceleration noise) is the most critical for street vehicles that spend 90% of their time under acceleration load.
Real-World Setup: Ford 8.8-Inch Differential
Let us apply this knowledge to one of the most common differentials on the road: the Ford 8.8-inch rear end. If you are rebuilding this axle to cure a whine, here are the exact specifications and steps you need to follow.
Step 1: Setting Pinion Bearing Preload
The Ford 8.8 uses a crush sleeve to set pinion preload. This is notoriously frustrating for beginners because overtightening the pinion nut over-crushes the sleeve, forcing you to tear the assembly down and install a new $15 sleeve.
- Target Preload (Used Bearings): 8 to 14 inch-pounds of rotational torque.
- Target Preload (New Bearings): 16 to 29 inch-pounds.
- Pro-Tip: Consider upgrading to a Crush Sleeve Eliminator Kit (often around $40). This replaces the one-time-use crush sleeve with a solid machined spacer and a stack of micro-shims, allowing you to set the preload perfectly without the anxiety of over-torquing the nut.
Step 2: Torquing the Ring Gear
The ring gear must be bolted to the carrier with absolute precision. Clean all threads with brake cleaner. Apply a drop of Red Loctite 272 to the threads of the ring gear bolts. Torque them in a star pattern to 70-85 lb-ft. Never reuse stretched ring gear bolts; always use the fresh hardware included in your master install kit.
Step 3: Setting Carrier Preload and Backlash
Using a dial indicator mounted to a magnetic base on the axle tube, position the stylus against the face of a ring gear tooth. Pry the carrier side-to-side to measure the backlash. Adjust the thickness of the carrier shims (located behind the carrier bearings) until you achieve your target 0.008" to 0.012" backlash, while ensuring the carrier requires a firm tap with a dead-blow hammer to seat into the housing (indicating proper bearing preload).
Essential Tools and 2026 Cost Breakdown
Setting up a ring and pinion requires specialized tools. Attempting this with standard garage tools will almost certainly result in improper preload settings and destroyed gears. Here is a realistic look at the costs involved in doing the job correctly at home versus taking it to a drivetrain shop.
- Ring and Pinion Gear Set (e.g., Yukon or Motive Gear): $250 - $450 depending on ratio and material (Standard vs. Pro).
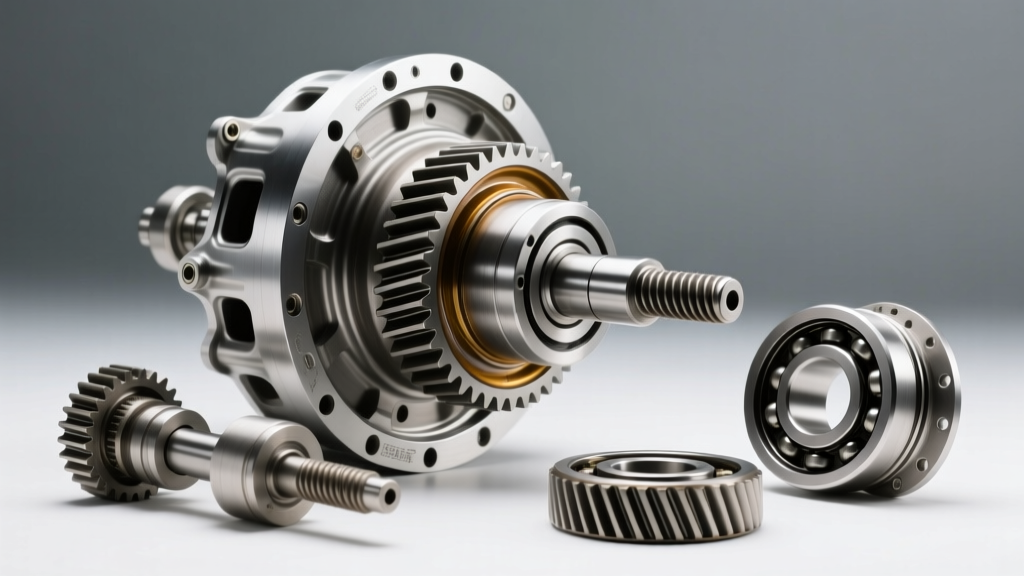
- Master Rebuild Kit (Timken bearings, seals, shims, crush sleeve): $150 - $220. Never skimp on bearings; cheap offshore bearings will whine from day one.
- Dial Indicator with Magnetic Base: $40 - $80 (Must read in 0.001" increments).
- Beam-Type Inch-Pound Torque Wrench: $50 - $90. (Digital torque adapters can struggle with the low rotational drag readings required for preload).
- Bearing Puller / Press: A standard 2-jaw puller ($40) or access to a hydraulic shop press.
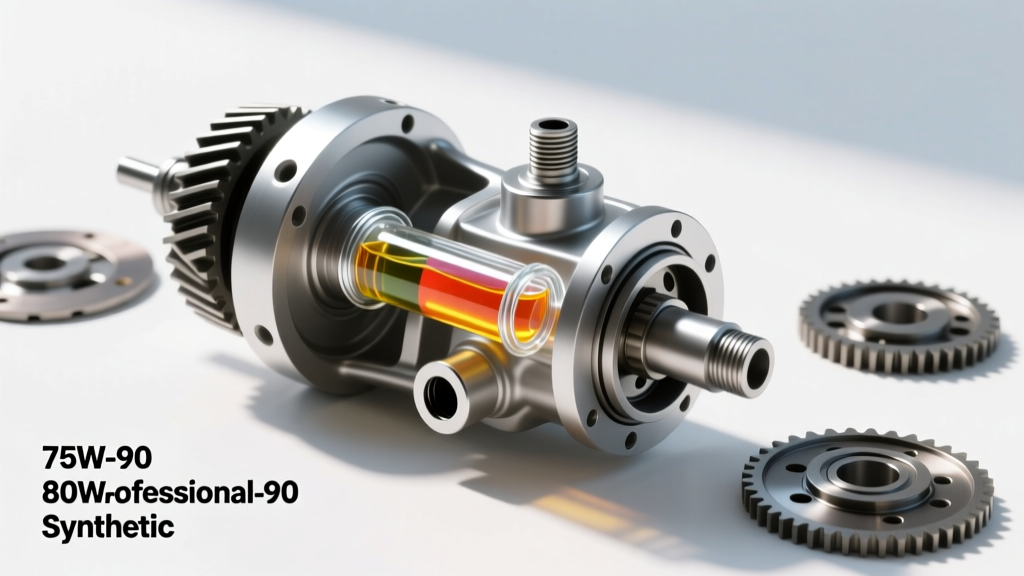
- Gear Oil & Additives: 2.5 Quarts of 75W-90 Full Synthetic ($45) + Friction Modifier if equipped with a clutch-type Limited Slip Differential ($10).
Total DIY Cost: $550 - $950. By comparison, a professional drivetrain shop will typically charge between $1,200 and $1,800 for parts and labor to perform a complete ring and pinion setup.
Final Thoughts on Drivetrain Longevity
Curing rear differential noise while accelerating is a test of patience. It is entirely normal to pull the carrier out, change a shim by 0.003", and re-assemble the differential three or four times before the contact pattern is perfect. As noted in the Dana Spicer technical resources, a properly set up hypoid gear set will easily surpass 200,000 miles of heavy use without generating excessive noise or heat.
Once your setup is complete and the cover is sealed, do not forget the break-in procedure. For the first 500 miles, avoid sustained highway speeds and heavy towing. Stop every 15 miles during the first hour of driving to let the axle cool down. This allows the gear oil to properly cure the lapped surfaces of your new ring and pinion, ensuring a quiet, reliable drivetrain for years to come.