Understanding the Automatic Locking Differential
Unlike traditional open differentials or clutch-based limited-slip units, an automatic locking differential (such as the iconic Detroit Locker or the OEM Eaton Gov-Lok) utilizes a mechanical ratcheting mechanism to lock both axles together under torque, and unlock them during turns to allow for wheel speed differentiation. Because these units rely on precise internal tooth engagement and heavy-duty thrust washers rather than friction clutches, rebuilding them requires a distinct approach to teardown, assembly, and fluid selection.
As of 2026, the aftermarket for heavy-duty off-road and towing applications continues to favor mechanical auto-lockers for their sheer durability. However, improper rebuild procedures—specifically incorrect bearing preload, flawed gear backlash, or the use of friction-modified gear oils—will result in catastrophic internal binding, excessive noise, or complete failure to engage. This guide details the exact step-by-step procedures for rebuilding a standard automatic locking differential, using the widely serviced Dana 44 and GM 8.5-inch 10-bolt platforms as our baseline references.
Essential Tools and Rebuild Kit Components
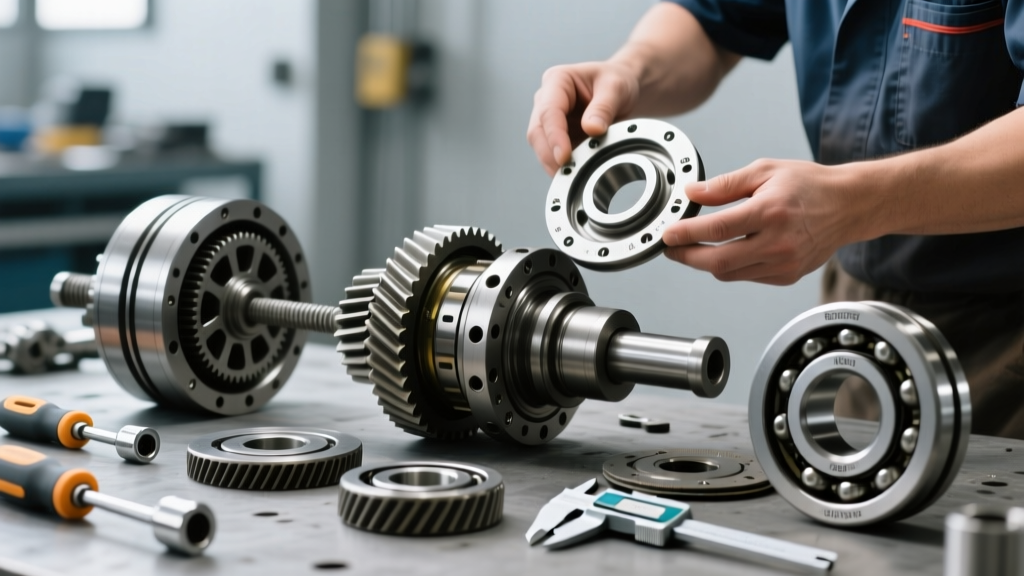
Before pressing out the old bearings, ensure your workbench is equipped with the correct precision measuring tools. Guesswork is the enemy of differential longevity.
- Precision Measuring Tools: Dial indicator with a magnetic base (0.001-inch resolution), inch-pound torque wrench (for bearing preload), and a foot-pound torque wrench (for ring gear and pinion nuts).
- Bearing and Gear Tools: Bearing puller set, hydraulic press, dial calipers, and high-contrast gear marking compound (yellow ochre).
- Master Rebuild Kit: Expect to pay between $250 and $450 in 2026 for a high-quality master kit (e.g., from Motive Gear or Yukon). This must include new Timken or SKF bearings, races, pinion shims, side shims, a new crush sleeve (or solid spacer conversion), and a pinion seal.
- Fastener Chemicals: Loctite 242 (Blue) for ring gear bolts, and a high-temp RTV silicone for the axle housing cover.
Step 1: Teardown and Component Inspection
Begin by draining the existing gear oil and removing the differential cover. Inspect the drained fluid for metallic flakes; a fine glitter is normal wear, but chunky metal indicates failed needle bearings or shattered locking teeth. Remove the pinion nut, extract the pinion gear, and pull the carrier from the housing.
For an automatic locking differential, the internal teardown requires careful attention to the ratcheting components. Disassemble the center block, side gears, locking rings, and thrust washers. Clean all parts in a solvent tank and dry them with compressed air.
Inspection Criteria for Auto-Locker Parts
Automatic lockers experience unique stress points. Use the following table to determine if your internal components can be reused or if you must purchase a complete internal replacement kit (typically $150-$220).
| Component | Wear Indicator | Replacement Threshold |
|---|---|---|
| Locking Rings (Teeth) | Rounding or chipping on the engagement ramps | Any visible rounding; teeth must be sharp and square |
| Thrust Washers | Scoring, grooving, or thinning | Thickness reduction greater than 0.005 inches |
| Center Block / Cross Pin | Galling or torsional twisting | Any visible twisting or uneven wear on the pin journals |
| Side Gears (Internal) | Spalling on the helical cut teeth | Flaking or pitting on more than 10% of the tooth surface |
Step 2: Pinion Depth and Bearing Preload Setup
The foundation of a quiet differential is the pinion depth. Install the new pinion bearing races into the housing using a bearing driver. Press the new inner pinion bearing onto the pinion gear shaft. Install the pinion depth shim (refer to the shim calculation chart included in your gear set, usually starting around 0.030 inches for a Dana 44).
Insert the pinion into the housing, install the outer bearing, and temporarily tighten the pinion nut to seat the bearings. Using your inch-pound torque wrench, measure the rotational drag (bearing preload). For a Dana 44 with new bearings, the target preload is typically 14 to 19 inch-pounds. If the drag is too low, add pinion shims; if too high, remove shims. Once depth and preload are set, install the pinion seal and yoke, and torque the pinion nut to the factory specification (usually 160-200 ft-lbs to crush the sleeve, then verify the 14-19 in-lb rotational drag is maintained).
Step 3: Ring Gear Mounting and Backlash
Clean the mating surface of the differential carrier and the ring gear with brake cleaner. Apply a thin bead of Loctite 242 to the ring gear bolts. Mount the ring gear in a star-pattern sequence, torquing the bolts to 60-70 ft-lbs (verify with your specific manufacturer's spec sheet).
Press the new carrier bearings onto the differential assembly. Install the assembly into the housing with your initial side shims. To check backlash, mount the dial indicator to the housing so the plunger rests at a 90-degree angle against the drive face of a ring gear tooth. Rotate the gear back and forth while holding the pinion stationary.
Pro-Tip: For most aftermarket ring and pinion sets paired with an automatic locking differential, target a backlash of 0.006 to 0.010 inches. Aim for the tighter side (0.006") for heavy towing applications to minimize drivetrain clunk, but never go below 0.005" or thermal expansion will cause the gears to bind when the housing heats up.
Adjust the side shims left and right to achieve the correct backlash while maintaining a firm carrier bearing preload (typically requiring a slight drag when snapping the carrier into the housing).
Step 4: Internal Automatic Locker Assembly
With the ring gear and carrier bearings set, it is time to assemble the automatic locking mechanism inside the carrier. If you are rebuilding a Detroit Locker style unit:
- Install the new thrust washers against the inner walls of the carrier.
- Insert the side gears (which act as the output to the axle shafts) ensuring the internal splines are free of debris.
- Slide the center block into place, aligning the locking rings with the side gears.
- Engage the locking teeth. You must ensure the locking rings spring outward freely. If the thrust washers are too thick or the side shims are forcing the carrier inward, the locking rings will bind, and the differential will remain permanently locked or fail to ratchet.
- Insert the cross pins and secure them with the provided roll pins or lock bolts.
Rotate the assembly by hand. You should hear and feel a distinct, smooth ratcheting click in both directions of rotation when holding one side gear stationary. Any binding indicates a shim clearance issue that must be resolved before sealing the housing.
Step 5: Differential Fluid Selection and Fill
Fluid selection is where most automatic locking differential rebuilds fail. According to engineering guidelines from Eaton and Dana Spicer, automatic lockers require standard GL-5 gear oil, but they must not contain friction modifiers.
The Friction Modifier Trap
Limited-slip differentials (LSDs) require friction modifiers (like Ford XL-3 or GM EOS) to prevent clutch chatter. However, an automatic locking differential relies on the aggressive, mechanical bite of steel-on-steel locking teeth. If you use an LSD fluid or add a friction modifier to the housing, the fluid becomes too 'slippery'. Under high torque loads, the locking teeth will slide past one another instead of engaging, causing severe wear, failure to lock, and eventual shearing of the engagement teeth.
Recommended 2026 Fluid Specs:
- Viscosity: 75W-90 for standard street/trail use; 75W-140 for heavy-duty towing, rock crawling, or high-horsepower applications.
- Type: Full Synthetic GL-5 (e.g., Amsoil Severe Gear 75W-90, Mobil 1 Synthetic Gear Lube, or Red Line 75W90 NS - 'NS' stands for Non-Slip, meaning no friction modifiers).
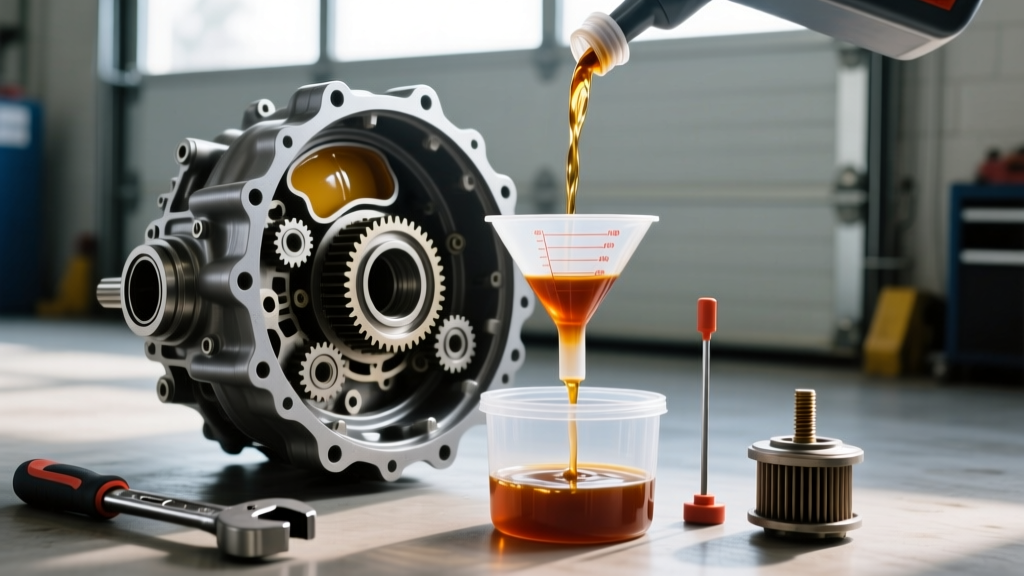
- Capacity: A standard Dana 44 requires approximately 2.0 to 2.2 quarts. Fill until the fluid level is exactly at the bottom of the fill plug hole.
Break-In Procedure and Final Checks
After sealing the differential cover with RTV silicone (allow 12 hours to cure before filling), the break-in procedure is critical. Drive the vehicle for the first 100 miles under normal, light-load conditions. Avoid towing, high speeds, or aggressive acceleration. After 100 miles, the gear oil will be hot; carefully check the housing temperature. If the differential is too hot to touch (exceeding 200°F), your bearing preload is too tight, or the backlash is insufficient.
At the 500-mile mark, drain and refill the differential fluid. The initial break-in period will shed microscopic metal particles from the new ring and pinion gears and the new carrier bearings. Flushing this fluid out ensures your automatic locking differential will provide years of reliable, mechanical traction.