Diagnosing the Noise: What Does a Bad Rear Differential Sound Like?
Before you break out the wrenches and drain pans for a differential fluid change, you must first determine if your axle is simply due for routine maintenance or if it is actively failing. The gear oil inside your rear differential serves as both a lubricant and a heat transfer medium. When it degrades, metal-on-metal friction accelerates, leading to distinct auditory warnings. So, what does a bad rear differential sound like? The answer depends entirely on when and how the noise occurs.
Modern synthetic gear oils (like 75W-90 and 75W-140) are engineered to withstand extreme shearing forces, but they cannot prevent eventual wear if neglected. Below is a diagnostic matrix to help you differentiate between normal gear whine, correctable limited-slip chatter, and catastrophic bearing failure.
| Noise Profile | When It Occurs | Likely Culprit | Action Required |
|---|---|---|---|
| High-pitched whining | During steady-state cruising (coasting) | Worn pinion bearings or low fluid level | Check fluid immediately; inspect pinion seal |
| Deep howling | Under acceleration or load | Ring and pinion gear tooth wear/mismatch | Rebuild required; fluid change will not fix |
| Chattering or shuddering | During low-speed, tight-radius turns | Dry or degraded Limited Slip Differential (LSD) clutch packs | Drain fluid, add friction modifier (e.g., Motorcraft XL-3) |
| Metallic clunking | When shifting from Drive to Reverse | Excessive backlash, worn spider gears, or loose yoke | Inspect carrier and pinion nut torque |
| Grinding or crunching | Constant, regardless of load | Complete bearing failure, metal shavings in fluid | Stop driving; full axle teardown required |
If your differential is exhibiting howling, clunking, or grinding, a simple fluid service will not save it. You will need a ring-and-pinion setup or a full axle replacement. However, if you are dealing with coasting whine or LSD chatter—or if you are simply adhering to a preventative maintenance schedule—a fluid change is your next step.
Rear Differential Fluid Intervals and Specifications
Historically, manufacturers labeled differentials as "sealed for life." In the context of modern 2026 automotive engineering, "life" usually means the duration of the powertrain warranty (typically 60,000 to 100,000 miles). For vehicles subjected to severe duty—towing, off-roading, or frequent stop-and-go traffic in high ambient temperatures—gear oil oxidation occurs much faster.
Recommended Service Intervals
- Normal Duty (Commuting, Highway): 60,000 to 100,000 miles.
- Severe Duty (Towing, Off-Road, Snow Plowing): 15,000 to 30,000 miles.
- Submersion (Water Crossing): Immediately. Water ingress through the axle vent will emulsify the gear oil into a milky sludge, stripping boundary lubrication in less than 50 miles.
Viscosity and Additive Requirements
Always consult your owner's manual, but general applications dictate the following:
- 75W-90 Synthetic: Standard for most light-duty half-ton trucks (e.g., Ford F-150, Chevy Silverado 1500) and SUVs. Offers excellent cold-weather flow and fuel economy.
- 75W-140 Synthetic: Required for heavy-duty 3/4-ton and 1-ton trucks (e.g., Dana 60, GM 11.5-inch 14-bolt) and vehicles with factory towing packages.
- Friction Modifier: If your axle houses a clutch-type Limited Slip Differential (LSD), you must add a friction modifier (typically 4 oz per axle) to prevent the aforementioned cornering chatter. Note: Some boutique synthetic oils, like Red Line ShockProof or AMSOIL Severe Gear, have modifiers pre-blended.
Step-by-Step Rear Differential Fluid Change Procedure
This guide focuses on the most common axle configuration: the removable cover design (found on the ubiquitous Ford 8.8-inch, GM 10-bolt/8.5-inch, and Dana 44). If your axle features a drain plug (common on newer Toyota Tacomas and some heavy-duty Ram axles), you can skip the cover removal and treat it like a standard engine oil change.
Tools and Materials Required
- 3/8" or 1/2" drive socket set and breaker bar
- Torque wrench (inch-pounds and foot-pounds)
- Fluid transfer pump
- Brake cleaner and lint-free shop towels
- Gasket scraper (plastic or brass to avoid scoring aluminum)
- RTV Silicone (e.g., Permatex Ultra Black 81878) or a pre-cut cork/rubber gasket
- Correct volume of 75W-90 or 75W-140 gear oil
Phase 1: Preparation and Teardown
CRITICAL RULE: Always remove the fill plug before removing the cover or drain plug. If the fill plug is seized or stripped, you do not want to be left with an empty differential and no way to refill it.
- Safely raise and support the rear axle on jack stands. Ensure the vehicle is level so the fluid fills to the correct capacity.
- Locate the fill plug on the front or side of the differential housing. Remove it using the appropriate socket or 3/8" square drive.
- Place a large drain pan (minimum 5-quart capacity) beneath the differential cover.
- Break loose the cover bolts. Leave the top two bolts loosely threaded to act as a hinge, then gently pry the bottom of the cover with a flathead screwdriver to break the RTV seal. Allow the fluid to drain completely.
Phase 2: Cleaning and Inspection
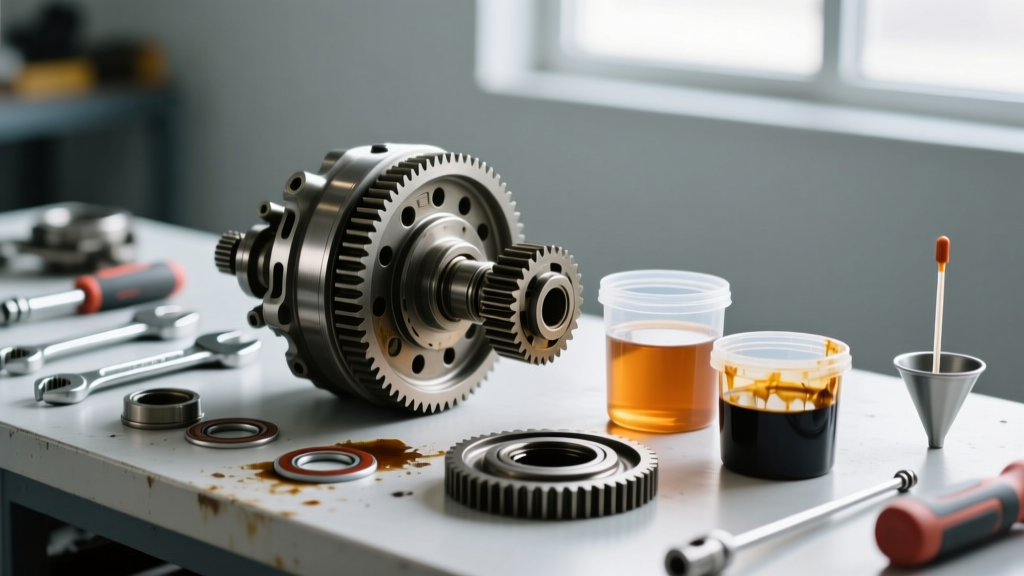
Once drained, fully remove the cover. This is your opportunity to perform a mechanical health check.
- Inspect the Magnet: Most covers feature an internal magnet. A fine, glittery paste is normal wear. However, if you find metallic shards, chips, or chunks larger than a grain of rice, your bearings or gear teeth are failing. Consult a drivetrain specialist.
- Clean the Surfaces: Spray the cover and the axle mating surface with brake cleaner. Scrape away all old RTV material. Any leftover silicone that falls inside the housing can clog the oil pickup or bearing journals.
- Inspect the Gears: Look at the ring gear teeth through the inspection hole. They should be smooth with a consistent wear pattern. Pitting, spalling, or blued (overheated) metal indicates terminal damage.
Phase 3: Resealing and Torquing
A proper seal is vital to prevent gear oil from leaking onto your brake rotors, which is a severe safety hazard.
- Apply a continuous, 1/4-inch bead of Permatex Ultra Black RTV to the differential cover. Ensure you circle every bolt hole completely to prevent oil weeping.
- Press the cover into place and thread all bolts by hand to avoid cross-threading.
- Tighten the bolts in a crisscross, star pattern. Do not overtighten. Overtightening will cause the RTV to squeeze out entirely, leading to metal-on-metal contact and leaks.
- Refer to the torque specifications below for common axles:
| Axle Model | Bolt Size / Count | Torque Specification | Fluid Capacity (Approx) |
|---|---|---|---|
| Ford 8.8-inch | 3/8" (10 bolts) | 20 - 25 lb-ft | 2.5 Quarts |
| GM 8.5" / 10-bolt | 8mm / 5/16" (10 bolts) | 25 lb-ft | 2.1 Quarts |
| Dana 44 | 3/8" or 1/2" (10 bolts) | 30 - 35 lb-ft | 2.0 Quarts |
| Chrysler 8.25" | 3/8" (10 bolts) | 20 - 25 lb-ft | 2.2 Quarts |
Note: Allow the RTV to cure for at least 1 to 2 hours before filling with fluid. Filling it immediately can cause the internal fluid pressure to blow out the uncured silicone seal.
Phase 4: Filling and Final Verification
- Insert the hose of your fluid transfer pump into the fill hole.
- Pump in the gear oil (and friction modifier, if applicable) until the fluid begins to run out of the bottom lip of the fill hole. This is the universal indicator that the differential is perfectly full.
- Wipe the threads of the fill plug, apply a small wrap of Teflon tape or thread sealant if specified by the manufacturer, and torque it to 20-25 lb-ft.
- Wipe down the entire axle housing with degreaser. This ensures that any minor future leaks are easily identifiable and not confused with spilled fluid from today's service.
DIY vs. Professional Service Cost Breakdown
Understanding the financials of differential maintenance helps contextualize the value of DIY servicing. Dealerships and specialized drivetrain shops charge a premium for labor and shop supplies.
- DIY Cost: $60 to $110. This includes 3 quarts of high-quality synthetic 75W-90 ($45-$75), a tube of RTV ($8), brake cleaner ($5), and a basic fluid pump ($10). You already own the tools.
- Independent Shop Cost: $150 to $220. Labor typically accounts for 1 to 1.5 hours at standard shop rates.
- Dealership Cost: $250 to $350+. Dealers often use OEM-branded fluids (e.g., Motorcraft or AC Delco) which carry a markup, and their hourly labor rates are significantly higher.
By performing this service yourself, you not only save money but also gain intimate knowledge of your vehicle's drivetrain health. According to Yukon Gear & Axle Technical Support, catching a failing pinion seal or a chipped gear tooth during a routine cover removal can save you from a $2,500+ axle replacement bill down the road.
Final Thoughts on Drivetrain Longevity
Knowing what a bad rear differential sounds like is only half the battle; taking proactive steps to maintain the fluid is what keeps your axles turning for 200,000+ miles. As noted in AMSOIL's technical literature on gear oil basics, the extreme pressures inside a hypoid gear set require robust anti-wear additives that deplete over time. Don't wait for the howling to start. Grab your torque wrench, follow the steps above, and ensure your rear differential operates silently and reliably for the long haul.