The Intersection of Bearing Failure and Fluid Service
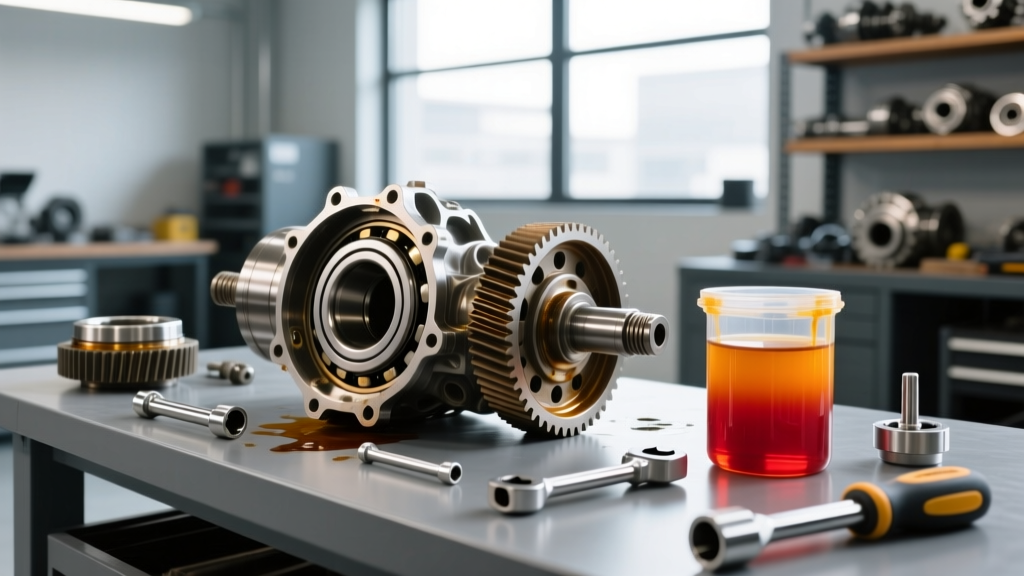
When diagnosing drivetrain noise, a whining or growling rear axle often points to failing internal components. Performing a rear differential bearing replacement—whether addressing the pinion bearings, carrier bearings, or axle shaft bearings—is a major mechanical intervention. However, the job does not end with pressing in new Timken or SKF bearings and setting the correct preload shims. Because the differential housing must be opened, and because failing bearings shed microscopic metallic particulates into the gear oil, a comprehensive differential fluid change procedure is mandatory.
Unlike a routine maintenance drain-and-fill, a fluid change following a bearing replacement requires a meticulous flushing protocol to ensure no abrasive debris remains to destroy your newly installed hypoid gear set and bearings. In this step-by-step how-to guide, we will cover the exact differential fluid change procedure, critical flushing techniques, and the recommended service intervals for modern solid-axle and independent rear suspension (IRS) differentials.
Differential Fluid Intervals: Normal vs. Severe Duty
Understanding when to change your gear oil is critical for preventing the very bearing failures that lead to a rebuild. As of 2026, modern synthetic gear oils offer exceptional shear stability, but they still degrade under extreme thermal loads and heavy towing.
- Normal Duty (Highway/Commuting): Most manufacturers recommend differential fluid intervals between 60,000 and 100,000 miles. Under these conditions, the gear oil maintains its boundary lubrication properties without severe thermal breakdown.
- Severe Duty (Towing, Off-Road, Track): If you frequently tow heavy trailers, navigate steep off-road trails, or subject the axle to high-horsepower shock loads, the interval drops drastically to 30,000 – 50,000 miles. High temperatures oxidize the fluid, leading to sludge that starves the pinion bearings of oil.
According to Dana Spicer's official service guidelines, neglecting these intervals is the leading cause of premature carrier and pinion bearing failure, as the degraded fluid loses its extreme pressure (EP) additives required to protect the sliding contact of hypoid gears.
Essential Tools and Fluid Specifications
Before beginning the procedure, gather the correct fluids and sealing materials. Using the wrong viscosity or omitting friction modifiers in a limited-slip differential (LSD) will result in catastrophic clutch chatter or gear whine. Always consult the API gear lubricant standards to ensure your fluid meets GL-5 requirements.
| Fluid / Material | Specification / Part Number | Application Notes |
|---|---|---|
| Synthetic Gear Oil | 75W-90 API GL-5 (e.g., AMSOIL Severe Gear) | Standard for most modern Dana, Ford, and GM axles. |
| Friction Modifier | Ford XL-3 / GM 88900333 | Mandatory for clutch-type LSDs (Trac-Lok, Auburn). |
| RTV Silicone | Permatex Ultra Black (Part #81160) | Oil-resistant, high-torque sensor safe. Required if no gasket. |
| Reusable Gasket | LubeLocker or Rugged Ridge | Alternative to RTV; seals instantly without cure time. |
| Solvent Flush | Non-Chlorinated Brake Cleaner | For flushing metal shavings post-bearing replacement. |
Step-by-Step Differential Fluid Change Procedure
Follow this exact sequence to ensure a contamination-free environment for your new bearings and ring-and-pinion gears.
Step 1: Preparation and Safe Draining
Drive the vehicle for 15-20 minutes to bring the differential fluid up to operating temperature (around 140°F). Warm fluid flows faster and suspends metallic particulates better than cold fluid. Safely support the vehicle on jack stands, ensuring the axle housing is relatively level. Place a large catch pan (minimum 5-quart capacity) beneath the differential cover. If your axle has a bottom drain plug (common on some Toyota and Nissan axles), remove it first to drain the bulk of the fluid before removing the cover.
Step 2: Cover Removal and Deep Flushing (Critical for Bearing Jobs)
Break the seal on the differential cover using a pry bar or specialized cover popper tool—never hammer a screwdriver into the mating surfaces, as scoring the aluminum or steel flange will cause permanent leaks. Remove all perimeter bolts, noting that some manufacturers use longer bolts in specific locations (e.g., the top 12 o'clock position on a Ford 8.8).
The Flush: Because this service follows a rear differential bearing replacement, the housing will contain metallic debris from the old, failing bearings. Spray the interior of the housing, the ring gear, the pinion gear, and the bearing webs generously with non-chlorinated brake cleaner. Use lint-free shop towels to wipe out the bottom of the housing. Inspect the differential cover for the factory magnet; clean it thoroughly. If the magnet was covered in large, jagged metal chunks rather than fine grey paste, inspect the new bearings and gear backlash immediately before reassembly.
Step 3: Sealing and Reassembly
Scrape the old RTV or gasket material from both the axle housing and the cover using a plastic gasket scraper. Wipe both mating surfaces with acetone or brake cleaner until perfectly dry.
If using RTV, apply a continuous 1/4-inch bead of Permatex Ultra Black around the cover flange, encircling every bolt hole on the inside to prevent silicone from squeezing into the gear oil. Allow the RTV to skin over for 10 minutes before mating the cover to the housing. If using a reusable LubeLocker gasket, simply align it and seat the cover. Thread all bolts in by hand to prevent cross-threading, then tighten in a crisscross star pattern.
Step 4: Refilling and Friction Modifier Application
Locate the fill plug on the front or side of the differential housing. Remove it before you begin tightening the cover bolts (this prevents the nightmare scenario of sealing the cover only to discover the fill plug is seized or stripped). Using a fluid transfer pump, fill the differential with your chosen 75W-90 GL-5 gear oil until it reaches the exact bottom lip of the fill hole.
LSD Note: If your axle is equipped with a clutch-type limited-slip differential, you must add the manufacturer-specified friction modifier (typically 2 to 4 ounces) either before or mixed into the gear oil. Torque the fill plug to spec (usually 20-25 ft-lbs) and reinstall the cover bolts to their final torque specification.
Axle Torque Specifications and Fluid Capacities
Over-torquing differential cover bolts will warp thin stamped-steel covers, leading to immediate leaks. Always use a calibrated inch-pound or low-range foot-pound torque wrench. Refer to the table below for common solid-axle specifications.
| Axle Model | Fluid Capacity | Cover Bolt Torque | Fill Plug Torque |
|---|---|---|---|
| Ford 8.8 (Super 8.8) | 2.5 - 3.0 Pints | 28 - 38 ft-lbs | 22 ft-lbs |
| Dana 44 (JK/JL Wrangler) | 3.5 - 4.0 Pints | 30 - 40 ft-lbs | 25 ft-lbs |
| GM 8.5 / 8.6 (10-Bolt) | 2.5 - 3.0 Pints | 22 - 30 ft-lbs | 20 ft-lbs |
| Dana 60 (Front/Rear) | 4.0 - 5.5 Pints | 35 - 45 ft-lbs | 30 ft-lbs |
Post-Service Break-In and Diagnostics
After completing the rear differential bearing replacement and fluid change procedure, the break-in period is vital. Drive the vehicle normally for the first 50 miles, avoiding sustained highway speeds or heavy towing. The new bearings and gear sets need time to mate, and the fluid will experience a temporary spike in temperature as surface asperities smooth out.
After 50 miles, carefully place your hand near the differential pinion yoke and housing. It should be warm, but not hot enough to burn your skin. If the housing is smoking or too hot to touch, your pinion bearing preload was likely set too tight during the bearing replacement, or the gear oil viscosity is incorrect. Finally, perform a figure-eight test in an empty parking lot to verify that the limited-slip clutches are engaging smoothly without chatter, confirming the friction modifier was properly distributed and the differential fluid change procedure was a success.