Introduction: The Overlooked Culprit of Rear Axle Leaks
Rear differential service and maintenance often focus heavily on gear oil degradation, ring and pinion wear, and bearing clearances. However, one of the most frequent yet misdiagnosed culprits behind catastrophic seal failures and mysterious fluid leaks is a clogged differential breather vent. When performing rear axle maintenance, ignoring this tiny, inexpensive component can lead to hundreds of dollars in unnecessary seal replacements, contaminated brake assemblies, and destroyed wheel bearings. This comprehensive diagnostic guide dives deep into the physics of axle pressure, symptom identification, and precise rear differential service procedures to keep your drivetrain sealed and operational.
The Thermodynamics of Axle Pressure and Vent Function
To understand why a differential breather vent is critical, you must understand the thermodynamics occurring inside the axle housing. Standard 75W-90 or 75W-140 synthetic gear oil expands significantly as it heats up. During heavy towing, off-road crawling, or sustained highway driving, internal differential temperatures routinely climb from a 70-degree Fahrenheit ambient baseline to 180 to 220 degrees Fahrenheit.
As the gear oil and trapped air heat up, they expand. A properly functioning differential breather vent allows this expanding air to escape, maintaining the internal housing pressure at a near-ambient 1 ATM. If the vent becomes clogged with mud, road grime, or ice, the internal pressure can spike to 3 to 5 PSI. Because the axle housing is a sealed metal vessel, this pressurized oil and air mixture will aggressively seek the path of least resistance to escape, ultimately compromising your weakest seals.
4 Telltale Symptoms of a Blocked Differential Breather Vent
Before you order a new pinion seal or spend hours pulling axle shafts to replace wheel seals, run through this diagnostic checklist. If you spot these symptoms, check the breather first.
Symptom 1: Pinion Seal Weeping After Highway Drives
The pinion seal is subjected to the highest rotational forces and heat in the differential. If you notice gear oil slung onto the underside of the vehicle, specifically originating from the driveshaft yoke or flange after a long highway trip, internal pressure is likely pushing fluid past the seal lip. Mechanics often misdiagnose this as a worn yoke surface or improper seal installation, but if the leak only occurs after the axle reaches peak operating temperature, suspect a blocked vent.
Symptom 2: Axle Shaft Seal Blowouts and Brake Contamination
When internal pressure peaks, the axle shaft seals are highly vulnerable. A blown axle seal pushes gear oil directly onto the brake shoes (on drum brakes) or the inside of the brake rotors (on disc brakes). If you find oil on both rear brakes simultaneously, or if a newly replaced axle seal fails within a few hundred miles, the differential breather vent is almost certainly restricted.
Symptom 3: Differential Cover Gasket Seepage
While less common than pinion seal leaks, excessive internal pressure can cause the differential cover gasket or RTV silicone bead to weep. This is particularly prevalent on high-mileage trucks where the original RTV has lost its elastomeric memory. The pressure forces the oil out along the mating surface, usually starting at the bottom of the cover where fluid pools.
Symptom 4: Milky Gear Oil (The Vacuum Effect)
A breather vent works in two directions. When the axle is hot and you suddenly plunge it into cold water (such as crossing a creek or driving through deep snow), the rapid temperature drop causes the internal air to contract violently, creating a strong vacuum. If the OEM breather is submerged, or if the internal check-valve is stuck closed and suddenly gives way, water is sucked directly into the axle. This results in milky, frothy, emulsified gear oil that destroys bearing surfaces and ring-and-pinion gear teeth within miles.
OEM Axle Specifications and Breather Data
Knowing your specific axle model is crucial for sourcing the correct replacement parts and adhering to proper torque specifications during your rear differential service. Below is a reference chart for the most common heavy-duty truck axles.
| Axle Model | OEM Breather Part Number | Thread Size | Cover Bolt Torque | Fluid Capacity |
|---|---|---|---|---|
| Ford 10.5-inch Sterling | Motorcraft YC3Z-4A665-AA | 1/4-inch NPT | 25 - 30 lb-ft | 3.5 - 4.0 Quarts |
| GM 11.5-inch AAM | ACDelco 26064288 | M10x1.0 | 25 - 30 lb-ft | 3.8 - 4.2 Quarts |
| Dana 60 / Dana 70 HD | Spicer 10-102-01 | 1/8-inch NPT | 25 - 35 lb-ft | 3.0 - 4.0 Quarts |
Step-by-Step Rear Differential Fluid Service Protocol
When addressing a suspected breather issue, it is highly recommended to perform a complete rear differential service to inspect for water ingestion and metal contamination. According to the technical experts at Randy's Ring & Pinion Technical Articles, proper fluid maintenance is the cornerstone of axle longevity.
Step 1: Exterior Cleaning and Vent Inspection
Before cracking the differential cover, spray the entire housing and the breather vent with brake cleaner. Remove the OEM breather cap. Use a small pick or a blast of compressed air to clear the internal passage. If the vent features a plastic check-valve cap (common on modern GM and Ford axles), pop the cap off and clean the internal diaphragm with electrical contact cleaner.
Step 2: Cover Removal and Fluid Analysis
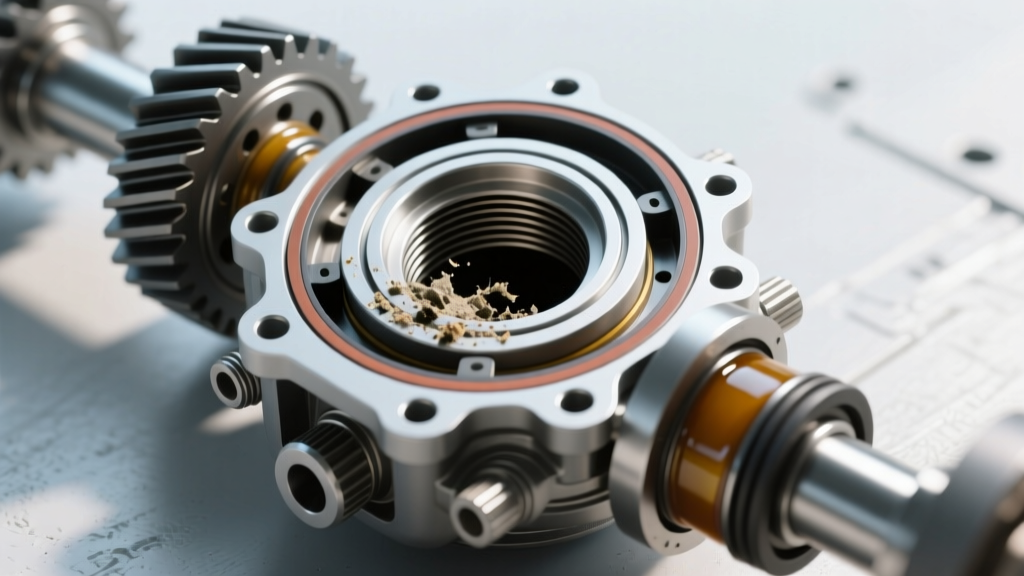
Place a large drain pan beneath the axle. Remove the cover bolts, leaving the top two bolts slightly threaded to hold the cover while the fluid drains. Never pry the cover off with a flathead screwdriver, as this will gouge the soft aluminum or cast-iron mating surface. Inspect the drained fluid: fine metallic glitter on the drain plug is normal wear, but chunky metal shards indicate catastrophic bearing or gear failure requiring a full teardown.
Step 3: Mating Surface Preparation
Scrape the old RTV silicone from both the cover and the axle housing using a plastic gasket scraper. Wipe both surfaces with acetone or brake cleaner until perfectly dry. As noted in AMSOIL's Gear Oil Basics Guide, ensuring a contaminant-free mating surface is critical to preventing future leaks.
Step 4: Gasket Installation or RTV Application
Step 5: Torque Sequence and Fluid Fill
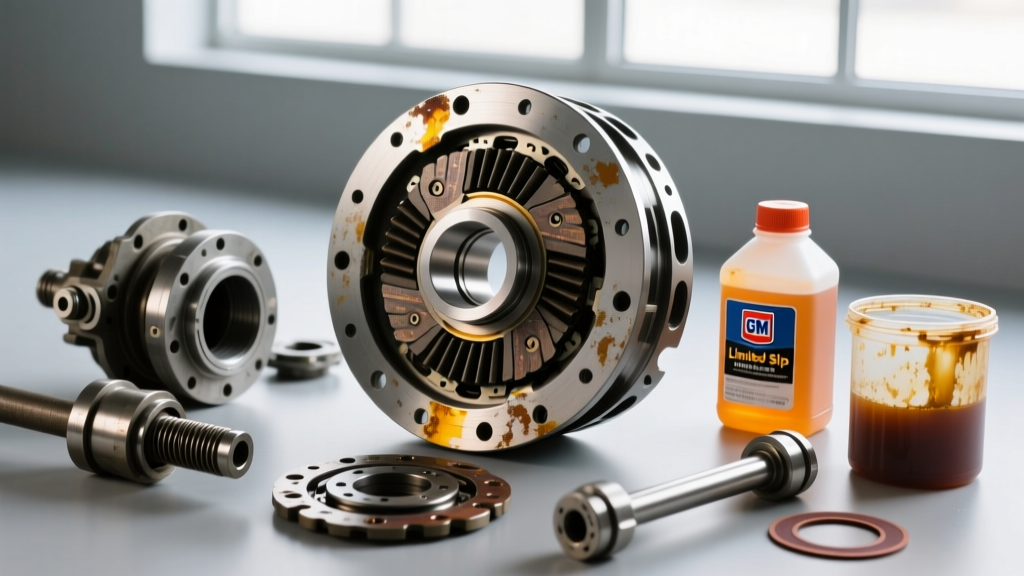
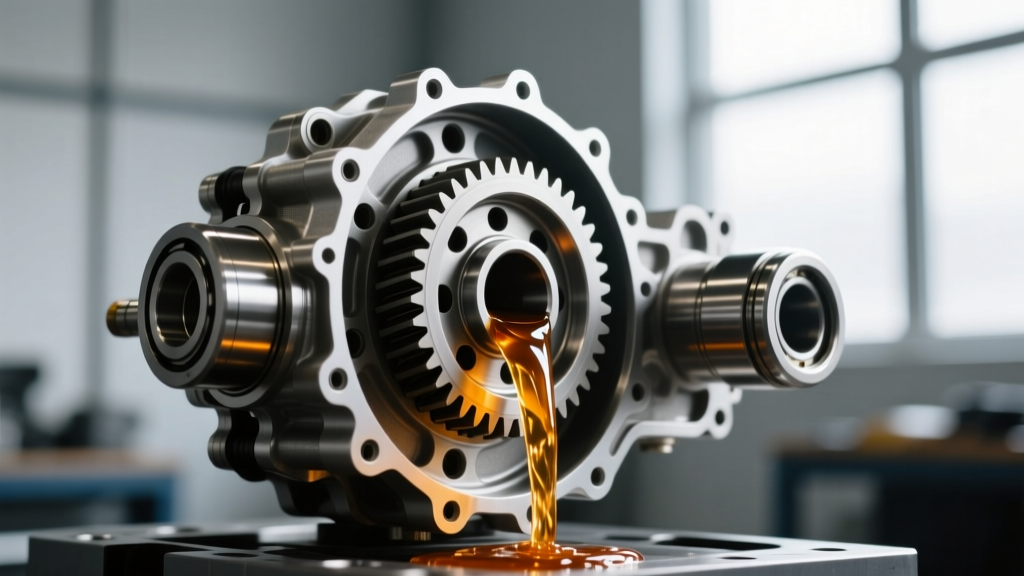
Install the cover and hand-thread all bolts. Tighten them in a crisscross star pattern to 25-30 lb-ft (verify with your specific OEM service manual). Allow RTV to cure for at least one hour. Fill the differential with the specified synthetic 75W-90 or 75W-140 gear oil until it reaches the bottom edge of the fill hole. If your vehicle is equipped with a factory limited-slip differential (LSD), ensure you add the required friction modifier additive before topping off.
Upgrading to a Remote Extended Breather Kit
If you frequently subject your vehicle to deep water crossings, extreme mud, or heavy snow, the factory differential breather vent location on top of the axle housing is inadequate. Upgrading to a remote extended breather kit is a mandatory modification for off-road and heavy-duty towing applications.
Brands like ARB, Yukon Gear, and Currie Enterprises offer extended breather kits (typically costing between $60 and $120) that include high-flow filter caps, polyurethane tubing, and brass fittings. The installation involves removing the OEM vent, threading in a brass barbed fitting, and routing the tubing up into the engine bay or high onto the vehicle's frame rail near the bed. This ensures that even if the axle is fully submerged, the breather remains above the water line, completely eliminating the vacuum-induced water ingestion that destroys differentials. For further routing best practices, consult the Spicer Drivetrain Tech Tips portal.
Conclusion
A rear differential leak is rarely just a bad seal; it is often a symptom of a pressurized housing begging to breathe. By incorporating a thorough differential breather vent inspection into your routine rear differential service, you can save hundreds of dollars in misdiagnosed labor and parts. Whether you are clearing a clogged OEM valve or routing a remote breather kit for extreme environments, maintaining proper axle ventilation is the cheapest and most effective insurance policy for your drivetrain.