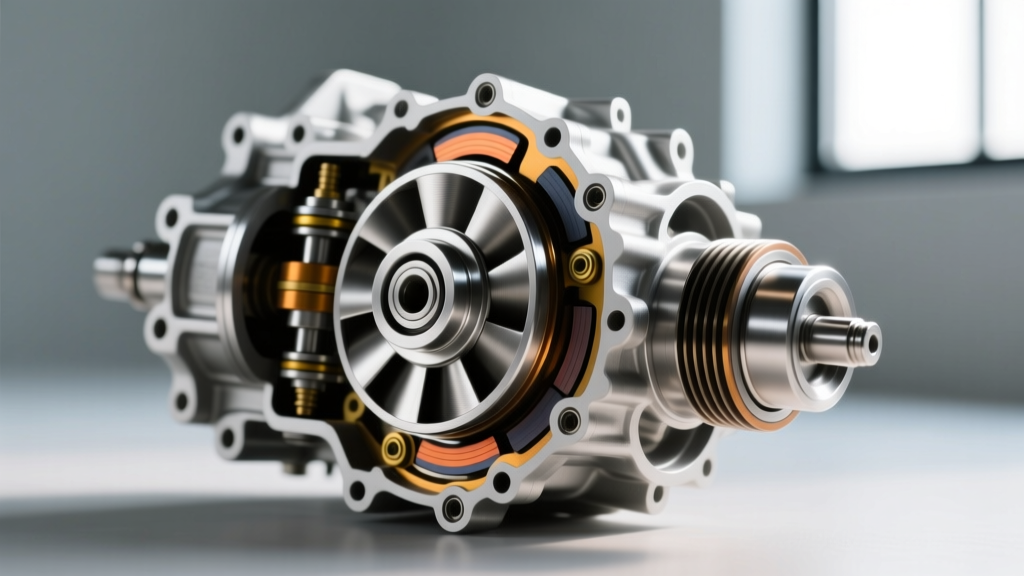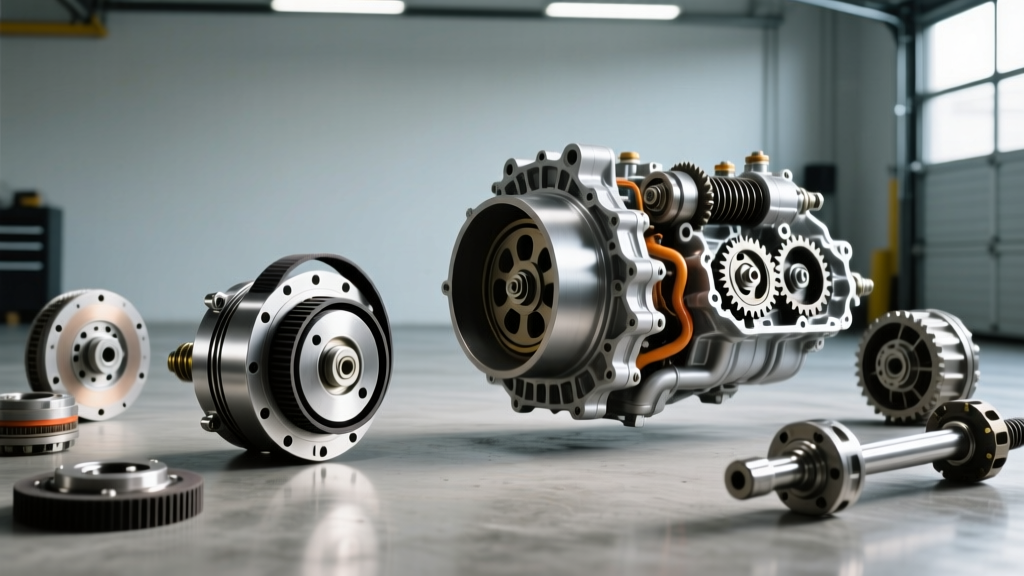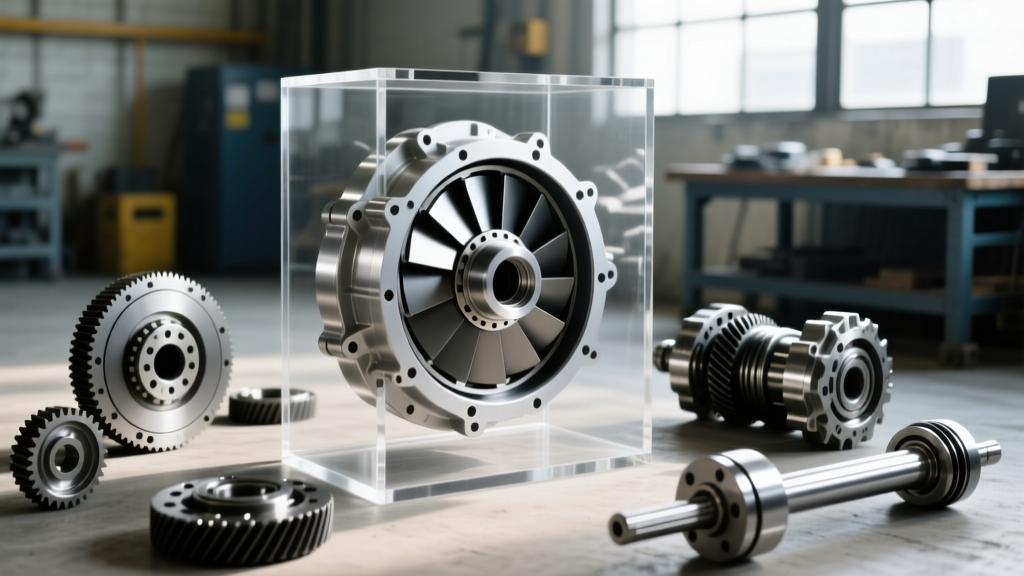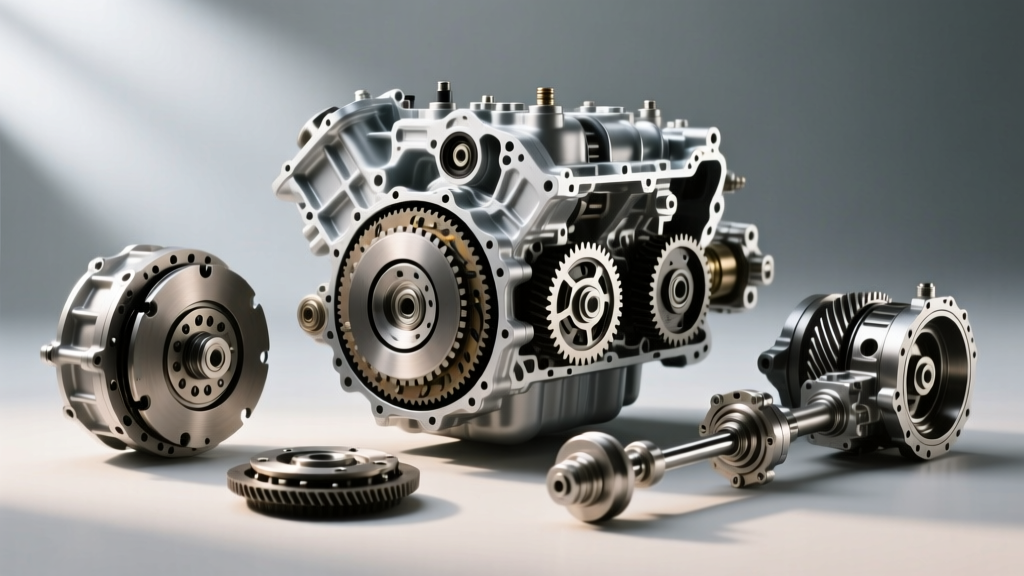
Pro-King Automatic Transmission Torque Converter Reviews: Are They Worth It?
When a late-model GM truck or SUV starts exhibiting severe shudder at highway speeds, delayed engagement, or contaminated transmission fluid, the torque converter is usually the prime suspect. For independent shops and DIY mechanics, sourcing a reliable remanufactured unit is critical. This brings us to a highly searched topic in the drivetrain community: Pro-King automatic transmission torque converter reviews. Pro-King Automotive Products has established itself as a dominant supplier in the remanufactured torque converter market, particularly for domestic applications like the GM 4L60E, 6L80, and Ford 6R80.
Unlike cheap, imported 'white-box' converters that merely flush out old fluid and reuse degraded clutch linings, Pro-King units are remanufactured to strict OEM-equivalent or better specifications. According to industry data and technician feedback aggregated on platforms like RockAuto, Pro-King converters consistently receive high marks for hub integrity, stator welding, and balance. However, no remanufactured part is immune to failure if the underlying transmission issues are not addressed prior to installation.
Top Pro-King Part Numbers for GM Applications
- GMR-23 (4L60E / 4L65E): The workhorse for 1998-2013 GM half-ton trucks. Features a reinforced turbine hub to prevent the notorious spline-stripping issue common in early 4L60E converters.
- GMR-45 (6L80 / 6L90): Designed for 2006-2017 Silverado/Sierra and Tahoe/Yukon models. Upgraded with high-energy woven carbon friction linings to handle the aggressive lockup strategies of the 6L80's TCC (Torque Converter Clutch) system.
- GMR-88 (8L90): A newer addition for the 8-speed GM transmissions, featuring precision-machined stators to eliminate the low-speed shudder that plagues early 8L90 models.
Pre-Swap Diagnostics: Confirming TC Failure
Before tearing down the drivetrain based on a few forum recommendations, you must verify that the torque converter is actually failing. A common misdiagnosis is replacing the converter when the fault lies in the valve body or the TCC PWM (Pulse Width Modulation) solenoid. For example, in the 4L60E, the TCC apply valve bore in the valve body frequently wears out, causing a cross-leak that prevents the converter from fully locking up. This mimics a bad torque converter clutch. Sonnax offers specific reamer kits and oversized valves to fix this hydraulic leak without replacing the entire unit.
Diagnostic Checklist Before Removal:
- Scan Tool Data: Monitor TCC Slip RPM. If commanded TCC slip is 0 RPM but actual slip is fluctuating between 50-200 RPM under steady throttle, the friction lining is glazed or the hydraulic circuit is leaking.
- Fluid Inspection: Drop the pan. If you find a heavy accumulation of copper-colored glitter (thrust washer wear) or thick, dark friction material, the converter clutch has disintegrated. A simple flush will not save the transmission; the radiator must also be flushed to prevent cross-contamination.
- Stall Test: With the brakes firmly applied, shift into Drive. The RPM should peak at the factory stall speed (typically 1,800-2,200 RPM for stock GM trucks). If the engine bogs down instantly or revs freely past 3,000 RPM, internal transmission damage is likely present, and a new torque converter alone will not solve the problem.
Model-Specific Replacement Procedure: GM 4L60E & 6L80
Replacing a torque converter requires dropping the transmission. While the fundamental steps are similar across rear-wheel-drive platforms, the 6L80 presents unique challenges compared to the older 4L60E, particularly regarding flexplate bolt counts and depth measurements.
Step 1: Drivetrain Extraction and Flexplate Access
After safely lifting the vehicle and supporting the transmission with a specialized jack, disconnect the driveshaft, crossmember, and all electrical connectors (including the 20-way pass-through connector on the 6L80). Support the engine from above using an engine support bar; removing the transmission alters the engine's resting angle, which can stress motor mounts or stretch wiring harnesses if not supported.
Remove the inspection cover. On the 4L60E, you will find three 15mm torque converter-to-flexplate bolts. On the 6L80, GM upgraded to a six-bolt flexplate pattern using 13mm or 15mm bolts depending on the exact year. Rotate the crankshaft manually using a flywheel turning tool to access each bolt. Mark the flexplate and converter with paint to maintain factory balance alignment during reassembly.
Step 2: Measuring Pilot Depth and Hub Engagement
This is where most DIY installations fail. The torque converter must be fully seated into the transmission oil pump before the transmission is bolted to the engine. If the converter is not fully seated, tightening the bellhousing bolts will crush the oil pump gear, leading to immediate, catastrophic transmission failure upon startup.
The 'Three Drop' Rule: When sliding the new Pro-King converter onto the transmission input shaft, you must feel and hear three distinct drops: 1. The turbine splines engaging the input shaft. 2. The stator support splines engaging the stator. 3. The converter hub flats engaging the transmission oil pump gear.
Once seated, use a straightedge across the bellhousing mating surface and measure the gap to the converter's mounting pads. For both the 4L60E and 6L80, the converter pads should be recessed between 1/8-inch and 3/16-inch below the bellhousing surface. If the pads are flush or protruding, the converter is NOT fully seated. Do not proceed.
Critical Torque Specifications & Clearances
Adhering to exact torque specifications is non-negotiable. Over-torquing the flexplate bolts can warp the thin stamped steel flexplate, causing severe vibration and premature pump bushing wear. Under-torquing risks the bolts backing out and destroying the block.
| Component | 4L60E / 4L65E Spec | 6L80 / 6L90 Spec | Notes / Fastener Type |
|---|---|---|---|
| Torque Converter to Flexplate | 35 lb-ft (47 Nm) | 44 lb-ft (60 Nm) | Use new OEM bolts; apply medium threadlocker. |
| Bellhousing to Engine Block | 37 lb-ft (50 Nm) | 37 lb-ft (50 Nm) | Tighten in a crisscross pattern. |
| Transmission Crossmember to Frame | 70 lb-ft (95 Nm) | 70 lb-ft (95 Nm) | Verify rubber isolator is not degraded. |
| Driveshaft Flange Bolts | 15 lb-ft (20 Nm) | 18 lb-ft (25 Nm) | Replace if stretched; use new nylon patch. |
Fluid Priming, TCC Solenoid Checks, and Adaptive Relearn
Once the drivetrain is reassembled, the system must be primed. The 4L60E requires approximately 11-12 quarts of Dexron VI for a completely dry rebuild and new converter. The 6L80, with its larger cooler circuit and integrated transmission fluid pressure switch assembly, may require up to 13 quarts. Never start the engine without adding at least 6-8 quarts of fluid directly into the dipstick tube or fill plug first.
Start the engine and let it idle. Do not rev the engine. The transmission oil pump will draw fluid from the pan, fill the torque converter, and push it through the cooler lines. Cycle the shifter through all gears (P-R-N-D-L) pausing for 3 seconds in each position to fill the respective clutch apply circuits. Check the fluid level with the transmission fluid temperature (TFT) between 86°F and 122°F (30°C - 50°C) as monitored via a bi-directional OBD2 scan tool.
The Importance of TCC Adaptive Relearn
Modern transmissions like the 6L80 and 8L90 utilize adaptive learning tables to control the Torque Converter Clutch apply pressure. The Transmission Control Module (TCM) learns how much pressure is required to achieve the target slip RPM based on the friction characteristics of the old, worn-out converter. If you install a new Pro-King converter with aggressive, fresh carbon friction linings and do not reset the TCM adaptives, the computer will apply the low pressure intended for the worn clutch. This will cause the new clutch to slip, glaze, and fail within the first 500 miles.
Use a professional-grade scan tool to perform a 'TCC Adapt Reset' or 'Transmission Fast Learn' procedure. Drive the vehicle at a steady 45-55 MPH on a flat road, allowing the TCM to re-learn the apply pressures for the new friction material. By combining a high-quality remanufactured unit with meticulous installation procedures and proper electronic calibration, your torque converter replacement will provide years of reliable, shudder-free service.