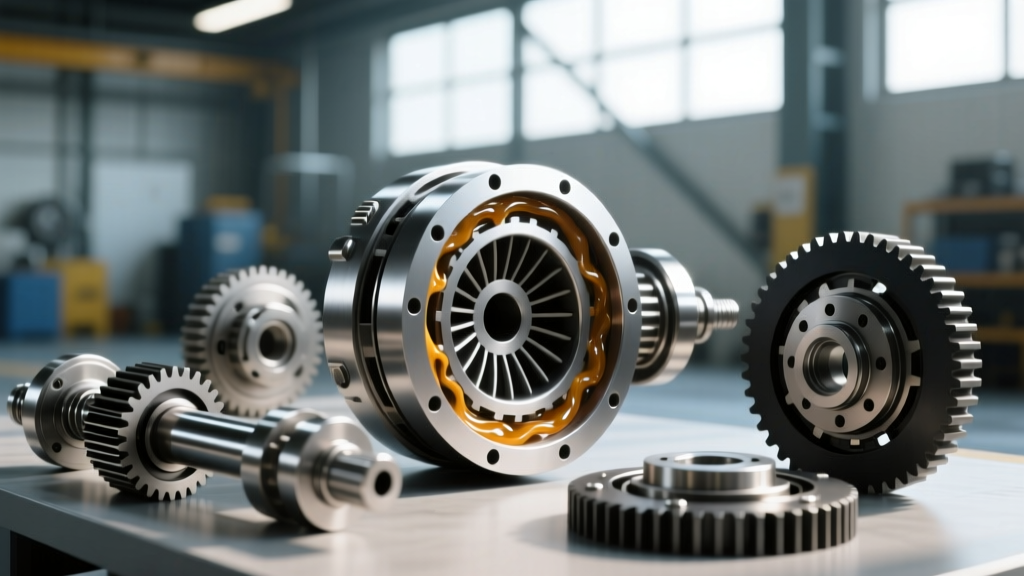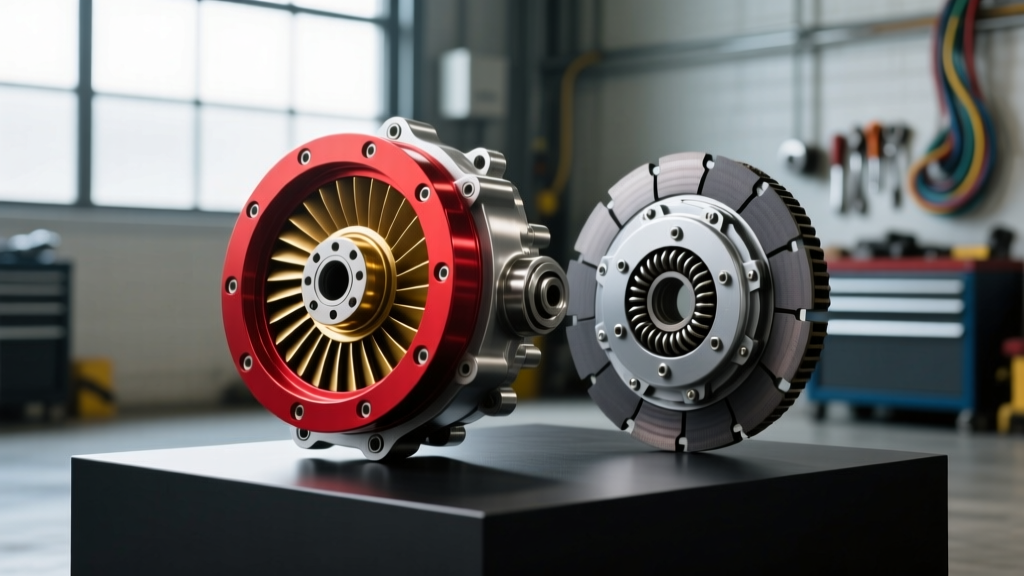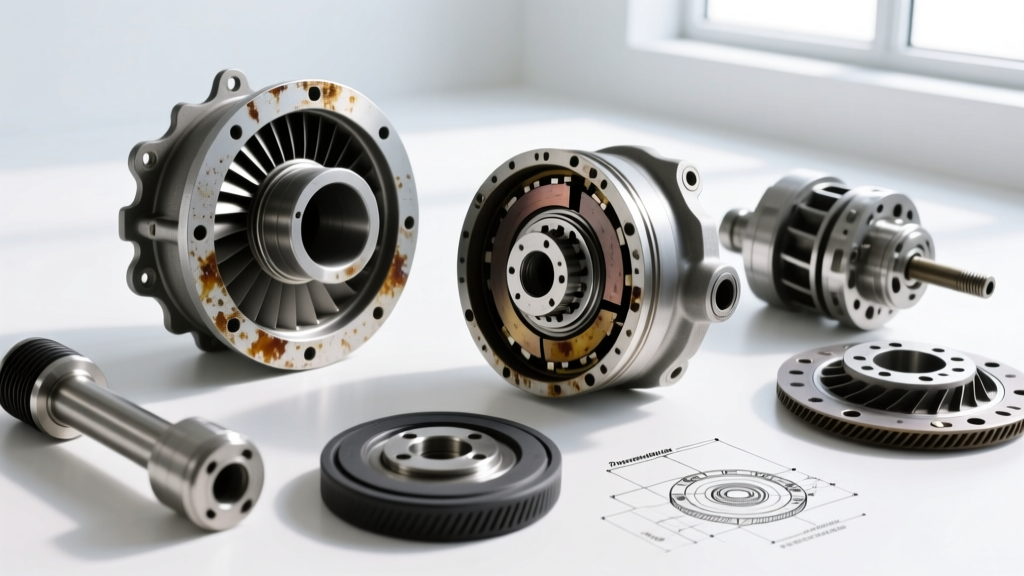
The Unique Abuse of a Performance Powerglide
When building a dedicated drag car or a high-horsepower street/strip machine, the GM Powerglide remains the undisputed king of automatic transmissions. However, the 2 speed powerglide torque converter operates in an environment of extreme violence that daily-driver transmissions never face. As we navigate the 2026 drag racing season, the widespread adoption of small-displacement, high-boost turbocharged engines producing 1,000 to 1,500+ horsepower means these hydraulic couplers are subjected to immense trans-brake shock loads, extreme centrifugal forces, and catastrophic heat spikes.
Recognizing bad torque converter symptoms early is the difference between a successful pass and a destroyed flexplate, shattered pump gear, or a blown engine block. In a performance context, a "bad" converter rarely exhibits the mundane shudder of a commuter car; instead, it reveals itself through inconsistent 60-foot times, trans-brake creep, and catastrophic physical ballooning. Below, we break down the critical failure modes, diagnostic teardown specifications, and modern billet upgrade paths to keep your Powerglide performing at its peak.
5 Critical Symptoms of a Failing Powerglide Torque Converter
Track-side diagnostics require a sharp eye and a deep understanding of hydraulic behavior. If your Powerglide is exhibiting any of the following symptoms, the converter must be pulled and inspected immediately.
1. Trans-Brake Creep and Inconsistent Staging
When you engage the trans-brake and spool the turbo or load the converter against the stall speed, the car should remain dead still. If the vehicle begins to creep forward against the brakes, or if the RPMs fluctuate erratically while held on the trans-brake, the stator one-way clutch (sprag) inside the converter is likely failing. Under extreme torque multiplication, a worn or overheated sprag will slip, allowing the stator to rotate backward. This destroys the converter's ability to multiply torque and generates massive internal heat, often glazing the transmission fluid within a single pass.
2. Unexplained 60-Foot Time Variations (Fin Deflection)
If your engine and fuel system data logs show perfect consistency, but your 60-foot times are varying by 0.03 to 0.08 seconds between identical passes, you are experiencing internal converter slippage. In high-horsepower applications, the stamped steel fins of the impeller and turbine can physically bend or deflect under load. This alters the fluid coupling angle, resulting in unpredictable stall speeds and erratic launch characteristics. According to TCI Automotive's technical guidelines, fin fatigue is a primary cause of slippage in converters not equipped with internal furnace-brazed fins or billet stators.
3. Converter Ballooning and Flexplate Cracking
At 6,000+ RPM, the hydraulic pressure and centrifugal force inside a standard stamped-steel converter cover can cause it to expand outward—a phenomenon known as ballooning. Symptoms include a heavy, dragging sensation upon deceleration, sudden loss of transmission fluid from the front pump seal, and a distinct metallic scraping noise at high RPM. Severe ballooning pushes the converter forward, overloading the front pump bearings and often cracking the flexplate around the converter mounting pads.
4. Metallic Debris and Stator Clutch Destruction
During a post-race pan drop, finding fine, glitter-like metallic dust is normal wear. However, finding chunky, brass-colored shavings or large steel flakes is a death sentence for the transmission. Brass debris indicates the destruction of the stator support tube or internal thrust washers, usually caused by the converter bottoming out inside the pump. Large steel flakes often point to a shattered stator sprag or a failed turbine hub. If this debris enters the Powerglide's valve body or clutch pack, a full transmission rebuild is mandatory.
5. Post-Stall RPM Drops and Heat Spikes
Monitor your transmission temperature and engine RPM immediately after the 1-2 shift. If the RPM drops significantly below the expected curve, or if transmission temperatures instantly spike past 240°F (115°C) during the top-end pull, the converter is suffering from severe hydraulic inefficiency. The lockup mechanism (if equipped in a modern performance build) may be slipping, or the internal fluid dynamics are entirely broken down due to cavitation.
Performance Converter Comparison Matrix
Selecting the right replacement requires understanding the structural limits of different converter architectures. The table below outlines the transition from stock-style replacements to modern billet performance units.
| Converter Type | Cover Material | Max HP Rating (Est.) | Stator Design | Typical Cost (2026) |
|---|---|---|---|---|
| Stock Replacement (Stamped) | Stamped Steel | 350 - 450 HP | Cast Aluminum / Standard Sprag | $250 - $400 |
| Performance Street/Strip | Reinforced Steel / Anti-Balloon Plate | 600 - 800 HP | Billet Stator / Heavy-Duty Sprag | $550 - $850 |
| Pro Drag / Billet (e.g., TCI 245000 Series) | Full Billet Steel Cover | 1,200 - 2,000+ HP | Billet Stator / 34-Element Roller Sprag | $1,100 - $1,600+ |
Teardown Diagnostics and Critical Clearances
When removing a suspect 2 speed powerglide torque converter, precision measurement is required to determine the root cause of the failure and ensure the replacement unit will survive. Follow these critical clearance checks as recommended by Hughes Performance engineering standards:
- Converter Hub to Pump Gear Clearance: Using a straight edge and feeler gauge, measure the distance from the transmission case to the converter drive hub. The ideal endplay clearance between the converter hub and the internal pump gears should be between 0.030" and 0.060". If clearance is less than 0.020", the converter will bottom out and destroy the pump gears instantly upon startup.
- Pump Gear Internal Clearance: Remove the pump and measure the gear-to-pocket clearance. It must not exceed 0.008". Excessive clearance here is often caused by a ballooned converter pushing forward and wearing the pump pocket walls.
- Turbine Hub Spline Inspection: Inspect the turbine hub splines that mate to the Powerglide input shaft. If you see "twisting" or galling on the splines, the converter experienced a violent shock load (common with aggressive trans-brake releases) and the internal splines must be upgraded to a hardened billet hub.
- Flexplate Runout: Mount a dial indicator on the engine block and measure flexplate runout. It must be within 0.015". A warped flexplate will induce harmonic vibrations that destroy the converter's front cover and the transmission's front pump bushing.
Upgrade Paths for High-Horsepower Builds
If your teardown confirms fin fatigue, sprag failure, or ballooning, do not reinstall a stamped-steel converter. Modern performance upgrades focus on structural rigidity and thermal management.
Anti-Ballooning Plates and Billet Covers
For naturally aspirated builds making up to 800 horsepower, welding an internal anti-ballooning plate to the inside of the front cover is a cost-effective upgrade. For forced-induction builds exceeding 1,000 horsepower, a full billet steel front cover (such as those found in the Circle D Pro Line or TCI Super Street Fighter series) is mandatory. Billet covers do not expand under centrifugal force, maintaining exact pump clearances and preventing front seal blowouts.
Upgrading the Stator Sprag
The stock Powerglide stator sprag is designed for mild torque multiplication. When utilizing a trans-brake, the converter is subjected to the engine's full stall torque while the transmission is held stationary. Upgrading to a 34-element heavy-duty roller sprag increases the torque-holding capacity by over 40%, preventing the stator from slipping and generating catastrophic heat. Always pair a high-stall performance converter with an auxiliary transmission cooler featuring a minimum capacity of 24,000 GVW to manage the thermal load of trans-brake spooling.
Proper Installation Torque Specifications
Even the best billet converter will fail if installed improperly. Adhere strictly to these torque specs during reassembly:
- Flexplate to Crankshaft: 55-65 lb-ft (using high-strength ARP bolts and red threadlocker).
- Converter to Flexplate Nuts: 25-30 lb-ft. Always use Grade 8 flange nuts and ensure the converter is fully seated into the front pump (you must feel and hear two distinct "clunks" as the turbine hub seats into the stator support and the pump gears).
- Transmission to Engine Block: 35-45 lb-ft, ensuring the dowel pins are perfectly aligned to prevent converter-to-pump binding.
By understanding the severe demands placed on a 2 speed powerglide torque converter, recognizing the subtle track-side symptoms of failure, and adhering to strict teardown and upgrade protocols, you can ensure your drivetrain survives the violent reality of modern drag racing. For further reading on drivetrain harmonics and flexplate selection, consult the extensive archives at Dragzine Tech Stories.