Mastering Class 8 Axle Maintenance: Fluid Service and IAD Lock Diagnostics
Operating a Class 8 heavy-duty truck requires a meticulous approach to drivetrain maintenance. For Peterbilt models like the 579, 589, and legacy 389, the tandem drive axles—typically Dana Spicer DSH40 or Meritor RT-40-145 units—are the unsung heroes of freight transport. While most fleet technicians are familiar with standard engine oil intervals, the differential fluid change procedure and intervals are often overlooked until catastrophic failure occurs. Furthermore, the inter-axle differential (IAD) system, controlled by the Peterbilt differential lock switch, plays a critical role in low-traction scenarios and requires specific diagnostic attention during routine axle servicing.
In this comprehensive 2026 guide, we will walk through the exact step-by-step procedure for draining, inspecting, and refilling heavy-duty tandem axles, alongside a rigorous diagnostic protocol for the dashboard-mounted differential lock switch and its associated pneumatic solenoids.
Essential Tools and Safety Equipment
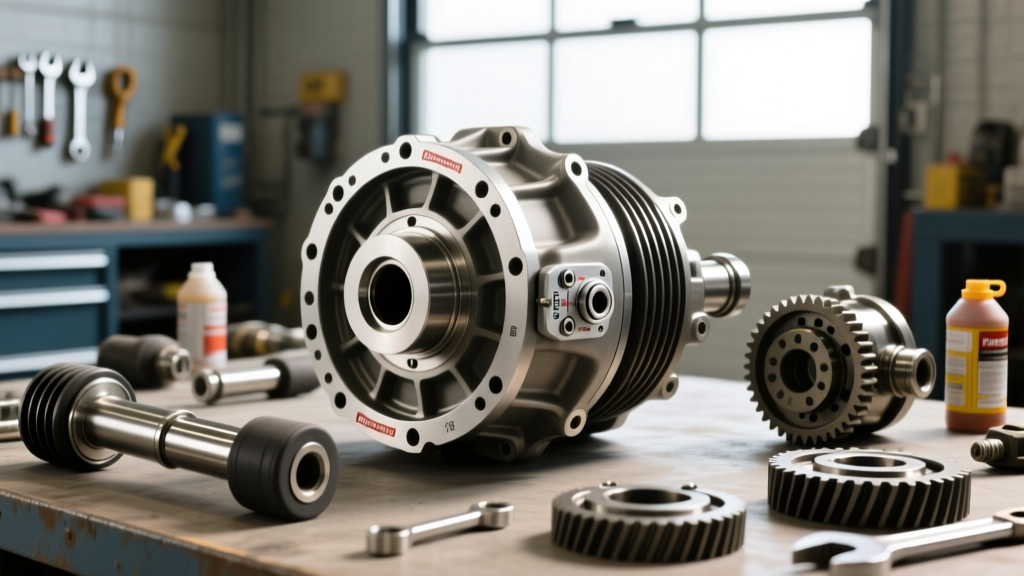
Before crawling under a 80,000-pound GVW combination vehicle, ensure you have the correct tooling. Heavy-duty axle plugs require high-torque applications, and gear oil requires specialized pumping equipment.
- PPE: Nitrile gloves, safety glasses, and steel-toe boots.
- Fluid Extraction/Filling: Pneumatic or manual 5-gallon gear oil pump with a 3/4-inch NPT threaded hose adapter.
- Wrenches: 1/2-inch and 3/4-inch square drive socket sets, or heavy-duty hex keys depending on the axle manufacturer.
- Diagnostics: Digital multimeter (DMM), 12V test light, and a pneumatic pressure gauge (0-150 PSI).
- Consumables: Thread sealant (e.g., Loctite 567 or Teflon tape rated for petroleum), brake cleaner, and shop towels.
Understanding the Inter-Axle Differential (IAD) and Lock Switch
In a tandem drive configuration, the forward rear axle houses the Inter-Axle Differential (IAD). This component allows the front and rear drive axles to rotate at slightly different speeds when cornering, preventing driveline bind and excessive tire scrub. However, when one axle loses traction, the IAD will send all torque to the slipping wheel. This is where the Peterbilt differential lock switch becomes vital.
Located on the dashboard, this switch sends a 12-volt signal to a chassis-mounted solenoid valve. The solenoid then routes 120 PSI system air to a pneumatic shift cylinder on the forward axle housing, mechanically locking the IAD and forcing both axles to turn in unison. If the switch, solenoid, or shift cylinder fails, the truck will suffer severe traction loss in mud, snow, or ice. Testing this circuit should be a mandatory step during any differential fluid service.
2026 Fluid Specifications and Service Intervals
As of 2026, extended-drain synthetic gear oils have become the industry standard for over-the-road fleets, drastically altering the differential fluid change procedure and intervals. Always consult the specific OEM axle manual, but the chart below represents the current consensus for Class 8 line-haul and vocational trucks.
| Axle Model | Fluid Capacity (Per Axle) | Recommended Fluid Type | Highway Interval | Vocational Interval |
|---|---|---|---|---|
| Dana Spicer DSH40 | 18 - 22 Pints | SAE 75W-90 Synthetic API GL-5 | 250,000 Miles | 100,000 Miles |
| Meritor RT-40-145 | 19 - 24 Pints | SAE 80W-90 Mineral or Synth GL-5 | 100,000 Miles (Min) / 250k (Synth) | 50,000 Miles |
| Meritor RT-46-160 | 22 - 26 Pints | SAE 75W-90 Synthetic API GL-5 | 250,000 Miles | 100,000 Miles |
Note: Always verify capacity by filling until the fluid reaches the bottom edge of the fill plug hole. For detailed OEM specifications, refer to the Dana Spicer Service Manuals or Meritor/Cummins documentation.
Step-by-Step Differential Fluid Change Procedure
Performing a heavy-duty axle fluid service is not as simple as draining and filling. The sheer volume of thick gear oil and the presence of internal baffles require a methodical approach.
Step 1: Preparation and Temperature Management
Gear oil is highly viscous. If the truck has been sitting overnight, the 75W-90 or 80W-90 fluid will be nearly solid. Drive the truck for at least 15 miles under load to bring the axle housings up to operating temperature (140°F - 180°F). Park on a level surface, chock the front wheels, and release the parking brakes to allow the axles to settle naturally, preventing driveline bind.
Step 2: The Golden Rule - Remove the Fill Plug First
Before touching the drain plug, locate and remove the fill plug on the side or rear of the axle housing. Never drain an axle without first confirming you can open the fill plug. If the fill plug is seized or stripped, you will be left with an empty axle and no way to refill it. The fill and drain plugs are typically 3/4-inch NPT or 1/2-inch NPT square-drive.
Step 3: Draining and Magnetic Inspection
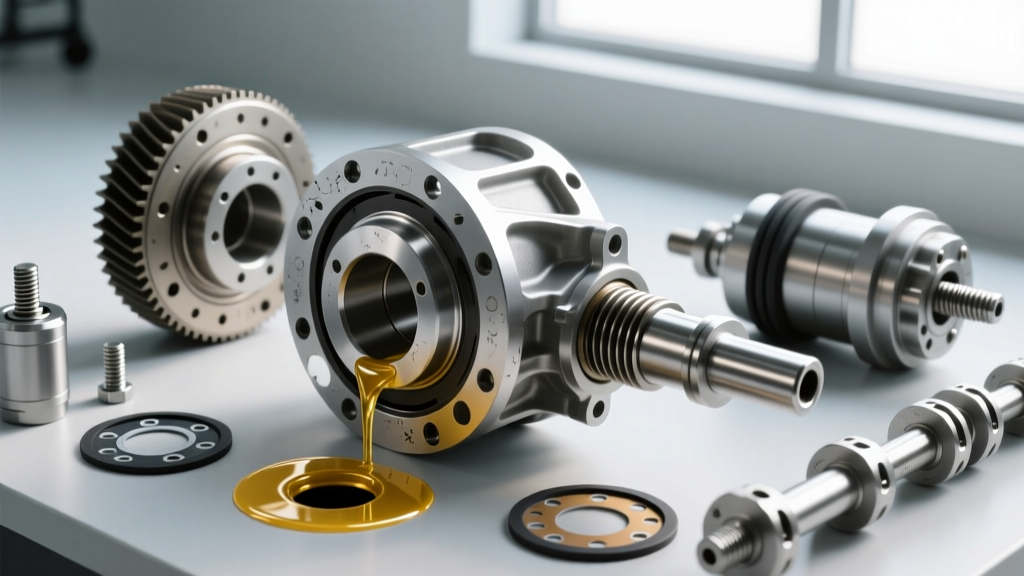
Place a minimum 30-gallon catch pan beneath the axle. Remove the drain plug and allow the hot fluid to evacuate. Most heavy-duty drain plugs are magnetic. Once removed, inspect the magnet carefully:
- Normal Wear: A fine, metallic paste or "fuzz" is normal for axles with over 300,000 miles.
- Abnormal Wear: Chunky metal shards, needle bearing fragments, or brass-colored flakes indicate catastrophic internal failure (likely ring/pinion spalling or planetary gear disintegration). If found, the axle must be torn down and rebuilt.
Step 4: Flushing (If Necessary)
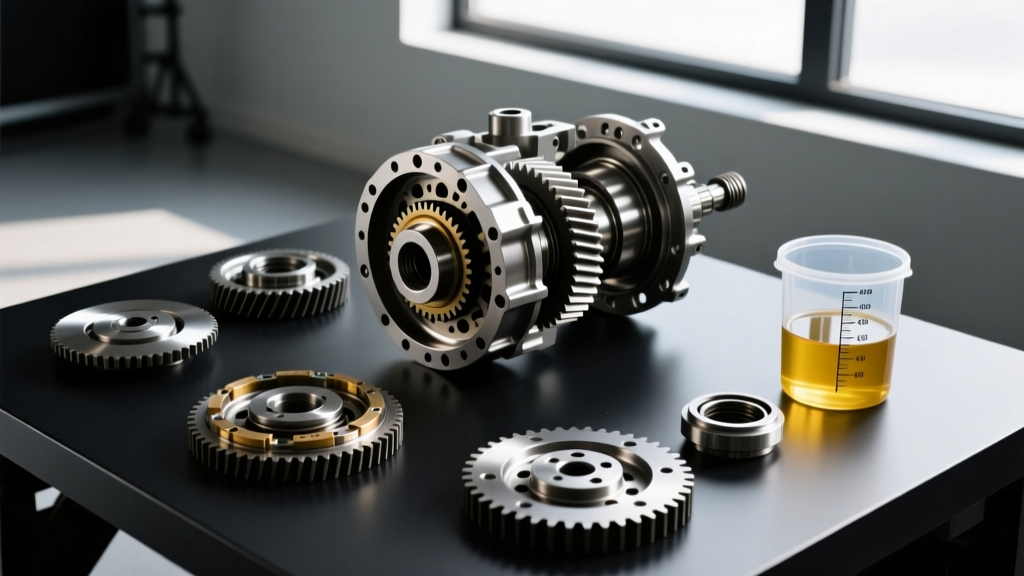
If the fluid smells burnt (like sulfur and charred coffee) or contains excessive moisture (milky appearance), a flush is required. Use a dedicated axle flushing oil or a low-viscosity transmission fluid, fill to the bottom of the plug, drive the truck for 5 miles, and drain again. For standard maintenance, simply wiping the inside of the plug cavity and housing with brake cleaner is sufficient.
Step 5: Refilling to Specification
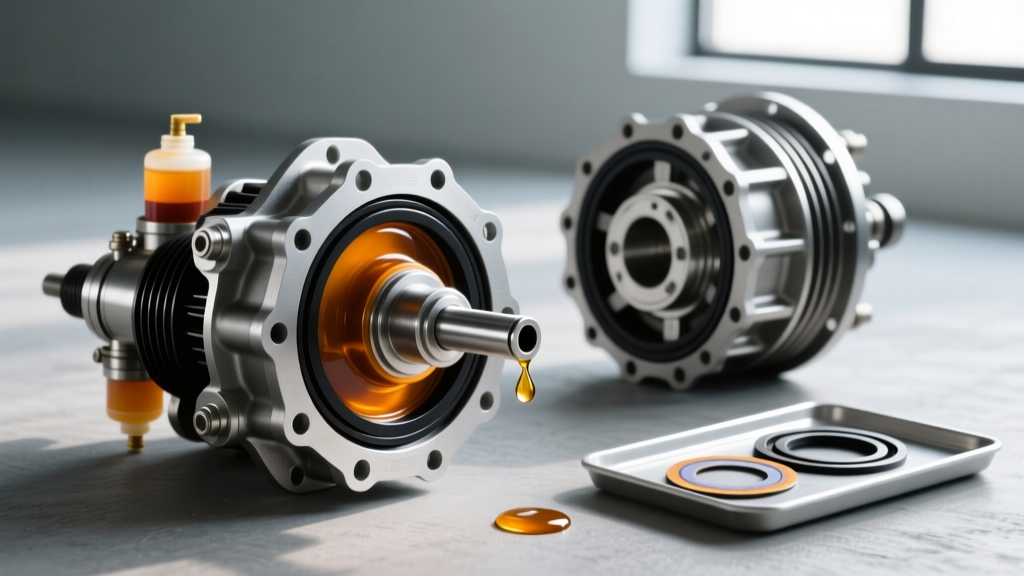
Reinstall the drain plug using fresh threads or Teflon tape. Torque the 3/4-inch NPT drain plug to 50 - 70 lb-ft. Using your pneumatic or manual pump, fill the axle with the specified synthetic gear oil (e.g., Mobil Delvac 1 Gear Oil 75W-90). Pump until the fluid begins to weep out of the fill hole. Wait 60 seconds to allow trapped air to escape, then top off. Install the fill plug and torque to 50 - 70 lb-ft.
Diagnosing the Peterbilt Differential Lock Switch
With the fluid service complete, it is the perfect time to verify the IAD lock mechanism. A malfunctioning locker can lead to severe driveline damage if the driver accidentally engages it on dry pavement at highway speeds.
Electrical Circuit Testing
- Turn the ignition to the "ON" position (engine off).
- Locate the IAD solenoid valve, typically mounted on the frame rail near the forward rear axle or on the firewall.
- Using a digital multimeter, probe the 12V supply wire at the solenoid connector while a helper toggles the Peterbilt differential lock switch on the dash.
- You should read 12.4V - 13.2V when the switch is depressed. If voltage is absent, check the dash fuse, the rocker switch contacts, and the wiring harness for chafing against the frame.
Pneumatic Actuation Testing
- Ensure the truck's primary and secondary air tanks are fully charged (120 PSI).
- Disconnect the pneumatic delivery line at the IAD shift cylinder on the forward axle housing.
- Attach a pneumatic pressure gauge to the disconnected line.
- Engage the dash switch. The gauge should immediately read system pressure (110 - 120 PSI).
- If pressure is low or non-existent, the solenoid valve is likely clogged with carbon/moisture, or the air line is kinked. Replace the solenoid valve assembly (typically a $60 - $120 part).
Pro Mechanic Tip: "Never engage the inter-axle differential lock while the wheels are spinning. The sudden mechanical shock of the locking collar engaging can instantly shatter the IAD spider gears or strip the splines on the axle shaft. Always engage the locker while the truck is stationary or moving in a straight line at under 15 MPH." - Senior Fleet Powertrain Technician
Environmental Compliance and Disposal
Heavy-duty differentials hold a significant volume of petroleum-based lubricants. Under EPA and local environmental regulations, used 75W-90 and 80W-90 gear oils must be stored in sealed, labeled secondary containment drums. Never mix gear oil with antifreeze, brake fluid, or solvent, as this renders the batch unrecyclable. Partner with a certified waste management vendor for bulk pickup. For more insights on heavy-duty shop compliance and drivetrain care, resources like Fleet Maintenance Magazine offer excellent ongoing education for shop managers.
Conclusion
Adhering to a strict differential fluid change procedure and intervals schedule is one of the highest ROI maintenance practices a fleet or owner-operator can execute. By combining this fluid service with a thorough diagnostic check of the Peterbilt differential lock switch and its pneumatic circuit, you ensure that the truck not only survives the million-mile mark but retains the traction and drivability required to keep freight moving safely through any environment.