The Anatomy of Clutch Slip: Beyond the Friction Disc
When your engine RPMs flare without a corresponding increase in vehicle speed, the immediate assumption is often a worn friction disc. However, as modern manual transmissions evolve to handle higher torque loads, clutch slipping symptoms frequently originate far from the bellhousing. For bilingual gearheads, import tuners, and professional technicians, the pedal de clutch (clutch pedal) assembly and its associated hydraulic or mechanical linkage serve as the primary diagnostic starting point. In this 2026 preventive maintenance guide, we dissect the root causes of clutch slip, focusing on hydraulic bypass failures, mechanical linkage wear, and precise adjustment protocols that save you from unnecessary transmission pulls.
The Hidden Culprit: Master Cylinder Bypass Port Blockage
One of the most misdiagnosed causes of clutch slipping under heavy load or high ambient temperatures is a blocked master cylinder compensation (bypass) port. The pedal de clutch pushrod must have a specific amount of free play—typically 1/16 to 1/8 of an inch (1.5mm - 3mm) at the piston face. This free play allows the master cylinder piston to fully retract when your foot is off the pedal.
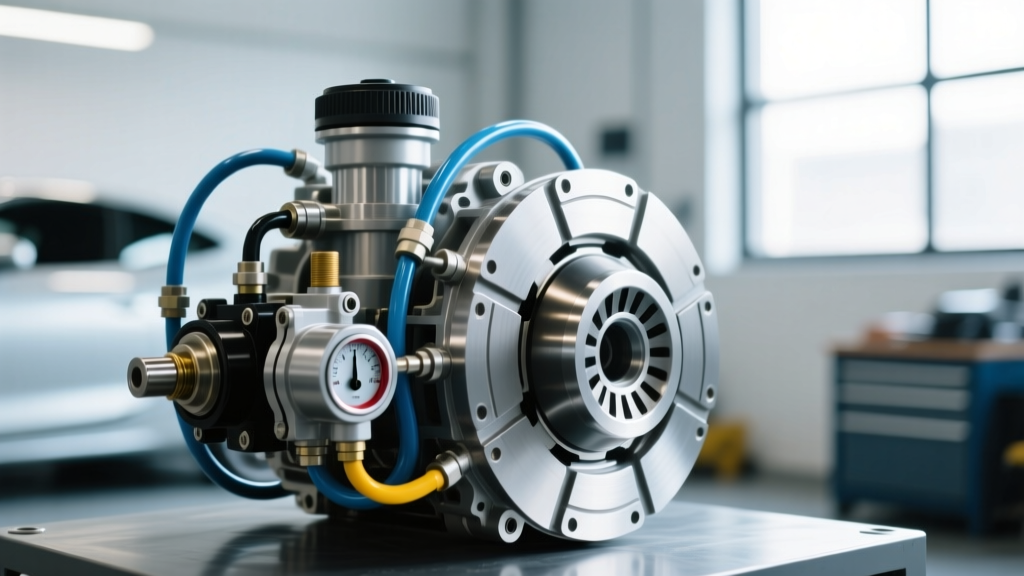
If the pushrod is adjusted too tightly, or if the pedal stop bumper has worn down, the piston remains slightly depressed. This blocks the tiny bypass port that connects the fluid reservoir to the hydraulic line. As you drive, friction and ambient heat cause the DOT 3 or DOT 4 brake fluid to expand. Because the expansion port is blocked, the expanding fluid has nowhere to go but down the line, pushing the slave cylinder forward. This applies partial, continuous pressure to the throwout bearing (TOB), which in turn pulls the pressure plate fingers back, reducing clamping load and causing the clutch to slip. Once the fluid cools, the slipping temporarily disappears, leading many DIYers to chase ghosts in the friction material.
Step-by-Step Slipping Diagnosis Protocol
Before dropping the transmission, perform these empirical tests to isolate the fault to the friction assembly or the pedal de clutch actuation system.
1. The Pedal Free Play Measurement
Using a steel ruler, measure the distance the pedal de clutch travels before you feel the distinct resistance of the master cylinder pushrod or clutch cable engaging. For most hydraulic systems (like those found in Honda K-series or GM LS-swapped vehicles), free play should be between 0.5 to 1.0 inches (12mm - 25mm) at the pedal pad. If there is zero free play, the hydraulic bypass port is likely compromised.
2. The Safe Load Stall Test
Find a safe, empty road. Bring the vehicle to 40 MPH in 4th gear. Apply moderate throttle (around 2,000 - 2,500 RPM), then quickly floor the accelerator. If the RPMs instantly jump while vehicle speed lags, the clutch is slipping under load. Note if the slip worsens as the engine bay heat-soaks the hydraulic fluid, confirming a thermal expansion/hydraulic issue.
3. Slave Cylinder Travel Inspection
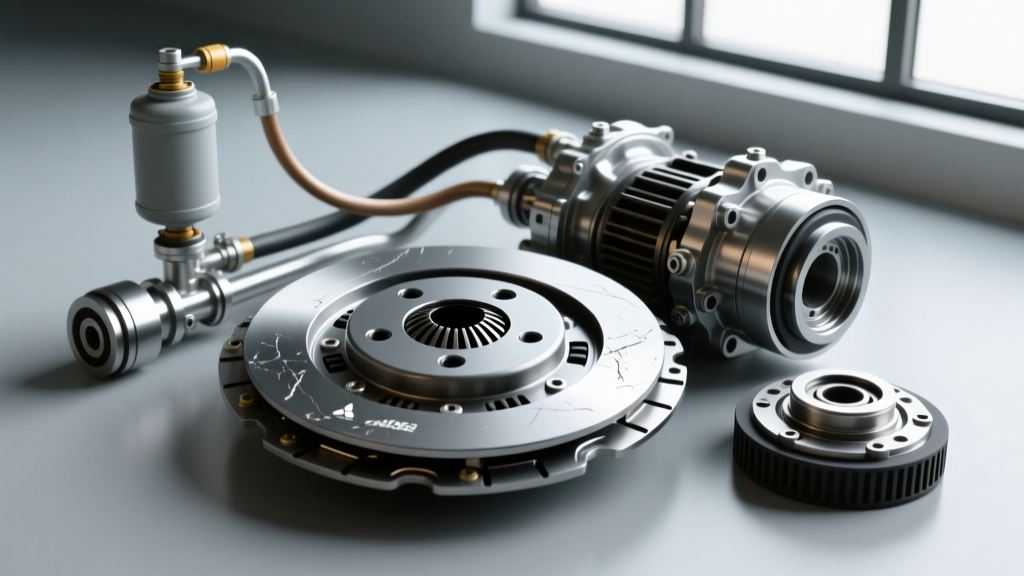
With the vehicle safely raised, have an assistant press the pedal de clutch to the floor. Measure the slave cylinder pushrod travel. For a Tremec T56 Magnum, expect roughly 0.450 to 0.500 inches of travel. If travel is excessive, the clutch fork pivot ball may be worn, altering the fulcrum geometry and preventing full clamping force engagement.
Diagnostic Matrix: Slipping Symptoms vs. Root Causes
| Symptom Profile | Probable Root Cause | Preventive Fix / Adjustment |
|---|---|---|
| Slip worsens in stop-and-go traffic or hot weather | Hydraulic fluid expansion / Blocked bypass port | Adjust pedal pushrod free play; flush with fresh DOT 4 fluid |
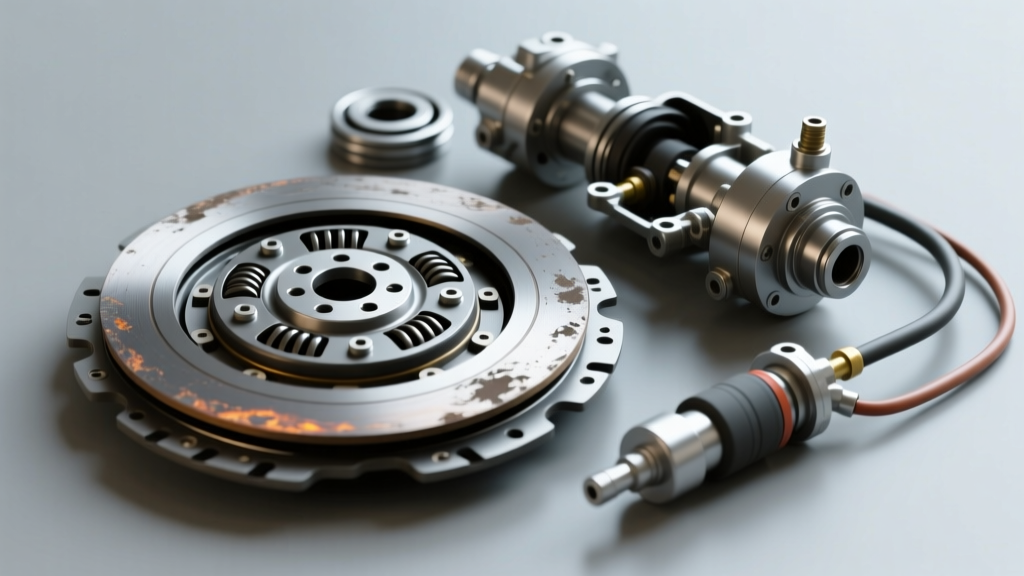
| Slip only occurs in high gears (3rd/4th/5th) under high boost/load | Worn friction material or glazed flywheel | Replace clutch kit (LuK/Exedy); resurface or replace flywheel |
| Pedal feels normal, but TOB constantly chirps and slips under load | Worn clutch fork pivot ball or incorrect TOB length | Install adjustable pivot ball; verify TOB clearance (0.100" - 0.150") |
| Slipping accompanied by a spongy pedal that slowly sinks | Internal master cylinder seal bypass / Slave cylinder leak | Replace master/slave assembly; bench bleed before installation |
Preventive Maintenance: Extending Clutch Life in High-Torque Apps
Preventing clutch slip requires a rigorous maintenance schedule focused on the actuation system. According to Schaeffler (LuK), aftermarket clutch failures are frequently traced back to improper installation of the release system rather than the friction disc itself.
Hydraulic Fluid Intervals and Bleeding
Brake fluid is highly hygroscopic. Over time, it absorbs moisture, which lowers its boiling point and introduces vapor pockets into the pedal de clutch circuit. Vapor is compressible; fluid is not. A spongy pedal caused by vapor pockets prevents the slave cylinder from fully retracting, keeping the TOB riding the pressure plate fingers.
- Flush Interval: Every 2 years or 30,000 miles.
- Fluid Spec: Use a high-quality DOT 4 or DOT 5.1 (Never DOT 5 silicone, as it does not lubricate the internal rubber seals of the master cylinder).
- Bleeder Valve Torque: When cracking the M10x1.0 slave cylinder bleeder, use a line wrench and torque to 10-12 Nm (7-9 lb-ft) upon re-seating to prevent stripping the soft aluminum threads on the slave body.
Mechanical Linkage and Pivot Ball Wear
In high-torque applications utilizing the Ford MT-82 or Tremec TKO/T56 transmissions, the steel clutch fork pivot ball will literally machine its way into the aluminum clutch fork over 50,000 miles. This wear creates a 'dead zone' in the pedal travel. Even if the pedal de clutch feels tight, the mechanical disadvantage means the pressure plate isn't receiving full clamping force. During any preventive maintenance inspection, measure the depth of the wear groove on the fork. If it exceeds 0.030 inches, replace the fork and upgrade to a hardened steel or adjustable titanium pivot ball.
Replacement Thresholds and Part Selection
When diagnosis confirms that the friction material has reached its wear limit, part selection dictates future reliability. Based on Exedy USA technical guidelines, pairing an aggressive ceramic puck disc with a stock organic-style pressure plate will lead to immediate chatter and premature flywheel gouging.
Flywheel Runout and Resurfacing Limits
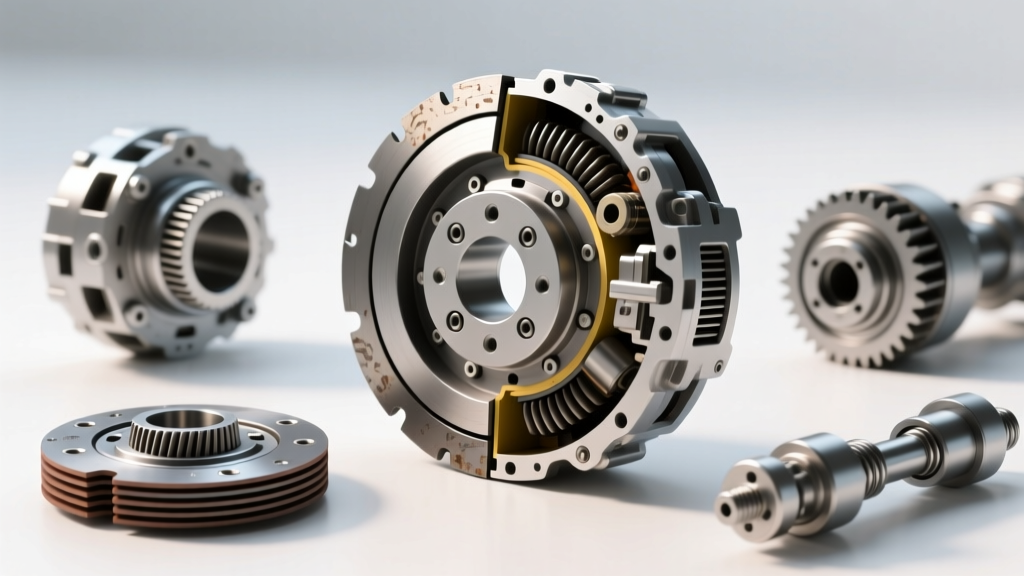
Before installing a new clutch kit, measure the flywheel runout with a dial indicator. Maximum acceptable runout is typically 0.005 inches (0.12mm). If resurfacing the flywheel, never remove more than 0.020 inches of material total from the factory specification. Removing excess material alters the distance between the friction surface and the pressure plate mounting flange, effectively reducing the clamping load of the diaphragm springs and guaranteeing future slip.
Cost and Part Number References (2026 Market)
- OEM Replacements (LuK RepSet): $180 - $250. Includes matched disc, pressure plate, and TOB. Ideal for daily drivers up to 350 lb-ft of torque.
- Performance Organic (Exedy Stage 1): $250 - $320. Higher clamping load, organic compound for streetability. Handles up to 450 lb-ft.
- Heavy Duty / Track (Sachs Performance / Tremec Spec): $400 - $650. Required for forced-induction setups. Note that heavier pressure plates will require increased pedal de clutch effort, often necessitating an upgraded master cylinder bore size (e.g., stepping from 5/8" to 3/4") to maintain ergonomic pedal travel.
Final Thoughts on Drivetrain Preservation
Clutch slipping is rarely an isolated event; it is a symptom of a systemic breakdown in the actuation geometry or hydraulic integrity. By treating the pedal de clutch assembly as a precision instrument rather than a simple on/off switch, you can diagnose thermal expansion faults, bypass port blockages, and mechanical wear long before the friction disc is destroyed. Adhering to strict fluid flush intervals, verifying pivot ball geometry, and respecting torque specifications during installation will ensure your manual transmission continues to transfer power efficiently for years to come.
For further reading on transmission-specific release bearing clearances, consult the Tremec official installation documentation for your specific gearbox model.