Understanding the 'CD' Designation in Heavy-Duty Drivetrains
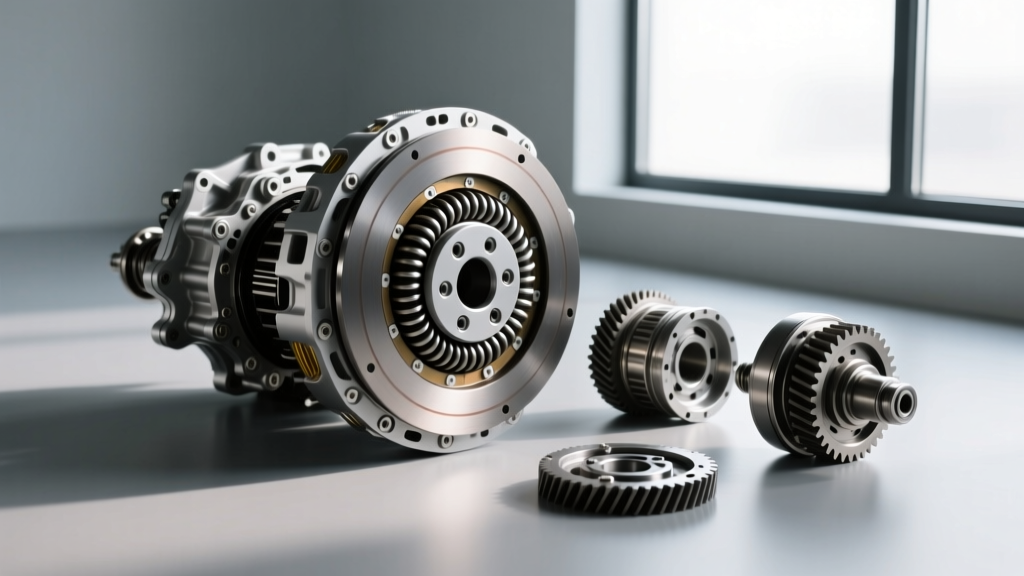
In the heavy-duty truck segment, factory clutch assemblies are rarely equipped to handle the sustained thermal loads of modern 15,000+ pound towing. As we navigate the 2026 automotive landscape, manual transmission platforms like the Ram G56 and Ford Tremec remain highly sought after for fleet and commercial applications. When the factory unit slips under heavy load, operators must upgrade. This is where selecting a new clutch CD (Commercial Duty) kit becomes paramount. The 'CD' designation, popularized by industry leaders like South Bend Clutch and Valair Inc., signifies a clutch engineered for high-clamp-load, continuous-duty cycles, prioritizing thermal resistance and torque holding capacity over feather-light pedal feel.
This step-by-step guide will walk you through the exact process of selecting, installing, and bedding in a Commercial Duty clutch kit for a 6.7L Cummins-powered Ram equipped with the G56 6-speed manual transmission.
Step 1: Match Friction Material to Your Gross Combined Weight Rating (GCWR)
A Commercial Duty clutch is not a one-size-fits-all solution. The friction material dictates the engagement characteristics, flywheel wear, and ultimate torque capacity. Before purchasing your kit, evaluate your typical payload and tuning level.
| Friction Type | Torque Capacity | Engagement Feel | Best Application |
|---|---|---|---|
| Organic (Full Face) | Up to 650 lb-ft | Smooth, forgiving, stock-like | Daily driving, light towing (<8,000 lbs) |
| Kevlar / Organic Hybrid | Up to 850 lb-ft | Slightly aggressive, requires RPM matching | Heavy towing (10k-15k lbs), mild tuning |
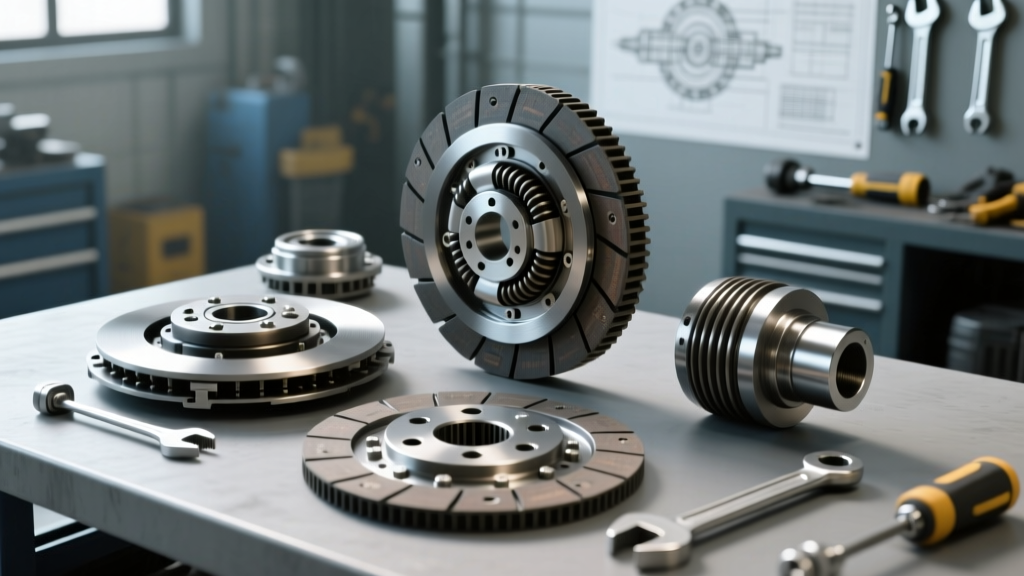
| Segmented Ceramic / Sintered | 1,000+ lb-ft | On/Off switch, high chatter risk | Commercial hauling, sled pulling, heavy tuning |
Expert Insight: For a dedicated commercial tow rig operating at 18,000 lbs GCWR, a segmented ceramic button disc (often found in CD kits) is mandatory. However, if the truck doubles as a daily driver, a Kevlar-infused organic hybrid provides the best compromise between holding power and drivability.
Step 2: Flywheel Selection – DMF vs. SMF Conversion
You cannot pair a high-clamp-load CD pressure plate with a worn Dual Mass Flywheel (DMF). The internal springs of a DMF are designed to dampen the harsh torsional vibrations of a diesel engine, but they are the weak link when subjected to the 3,000+ lbs of clamp load generated by a CD pressure plate. The DMF will prematurely fail, often destroying the transmission bell housing in the process.
The Solution: Convert to a Single Mass Flywheel (SMF). Look for a nodular iron or billet steel SMF, such as the South Bend OFE (Part# OFE-125). An SMF eliminates the mechanical failure point, provides a perfectly flat friction surface for the ceramic disc, and significantly improves throttle response. Note that an SMF conversion will increase cabin vibration at idle; this is a normal trade-off for commercial durability.
Step 3: Precision Installation and G56 Torque Sequences
Installing a heavy-duty CD clutch requires meticulous attention to cleanliness and torque specifications. The G56 transmission features a 1-1/4 inch, 10-spline input shaft. Any debris on the splines will cause the disc to bind, leading to dragging and gear grind.
Flywheel Installation
- Clean the crankshaft mating surface with brake cleaner and a lint-free cloth.
- Align the SMF using the factory dowel pins. Do not force it, or you will crack the casting.
- Install the new Grade 8 flywheel bolts. Torque Spec: 133 lb-ft in a crisscross pattern. Apply a medium-strength threadlocker to the bolt threads to prevent backing out under diesel harmonics.
Clutch Disc and Pressure Plate Alignment
- Slide the CD clutch disc onto the input shaft to verify smooth spline travel. Lube the splines sparingly with high-temp moly grease—excess grease will sling onto the friction surface and ruin the CD kit.
- Use a precision alignment tool to center the disc on the SMF pilot bearing.
- Mount the CD pressure plate. Torque Spec: 35 lb-ft in a multi-pass star pattern. The extreme clamp load of a CD diaphragm spring requires even seating to prevent warping the pressure plate ring.
Step 4: Bleeding the Hydraulic Throw-Out Bearing (HTOB)
The G56 utilizes an internal hydraulic throw-out bearing. Air trapped in this system is the number one cause of post-installation shifting issues, especially when fighting the immense return pressure of a CD diaphragm spring.
- Connect a vacuum bleeder to the slave cylinder bleeder screw located on the side of the bell housing.
- Draw 2 ounces of DOT 4 fluid through the system to ensure zero cavitation.
- Manually stroke the clutch pedal 30 times with the engine off to seat the HTOB piston against the pressure plate fingers.
- Check the clutch master cylinder reservoir; the fluid level will drop as the HTOB takes its final position against the heavy CD spring.
Step 5: The Critical 500-Mile Bed-In Procedure
A new clutch CD kit features segmented ceramic or Kevlar friction material. Unlike organic discs, these materials require a thermal bed-in process to transfer an even layer of friction material to the cast-iron SMF. Skipping this step will result in permanent clutch chatter and localized hot-spotting on the flywheel.
Pro-Tip: Never 'glaze' a new CD clutch by slipping it excessively on steep inclines during the break-in period. If you smell burning friction material, you are overheating the resin binders in the ceramic pucks.
The Bed-In Protocol:
- Miles 0-100: Drive strictly in stop-and-go city traffic. Keep RPMs below 2,000. Shift at 1,800 RPM to allow the clutch to fully engage and cool between shifts.
- Miles 100-300: Introduce moderate highway driving. Perform 10 controlled deceleration engagements: accelerate to 45 MPH in 4th gear, lightly apply the brakes, and downshift to 3rd using Rev-Matching to generate mild, controlled heat in the friction assembly.
- Miles 300-500: Avoid towing heavy loads or utilizing engine braking (Jake Brake) on steep grades. Allow the friction surfaces to fully mate and cure.
By strictly adhering to this selection and installation protocol, your new Commercial Duty clutch will provide reliable, slip-free performance for 150,000+ miles, even under the most grueling commercial towing conditions.