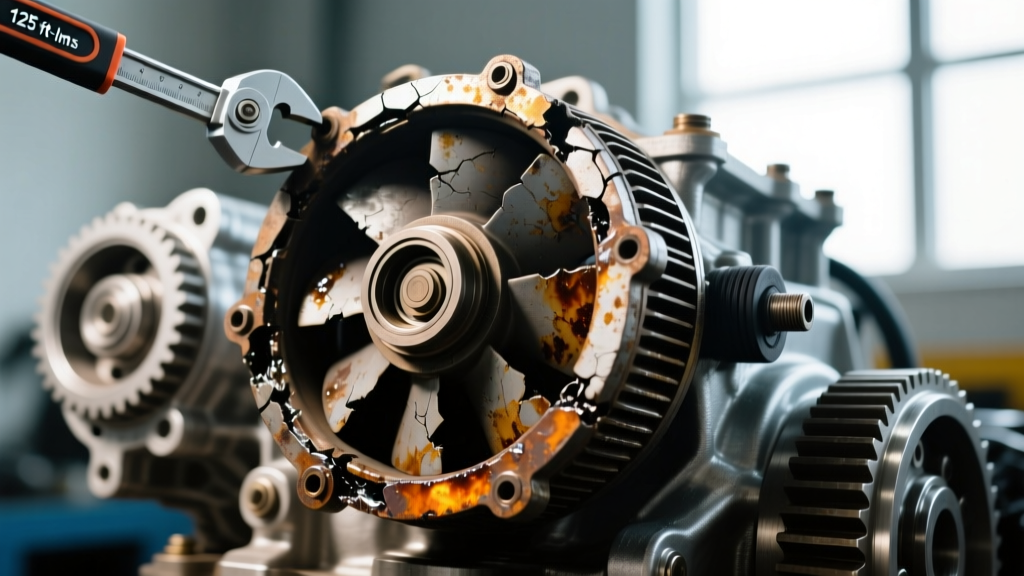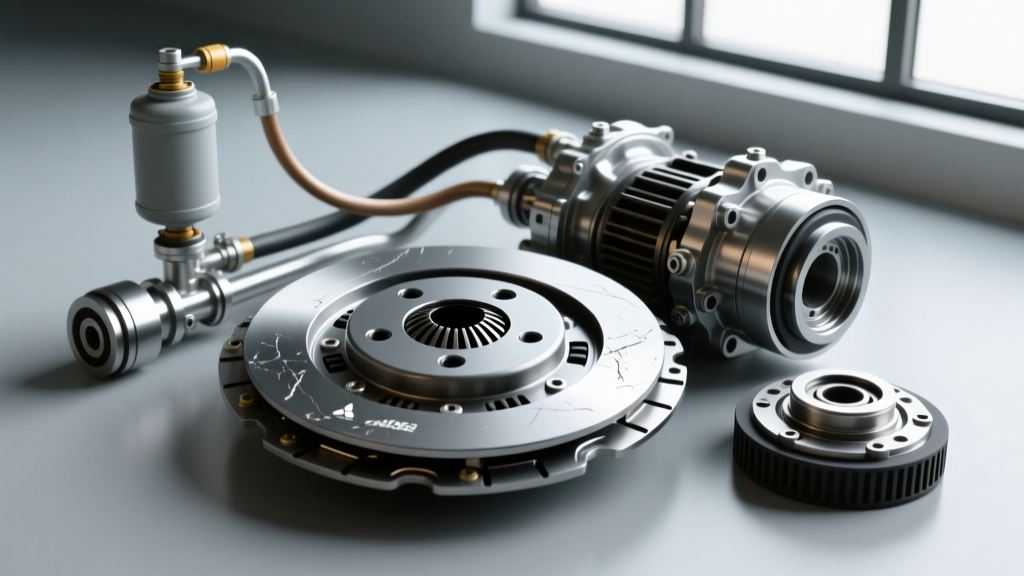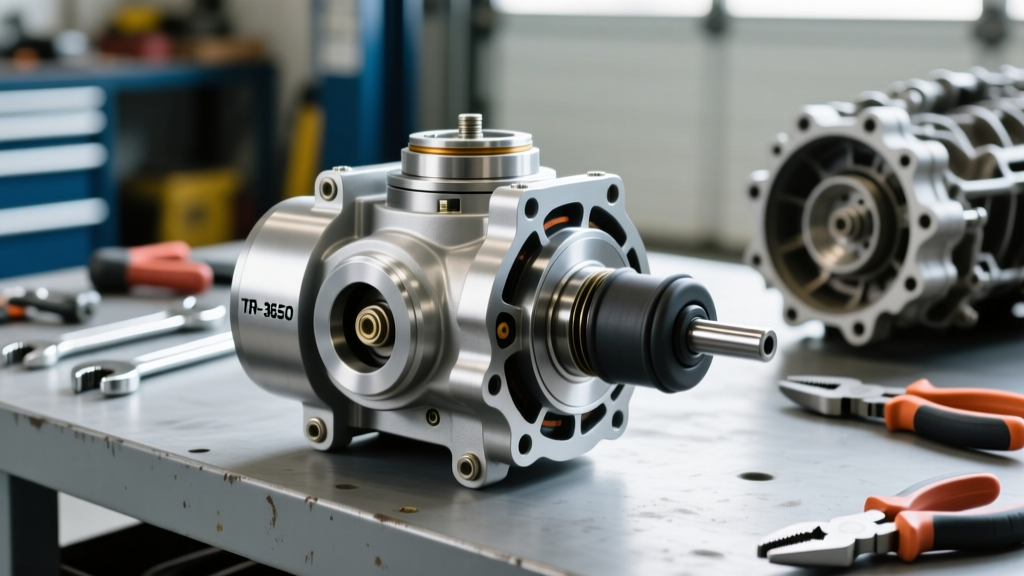
If you own a 2005–2010 Ford Mustang GT (S197 chassis) equipped with the Tremec TR-3650 manual transmission, you are likely familiar with one of the most frustrating drivetrain issues in modern muscle cars: the clutch pedal sticking to floor during aggressive driving. This isn't just an annoyance; it's a critical safety hazard that can lead to missed shifts, over-revving, and catastrophic transmission damage. As an automotive transmission specialist, I have diagnosed hundreds of hydraulic clutch failures. In this model-specific repair guide, we will break down exactly why the S197 hydraulic system fails, how to differentiate between various clutch pedal problems (soft, hard, spongy, and vibrating), and provide a comprehensive, step-by-step repair protocol to permanently cure the issue using modern aftermarket upgrades.
Why the S197 Mustang TR-3650 Suffers from Clutch Pedal Sticking to Floor
To understand the failure, we must look at the OEM hydraulic circuit design. The factory clutch master cylinder (CMC) is constructed from a lightweight, heat-sensitive composite plastic. Furthermore, the OEM hydraulic line is made of flexible rubber and is routed dangerously close to the passenger-side exhaust manifold and catalytic converter.
Under hard driving conditions, heat soak transfers into the brake/clutch fluid. Because the OEM rubber line expands under pressure and traps heat, the DOT 3 fluid begins to vaporize (boil). Once fluid turns to gas, it becomes compressible. When you press the pedal, the hydraulic pressure compresses the vapor bubbles instead of actuating the internal clutch slave cylinder. The result is a sudden loss of hydraulic resistance, leaving your clutch pedal sticking to floor until the fluid cools or you manually pull the pedal up with your foot.
Categorizing Clutch Pedal Problems: Beyond the Drop
While a pedal dropping to the floor is the most dramatic symptom, hydraulic and mechanical degradation usually presents a spectrum of clutch pedal problems. Accurate diagnosis requires identifying the specific feel of the pedal.
1. Spongy and Soft Pedal Feel
A spongy pedal that feels 'mushy' but doesn't entirely stick to the floor is typically caused by micro-bubbles in the hydraulic line or the expansion of the OEM rubber hose under pressure. It can also be attributed to the factory-installed Clutch Delay Valve (CDV). The CDV is designed to restrict fluid flow during rapid pedal release to smooth out shifts for novice drivers, but it severely hampers fluid return, leading to a soft, inconsistent bite point.
2. Hard or Binding Pedal
If the pedal requires excessive physical force to depress, the issue is rarely hydraulic. In the TR-3650, a hard pedal usually points to a binding clutch fork pivot ball, a failing release bearing (throw-out bearing) binding on the transmission input shaft collar, or a warped pressure plate diaphragm spring. Inspect the firewall quadrant and pedal box for physical binding or cracked plastic bushings before condemning the hydraulic system.
3. Vibrating Pedal (Clutch Chatter)
A vibrating pedal upon engagement indicates clutch chatter. This is a mechanical friction issue, not a hydraulic one. Common culprits include oil contamination on the friction disc (from a leaking rear main seal or transmission input shaft seal), hot spots on the flywheel, or worn engine and transmission mounts allowing the drivetrain to oscillate under load.
OEM vs. Upgraded Hydraulic Components
To permanently fix the clutch pedal sticking to floor, you must replace the restrictive, heat-prone OEM components with high-flow, heat-resistant alternatives. Below is a comparison of the factory setup versus the recommended 2026 performance upgrade path.
| Component | OEM Specification (2005-2010) | Upgraded Specification (McLeod / Ford Performance) | Estimated Cost (2026) |
|---|---|---|---|
| Master Cylinder | Plastic body, 5/8" bore, restrictive CDV | Aluminum body, adjustable pushrod, 3/4" high-flow bore | $120 - $160 |
| Hydraulic Line | Expandable rubber, poor heat shielding | Stainless steel braided, Teflon-lined, -3 AN fittings | $60 - $90 |
| Fluid Capacity / Type | DOT 3 (Boiling point ~401°F / 205°C) | DOT 5.1 / Racing DOT 4 (Boiling point ~626°F / 329°C) | $25 - $40 |
| Firewall Support | None (prone to sheet metal flex) | Billet Aluminum Firewall Clutch Adjuster / Brace | $40 - $75 |
Step-by-Step Repair: Curing the Sticking Pedal
This procedure assumes you are upgrading to a stainless braided line and an adjustable aluminum CMC, such as the McLeod 1400Q or Ford Performance M-7A548-A kits.
Phase 1: Preparation and Fluid Selection
Do not reuse old fluid. Purchase two bottles of a high-performance DOT 4 or DOT 5.1 fluid. According to Castrol Brake Fluid Specifications, fluids like Castrol SRF or Motul RBF 600 offer dry boiling points exceeding 600°F, virtually eliminating vapor lock in the engine bay. Gather your tools: a 10mm deep socket, a flare nut wrench, a Motive power bleeder, and a trim removal tool.
Phase 2: Extracting the Failing OEM Master Cylinder
- Disconnect the negative battery terminal to prevent shorting the cruise control deactivation switch located on the pedal box.
- Under the dash, locate the CMC pushrod pin. Use a trim tool to pop the retaining clip and slide the pin out of the clutch pedal arm.
- Remove the clutch delay valve (CDV) if you haven't already. This is located where the hard line meets the soft line. Use a small pick to pull the plastic valve out, restoring full fluid flow.
- Move to the engine bay. Locate the CMC on the driver's side firewall. Use a 10mm deep socket to remove the two mounting nuts. Torque spec note: When reinstalling, these nuts only require 10 Nm (7.4 lb-ft). Do not overtighten, or you will crack the firewall sheet metal.
- Carefully push the CMC through the firewall into the cabin, then maneuver it out from under the dash. Have a rag ready to catch residual DOT 3 fluid.
Phase 3: Routing the Stainless Braided Line
The OEM rubber line is held in by a quick-disconnect fitting at the transmission bell housing. Depress the plastic collar and pull the line free from the internal concentric slave cylinder (CSC). Route the new stainless braided line along the frame rail, ensuring it is zip-tied securely away from the exhaust crossover pipe. Heat is the enemy of hydraulic systems; maintaining a 3-inch clearance from exhaust components is mandatory.
Phase 4: Installing the Adjustable CMC and Firewall Brace
The S197 chassis is notorious for firewall flex. When you press the pedal, the thin sheet metal firewall actually bows outward, stealing pedal travel and contributing to the clutch pedal sticking to floor sensation. Install a billet firewall brace or adjustable clutch quadrant before mounting the new aluminum CMC. Feed the new CMC through the firewall, mate it to the braided line using the provided -3 AN fittings, and tighten the 10mm nuts to 10 Nm.
Phase 5: Precision Bleeding and Pedal Adjustment
Air in the TR-3650 hydraulic system is notoriously difficult to purge due to the downward angle of the internal slave cylinder. As recommended by McLeod Racing Technical Support, gravity bleeding is insufficient for this platform.
- Attach a Motive power bleeder to the brake master cylinder reservoir (the clutch and brakes share the same fluid reservoir on the S197). Pressurize the system to exactly 15 PSI. Do not exceed 20 PSI, or you risk blowing out the internal slave cylinder seals.
- Open the bleed nipple on the transmission bell housing. Allow fluid to flow until it is completely free of micro-bubbles.
- Adjust the CMC pushrod length. You want a slight amount of free-play (about 1/8th of an inch) at the top of the pedal travel to ensure the master cylinder fully returns and the fluid compensation port remains open. If the pushrod is too long, fluid will be trapped, leading to clutch drag and premature wear.
Expert Insight: If your pedal still feels soft after a pressure bleed, the issue may be internal to the transmission. According to Tremec TR-3650 Documentation, the internal concentric slave cylinder (CSC) features a plastic wear sleeve that can degrade over high mileage. If the CSC is weeping internally, fluid will bypass the piston, mimicking the symptoms of a bad master cylinder. If your TR-3650 has over 80,000 miles and the pedal is still dropping after a hydraulic upgrade, the transmission must be dropped to replace the CSC and pilot bearing.
Final Road Testing and Maintenance
Once the system is bled and adjusted, perform a static test. Pump the pedal 20 times rapidly. If the pedal remains firm and returns crisply to the up-stop, the hydraulic upgrade was successful. Take the vehicle for a test drive, performing several high-RPM (4,000+ RPM) shifts. The combination of the stainless braided line, high-boiling-point fluid, and eliminated delay valve will result in a bolt-action, precise pedal feel that completely eradicates the clutch pedal sticking to floor issue.
To maintain this system, flush the shared brake/clutch fluid every 24 months. DOT 4 and 5.1 fluids are highly hygroscopic, meaning they absorb moisture from the atmosphere over time, which lowers their boiling point and invites internal corrosion within your newly installed aluminum master cylinder.