The Intersection of Cleaning Bike Drivetrain and Mechanical Diagnostics
While AutoGearNexus is renowned for deep dives into automotive FWD, RWD, and AWD configurations, the fundamental physics of power delivery extend directly into the powersport and motorcycle sector. When riders and mechanics begin the process of cleaning bike drivetrain assemblies, they are presented with a unique, unobstructed window into the final drive system. Unlike enclosed automotive drivetrains hidden beneath chassis crossmembers and undertrays, a motorcycle’s external final drive exposes every rotational component to the elements—and to your diagnostic scrutiny.
Proper drivetrain component identification is the first step in advanced symptom diagnosis. A routine wash is not merely cosmetic; it is a critical troubleshooting opportunity. By systematically identifying each component from the transmission output shaft to the rear hub, you can diagnose parasitic drag, rotational mass imbalances, and catastrophic wear patterns before they lead to a snapped chain or a destroyed transmission case. In this 2026 comprehensive guide, we break down the exact anatomy of a sportbike and cruiser final drive, providing actionable troubleshooting metrics, OEM torque specifications, and precision measurement techniques.
Core Drivetrain Component Identification Matrix
Before applying any degreaser or picking up a grunge brush, you must accurately identify the sub-components of the final drive layout. Misidentifying a worn countershaft seal as a simple chain lube leak is a common novice error that leads to low transmission fluid and seized gearboxes.
| Component Name | Location & Function | Common Failure Symptom | 2026 Avg. Replacement Cost |
|---|---|---|---|
| Countershaft (Front) Sprocket | Transmission output shaft; drives the chain | Hooked teeth, elongated valleys, rust jacking | $25 - $45 (e.g., JT JTF1590) |
| Drive Chain (O-Ring/X-Ring) | Transfers torque to rear wheel; maintains gear ratio | Kinked links, O-ring extrusion, pitch stretch | $130 - $190 (e.g., DID 530 VX3) |
| Rear Driven Sprocket | Bolted to rear hub; final torque multiplication | Shark-fin tooth profile, sheared mounting bolts | $40 - $85 (Steel/Aluminum) |
| Countershaft Oil Seal | Behind front sprocket; retains transmission fluid | Weeping gear oil, chain fling mixed with sludge | $8 - $15 (OEM Honda/Yamaha) |
| Cush Drive Dampers | Inside rear hub; absorbs drivetrain shock loads | Clunking on throttle transitions, erratic chain slack | $25 - $40 (Rubber/Polyurethane) |
Symptom Diagnosis During the Wash
According to RevZilla's Chain Maintenance Guide, the act of cleaning is the optimal time to perform tactile and visual inspections. When you are cleaning bike drivetrain components, use a dedicated O-ring-safe solvent like Motul C1 or simple kerosene. Never use harsh brake cleaners or high-pressure washers, as these will destroy the nitrile rubber seals and force water past the countershaft seal into the transmission.
1. Diagnosing Chain Pitch Stretch and Binding
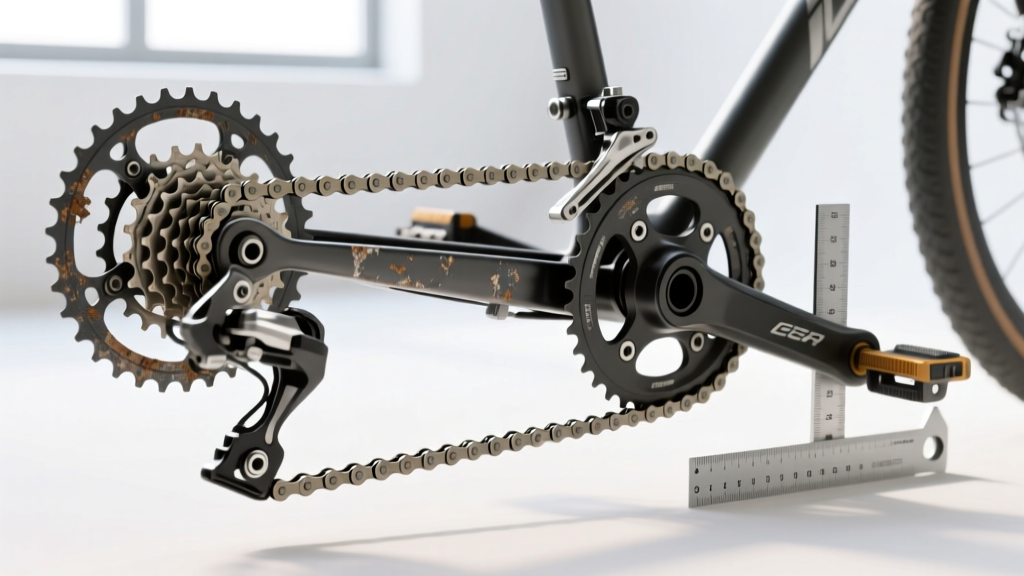
Chains do not actually 'stretch' in the traditional metallurgical sense; rather, the internal pins and bushings wear down, increasing the distance between the link plates. This is known as pitch elongation. While scrubbing the lower run of the chain, perform the 'pull test'. Grab the chain at the 3 o'clock position on the rear sprocket and pull it straight back. If you can expose more than half a tooth of the rear sprocket, the chain has exceeded its wear limit and is actively destroying your sprockets.
Furthermore, feel for 'tight spots' or binding links. A kinked link that refuses to articulate freely indicates internal corrosion or a crushed side plate. This will manifest as a rhythmic 'slapping' sound at low speeds and will severely degrade the lifespan of your transmission output shaft bearings due to harmonic vibration.
2. Sprocket Hooking and Asymmetric Wear
As you clean the rear sprocket, inspect the drive side (the side of the tooth that pulls the chain) and the coast side. A healthy sprocket features symmetrical, flat-topped or slightly rounded teeth. If the teeth resemble a shark fin or a ninja star—hooked sharply on the trailing edge—the sprocket is severely worn. DID Chain Official Specifications mandate that chains and sprockets must always be replaced as a matched set. Installing a brand-new 520-pitch chain onto a hooked rear sprocket will cause the new chain to stretch beyond its yield point within the first 500 miles.
3. The Countershaft Seal and Splines
The area immediately behind the front countershaft sprocket is a notorious trap for road grime, chain wax, and moisture. When cleaning this zone, carefully inspect the rubber lip of the transmission output seal. If you see a mixture of wet, amber-colored fluid and black chain grime, the seal has failed. Additionally, if you remove the front sprocket for a deep clean, inspect the transmission shaft splines. Worn splines will exhibit a 'rocking' motion when the sprocket is mounted, indicating a need for a costly transmission shaft replacement or machining.
Precision Measurement & Torque Specifications
Guesswork has no place in drivetrain maintenance. To properly troubleshoot and reassemble the final drive, you must rely on calibrated measurements and exact torque values. Below are the industry-standard specifications for a typical 600cc-1000cc sportbike (e.g., Yamaha YZF-R1, Honda CBR600RR) utilizing a 520 or 530 pitch chain.
Measuring Chain Elongation with Calipers
Visual inspections are insufficient for precision diagnosis. Use a set of digital calipers to measure the chain stretch. According to Cycle World Maintenance Tips, the standard procedure is to measure the distance across 16 consecutive link pins.
- Nominal Length (520 Chain): 15.875mm per pitch x 16 = 254.00mm
- Service Limit (Wear Threshold): 256.50mm
- Action: If your caliper reading exceeds 256.5mm, the chain is condemned and must be replaced immediately to prevent skipping and catastrophic transmission case damage.
Critical Drivetrain Torque Specs
Improper torque on drivetrain fasteners is a leading cause of rear-wheel lockup and hub destruction. Always use a calibrated torque wrench and fresh threadlocker where specified.
- Rear Axle Nut: 108 Nm (80 lb-ft). *Note: Ensure the cotter pin hole aligns; never loosen the nut to align the pin, always tighten to the next slot.*
- Front Countershaft Sprocket Nut: 125 Nm (92 lb-ft). *Often requires an impact wrench for removal and a staked washer or heavy-duty Loctite 271 for retention.*
- Rear Sprocket Bolts (M8/M10): 27 Nm (20 lb-ft) to 45 Nm (33 lb-ft) depending on OEM spec. *Must be applied with Blue Loctite 243 to prevent backing out under high-frequency vibration.*
- Chain Slack Adjustment: 25mm - 35mm (1.0 - 1.4 inches) of total vertical play measured at the midpoint of the lower chain run, with the suspension fully extended.
Pro-Troubleshooter Insight: When checking chain slack, rotate the rear wheel through its entire circumference. Chains wear unevenly, creating 'tight' and 'loose' spots. Always set your baseline slack measurement at the tightest point of the chain's rotation to prevent binding the transmission output shaft bearing when the suspension compresses under heavy acceleration.
Troubleshooting Drivetrain Noise & Vibration
If you have completed cleaning bike drivetrain components and are still experiencing anomalous noise, the issue likely resides in the hidden dampening systems or alignment geometry.
Cush Drive Hub Degradation
The cush drive is a series of rubber or polyurethane wedges located inside the rear wheel hub. Its sole purpose is to absorb the shock loads generated by throttle transitions and gear shifts, protecting the transmission gears from impact fracturing. To diagnose cush drive wear, place the motorcycle on a paddock stand, put the transmission in neutral, and grab the rear sprocket. Attempt to rotate the sprocket forward and backward independently of the wheel. If you feel more than 10-15 degrees of rotational 'slop' or hear a distinct metallic clunk, the rubber dampers have compressed and degraded. This slop causes erratic chain tension readings and harsh engagement when shifting into first gear.
Alignment and Parasitic Drag
A drivetrain that sounds like a 'buzzing' or 'whining' mechanical saw immediately after a cleaning and lubing session is often suffering from misalignment. If the rear axle is not perfectly perpendicular to the swingarm pivot, the chain will track at an angle, forcing the side plates to scrape against the sprocket teeth. This parasitic drag robs horsepower and generates immense heat, melting the X-ring seals and boiling the internal factory grease. Always use a calibrated alignment tool (such as the Motion Pro T3) or measure from the swingarm pivot bolt to the center of the rear axle on both sides to ensure absolute geometric symmetry.
Conclusion
Treating the process of cleaning your motorcycle's final drive as a rigorous diagnostic exercise separates amateur owners from master technicians. By accurately identifying drivetrain components, utilizing digital calipers to measure pitch elongation, and adhering to strict OEM torque specifications, you ensure that power is transferred from the transmission to the tarmac with zero parasitic loss. The next time you reach for the degreaser, remember that you are not just washing away road grime—you are uncovering the mechanical truth of your drivetrain's health.