Understanding Clutch Drag and Release Failures
Clutch drag is one of the most frustrating and dangerous drivetrain issues a rider can face. When you pull the clutch lever to the bar, the transmission input shaft should completely decouple from the engine's crankshaft. If it doesn't, you experience 'clutch drag.' Symptoms include aggressive creeping at stoplights, false neutrals, clunky downshifts, and a rear wheel that refuses to stop spinning even with the lever pinned to the grip. In severe cases, release problems can cause the engine to stall when coming to a halt or make finding neutral at a standstill nearly impossible.
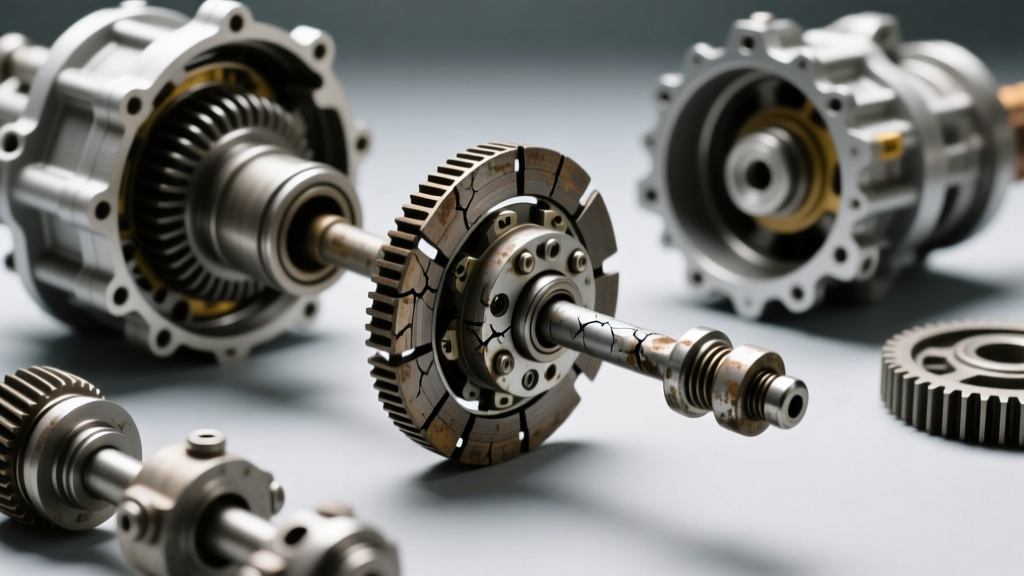
While a simple cable adjustment or hydraulic bleed can sometimes cure minor release issues, persistent drag almost always points to internal mechanical failure. Warped steel plates, notched clutch baskets, or degraded friction material cause the plates to bind together, preventing clean separation. In 2026, with the increased use of high-friction synthetic JASO MA2 oils, marginal clutch packs are failing faster than ever. The definitive fix is a complete teardown and the installation of a high-quality motorcycle clutch repair kit.
Diagnosing Internal Release Problems
Before ordering parts, confirm that your drag issue is internal and not a simple adjustment error. Perform this diagnostic test:
- The Center Stand Test: Place the motorcycle on a rear stand. Start the engine, pull the clutch lever fully, and shift into first gear. If the rear wheel spins aggressively and requires significant force on the rear brake to stop, you have severe clutch drag.
- The Cold vs. Hot Test: If the bike shifts fine when cold but drags and creeps when the engine is at operating temperature, your steel plates are likely warped. Heat causes the metal to expand and bind against the friction plates.
- Lever Feel Check: If the lever feels stiff and notchy, the issue may be a grooved clutch basket tang or a failing release bearing. If the lever feels normal but the clutch still drags, the friction pack is the culprit.
Selecting the Right Motorcycle Clutch Repair Kit
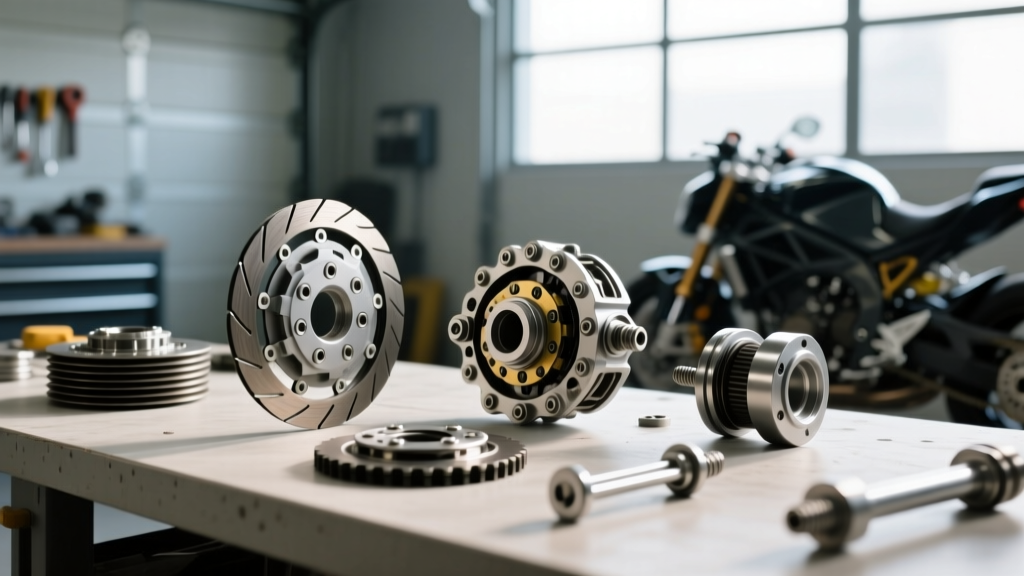
Not all kits are created equal. A standard OEM replacement kit is fine for commuters, but sport and touring bikes demand advanced friction materials to prevent future warping and drag. When sourcing a motorcycle clutch repair kit, you will typically encounter three material tiers. Pricing in 2026 reflects the rising cost of advanced composite materials.
| Material Type | Best Application | Characteristics | Estimated Cost (2026) |
|---|---|---|---|
| Organic (OEM Style) | Commuting, Cruisers, Light Touring | Smooth engagement, forgiving on steel plates, prone to glazing if slipped heavily. | $85 - $120 |
| Kevlar / Carbon Blend | Sportbikes, Heavy Touring, Stunt | High heat resistance, aggressive bite, requires perfectly flat steel plates. | $130 - $175 |
| Sintered Iron | Dedicated Track / Race Only | Extreme lock-up, zero slip, requires heavy-duty clutch springs and frequent steel plate replacement. | $190 - $250+ |
For 90% of street riders experiencing drag, a premium organic or Kevlar-blend kit from manufacturers like EBC Brakes (CK or SRC series) or Barnett Clutches is the ideal solution. These kits include all friction plates, and some include matched heavy-duty springs to increase clamping force and improve plate separation.
Tools and Preparation Required
To execute this repair properly, you need more than just a socket set. Gather the following:
- 1/4-inch and 3/8-inch drive torque wrenches (inch-pounds and foot-pounds)
- Clutch holding tool (to prevent the basket from spinning while removing the center nut)
- Feeler gauges and a machinist's flat surface plate (or a known-flat piece of glass)
- Flat mill bastard file (for dressing clutch basket notches)
- 4 to 5 quarts of fresh JASO MA2 certified motorcycle oil (e.g., 10W-40 or 15W-50 depending on your manual)
Expert Warning: Never install dry friction plates. If you skip the soaking step, the initial engagement will instantly glaze the friction material and warp the adjacent steel plates, guaranteeing that your clutch drag problem will return within the first 50 miles.
Step-by-Step Clutch Pack Replacement Guide
Step 1: Drain Oil and Remove the Clutch Cover
Drain the engine oil while the bike is warm to ensure all suspended clutch material and metallic debris are flushed out. Remove the right-side crankcase cover bolts. Keep track of any dowel pins and O-rings. If your bike uses a liquid-cooled system, be prepared to catch a small amount of coolant if the water pump is integrated into the clutch cover (common on Yamaha YZF and Honda CBR models).
Step 2: Disassemble and Inspect the Clutch Basket
Remove the clutch spring bolts (typically 5mm Allen head) and lift off the pressure plate. Note the orientation of any judder spring or conical washer at the bottom of the stack. Pull the friction and steel plates out. Using a pick or your fingernail, run along the inner tangs of the aluminum clutch basket. If you feel deep grooves or 'notches' where the steel plates have hammered into the aluminum, the plates cannot slide apart freely when the lever is pulled—this is a primary cause of clutch drag. Use a flat file to carefully dress the notches smooth. If the notches exceed 0.5mm in depth, the basket must be replaced.
Step 3: Measure and Prep the Components
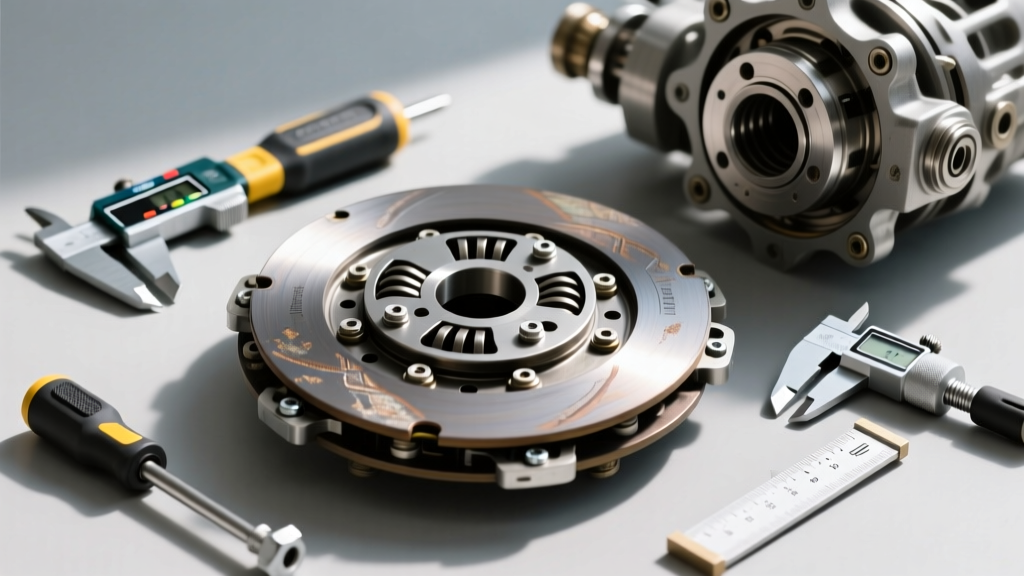
Even if your kit only includes friction plates, you must inspect the OEM steel plates. Place each steel plate on a flat surface and attempt to slide a 0.1mm feeler gauge underneath. If the gauge passes, the plate is warped and must be replaced; warped plates act like a wave washer, preventing the pack from fully collapsing. Next, measure the friction plates with calipers. The standard thickness is usually 3.0mm, with a service limit around 2.8mm. Finally, submerge all new friction plates in a pan of the exact engine oil you plan to run. Let them soak for a minimum of 2 hours, though overnight is highly recommended.
Step 4: Stack and Install the New Clutch Pack
Begin stacking the plates in the basket, alternating steel and friction. Ensure the last plate installed is a friction plate. If your motorcycle utilizes a judder spring assembly (common on Honda and Kawasaki models to dampen engagement chatter), ensure it is seated correctly at the bottom of the stack according to the factory service manual. Install the pressure plate and thread the spring bolts. Tighten them in a crisscross pattern to exactly 10 Nm (7.4 lb-ft) to ensure even pressure distribution.
Step 5: Secure the Center Nut
Install the clutch holding tool over the pressure plate. Apply a drop of blue threadlocker (Loctite 243) to the threads of the main clutch center nut. Torque the center nut to your manufacturer's specification—typically between 60 Nm and 75 Nm (44 to 55 lb-ft) for most 600cc to 1000cc inline-four engines. Reinstall the crankcase cover with a new gasket, torquing the perimeter bolts to 10 Nm (7.4 lb-ft) in a spiral pattern from the center outward.
Adjusting the Release Mechanism
A new motorcycle clutch repair kit will not cure drag if the external release mechanism is out of spec. The clutch pack requires a specific amount of 'free play' to allow the pressure plate springs to fully extend and separate the plates.
Cable-Actuated Systems
Locate the adjuster at the clutch perch and the lower actuator arm. Loosen the perch adjuster completely. At the engine case, loosen the locknut and turn the adjuster screw inward until you feel resistance against the clutch pushrod, then back it out exactly 1/8 to 1/4 of a turn. Tighten the locknut. Finally, use the perch adjuster to set 10mm to 15mm of free play at the lever tip.
Hydraulic-Actuated Systems
Hydraulic systems (like those on modern Ducati, KTM, and BMW models) are self-adjusting but require precise pushrod clearance. Remove the slave cylinder and check the pushrod length against the service manual. If the pushrod is too long, it will constantly ride the pressure plate, preventing full engagement and causing slip. If it's too short, it won't pull the plate far enough, causing drag. Bleed the system using DOT 4 or DOT 5.1 fluid (never mix with mineral oil systems like Magura) until the lever feel is firm and devoid of sponginess.
Final Break-In and Testing
Refill the engine with fresh oil. Start the motorcycle and let it idle for five minutes to circulate oil into the new clutch pack. With the bike on the stand, pull the lever and shift through the gears. The transmission should click into gear smoothly without the rear wheel attempting to spin. Take the bike for a 20-mile test ride, focusing on partial-throttle accelerations and engine braking to bed the friction material evenly against the steel plates. Avoid heavy stop-and-go traffic or aggressive launch starts during this break-in period to prevent premature glazing.