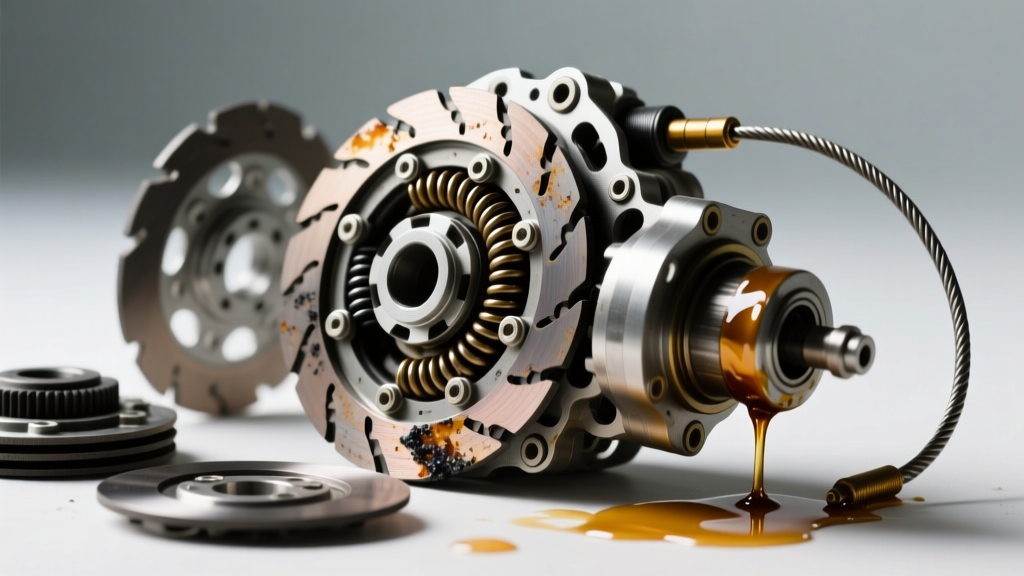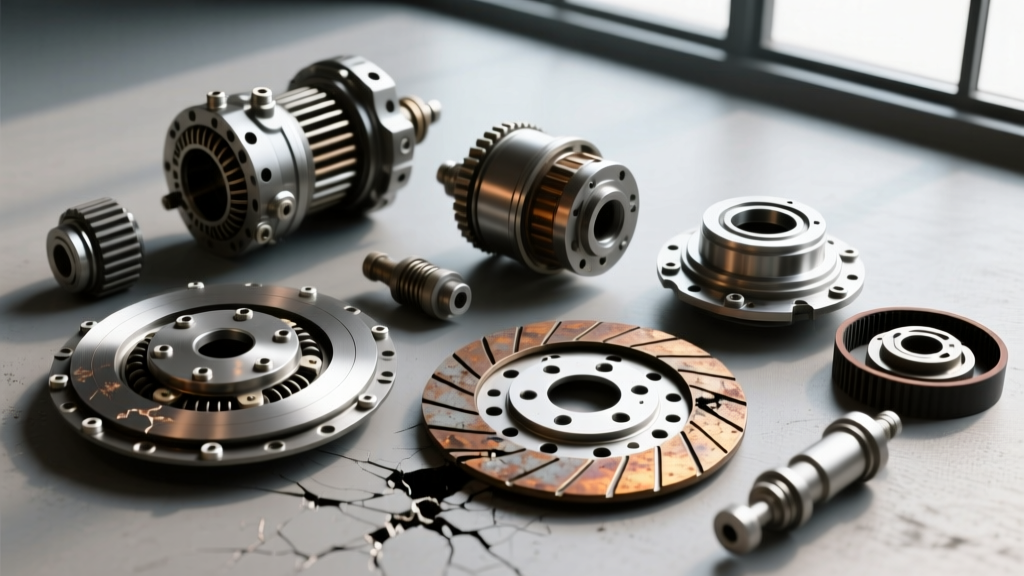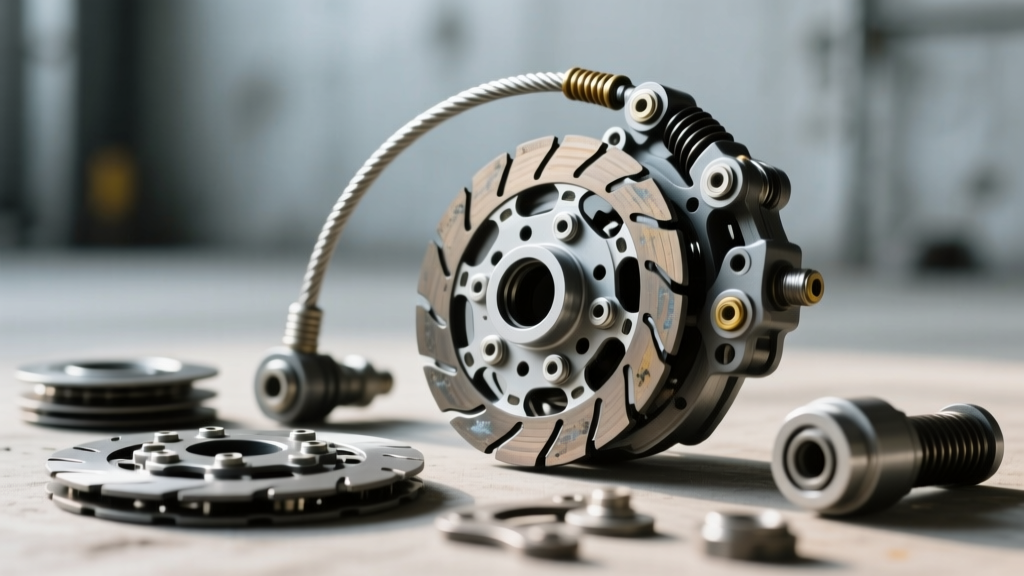
The Deceptive Nature of Motorcycle Clutch Symptoms
When a motorcycle clutch begins to slip under hard acceleration, exhibits erratic engagement, or develops a noticeably stiff lever pull, the immediate reaction for many riders is panic. The assumption is almost always that the internal friction plates are glazed, the steel plates are warped, or the clutch basket is notched. However, before you start draining engine oil, ordering case gaskets, and researching the cost to replace motorcycle clutch assemblies, you must systematically rule out the simplest and most common culprit: the clutch cable.
In 2026, despite the rise of ride-by-wire throttles and hydraulic slipper clutches on premium superbikes, the traditional Bowden steel-braided or polymer-lined clutch cable remains the primary actuation method for roughly 70% of the global motorcycle fleet. A poorly adjusted, fraying, or improperly routed cable can perfectly mimic the symptoms of a completely destroyed internal clutch pack. This comprehensive cost analysis and diagnostic guide will help you determine whether you are facing a $15 maintenance fix or a $500 engine teardown.
Clutch Cable Anatomy and Common Failure Points
To understand the cost variables, you must first understand how the cable system degrades. A standard motorcycle clutch cable consists of a stranded steel inner wire sliding inside a polymer-lined or Teflon-coated outer housing. Over time, three primary failure modes occur:
- Thermal Expansion and Stretching: The steel wire elongates under repeated high-tension loads, altering the freeplay at the lever perch.
- Linear Friction Build-up: Moisture ingress, dirt, and degraded factory lubricants cause the inner wire to bind inside the housing, resulting in a stiff lever and incomplete clutch disengagement.
- Actuator Cam Wear: On the engine side, the cable pulls a lever that rotates an actuator cam or pushrod. If the cable is too tight, it keeps constant pressure on the clutch pushrod, slightly separating the friction plates and causing premature wear and slipping.
The Economics of Cable Maintenance and Adjustment
Addressing cable issues is remarkably cost-effective if caught early. Here is the pricing breakdown for cable maintenance versus replacement in the current market:
- DIY Cable Lubrication: Using a tool like the Motion Pro Cable Luber (Part #08-0028, typically $12-$15) and a can of PTFE-based cable lube ($8). Total cost: ~$23.
- OEM Cable Replacement: An OEM replacement cable for a common mid-weight motorcycle (e.g., Yamaha MT-07 or Honda CB500F) ranges from $35 to $65. Aftermarket options like Venhill or Barnett can be slightly cheaper or more expensive depending on the Teflon lining quality.
- Professional Shop Labor: If you take the bike to a dealership or independent shop, expect to pay 0.5 to 0.8 hours of labor for cable routing, replacement, and adjustment. At average 2026 shop rates of $120-$160 per hour, labor will cost between $60 and $128.
Step-by-Step Diagnostic Framework
Before authorizing a full clutch replacement, run through this diagnostic sequence to isolate the variable. This framework separates cable-induced symptoms from genuine internal mechanical failures.
Step 1: Measure Lever Freeplay
Consult your factory service manual. The industry standard for clutch lever freeplay is typically 2mm to 3mm (approx. 1/16 to 1/8 inch) measured at the tip of the lever perch. If there is zero freeplay, the cable is applying constant pressure to the clutch release mechanism. This prevents the clutch springs from fully clamping the friction plates, leading to slipping under load—a symptom often misdiagnosed as worn plates.
Step 2: The Static Resistance Test
Disconnect the cable from the engine-side actuator arm. Pull the cable by hand. It should move smoothly with minimal resistance. If you feel gritty binding, or if the inner wire does not snap back instantly when released, the housing is compromised. A new cable will instantly resolve 'stiff lever' and 'clutch drag' complaints in 90% of these cases.
Step 3: Actuator Play Inspection
With the cable disconnected, check the play in the engine-side actuator arm. If the arm moves several millimeters before encountering the solid resistance of the internal pushrod and bearing, your internal clutch pack has worn down significantly, and the actuator has run out of adjustment travel. This is a definitive indicator that you will need to budget for the cost to replace motorcycle clutch internals.
When Internal Failure is Inevitable: Full Clutch Replacement Costs
If the cable is perfectly lubricated, correctly routed, and adjusted to factory freeplay specifications, yet the bike still slips or chatters, the internal clutch pack has failed. Calculating the exact cost to replace motorcycle clutch components requires factoring in parts, fluids, and specialized labor.
Friction Plates and Steel Separators
Most Japanese and European motorcycles utilize a wet multi-plate clutch system bathed in engine oil. Replacing the friction plates is the most common repair. For example, an EBC Brakes CK Series clutch kit (e.g., CK3318 for the Yamaha FZ-07/MT-07) costs between $85 and $110. If the steel separator plates are warped or blued from extreme heat, a complete kit with steels (EBC SRC or Barnett Kevlar) will push the parts cost to $160-$240.
Clutch Springs and Basket Notching
Clutch springs sag over time, losing their clamping force. Heavy-duty spring kits cost $25-$40. Furthermore, the aluminum clutch basket (outer hub) and inner hub can develop deep notches where the plate tabs rest. If the notching is severe enough to prevent the plates from sliding freely, causing clutch drag or false neutral, the baskets must be replaced. A billet or hard-anodized inner/outer hub set can cost anywhere from $250 to over $600 for high-performance applications.
Consumables: Gaskets and Engine Oil
Because wet clutches share oil with the engine and transmission, a clutch replacement mandates an oil change. You will need 3 to 4 liters of JASO MA2 certified motorcycle oil ($45-$70) and a new right-side clutch cover gasket ($12-$25).
Comprehensive Cost Breakdown Table (2026 Estimates)
The table below illustrates the stark financial contrast between addressing a cable issue versus funding a complete internal clutch overhaul.
| Service / Component | DIY Cost Estimate | Professional Shop Estimate | Primary Symptom Addressed |
|---|---|---|---|
| Cable Lubrication & Adjustment | $15 - $25 | $60 - $90 (Labor) | Stiff lever, minor drag |
| OEM Cable Replacement | $35 - $65 | $120 - $180 (Parts + Labor) | Frayed wire, severe binding |
| Friction Plates Only (Wet Clutch) | $85 - $130 | $250 - $350 | Slipping under load |
| Full Pack (Friction + Steels + Springs) | $150 - $220 | $350 - $500 | Severe slip, chatter, warped steels |
| Clutch Basket / Hub Replacement | $250 - $600+ | $600 - $1,100+ | Clunking, false neutral, drag |
Expert Reassembly Notes and Torque Specifications
If you determine that the cost to replace motorcycle clutch internals is justified and you opt for the DIY route to save on labor, precision during reassembly is non-negotiable. The internal components are subjected to immense rotational forces and oil pressure.
- Clutch Spring Bolts: These small bolts (typically 5mm or 6mm thread) are easily stripped. The standard torque specification across most 600cc-1000cc sportbikes is 8 to 10 Nm (71 to 88 in-lbs). Always use a calibrated 1/4-inch drive torque wrench. Never use an impact driver.
- Clutch Center Nut: The nut securing the inner hub to the transmission input shaft requires significant torque, often between 70 Nm and 95 Nm (51 to 70 ft-lbs) depending on the manufacturer. You must use a dedicated clutch holding tool or a strap wrench to prevent the assembly from spinning while torquing. Apply a medium-strength threadlocker (e.g., Loctite 243) if specified by the factory service manual.
- Plate Soaking: Before installing new friction plates, they must be soaked in the exact JASO MA2 engine oil you plan to run in the bike for a minimum of 2 hours. Installing dry plates will cause immediate glazing and catastrophic failure upon the first engagement.
Final Diagnosis: Don't Pay for What You Don't Need
The transition from a simple clutch cable adjustment to a full engine-side teardown represents a massive leap in both cost and mechanical complexity. By systematically verifying cable freeplay, testing linear housing friction, and inspecting the engine-side actuator arm, you can confidently isolate the root cause of your drivetrain issues. Whether you are spending $20 on a cable luber and an afternoon in the garage, or investing $400 in a premium Barnett clutch kit and fresh synthetic oil, accurate diagnosis ensures your money is spent exactly where it is needed to keep your machine shifting flawlessly.
For further reading on drivetrain maintenance and wet-clutch oil chemistry, refer to the technical bulletins provided by RevZilla's Common Tread and the engineering specifications outlined by Cycle World.