Understanding Motorcycle Clutch Engagement and Disengagement
For new riders and seasoned wrenches alike, the motorcycle clutch is the critical bridge between the engine's rotational force and the rear wheel. Unlike the complex torque converters and planetary gearsets found in automotive automatic transmissions (like the ZF 8HP or GM 6L80), most motorcycles rely on a wet multi-plate manual clutch system. When you experience shifting difficulties, the root cause almost always traces back to improper clutch engagement (the clutch grabbing or 'biting') or disengagement (the clutch failing to fully release). Learning proper motorcycle clutch adjustment is the most cost-effective first step in diagnosing these drivetrain faults.
Defining the Faults: Engagement vs. Disengagement
Before grabbing your metric wrenches, it is vital to understand the mechanical difference between these two operational phases:
- Engagement Issues (Slipping): This occurs when the clutch lever is fully released, but the friction plates fail to lock completely to the steel plates. Symptoms include the engine RPMs climbing without a proportional increase in road speed, a spongy lever feel, or a distinct burning smell from degraded friction material and overheated transmission oil.
- Disengagement Issues (Dragging/Creeping): This happens when you pull the lever to the handlebar, but the clutch pack fails to separate fully. Symptoms include the motorcycle creeping forward while in gear with the lever pulled in, a loud 'clunk' when shifting into first gear from neutral, and an inability to find neutral while the engine is running.
The Science of Free Play: Why 10-15mm Matters
The golden rule of motorcycle clutch adjustment is maintaining the correct amount of 'free play' at the lever. According to RevZilla's Common Tread maintenance guide, free play is the physical distance the lever travels before it begins to pull the clutch release mechanism. For 90% of cable-actuated motorcycles, the factory specification is between 10mm and 15mm (roughly 3/8 to 1/2 inch) measured at the end of the lever perch.
Why is this gap necessary? As the engine heats up, the clutch cable inner wire and outer housing expand and contract at different rates. Furthermore, the friction plates wear down over time, which pushes the clutch lifter further outward. If you adjust the cable too tight (zero free play), the release bearing remains under constant pressure. This prevents the clutch from fully engaging, leading to premature friction plate glazing and eventual failure.
Step-by-Step Cable Adjustment Procedure
- Locate the Adjusters: Most motorcycles feature two adjustment points: a fine-tune barrel adjuster at the handlebar perch, and a coarse threaded adjuster located near the clutch actuator arm on the engine crankcase.
- Max Out the Perch Adjuster: Screw the handlebar barrel adjuster all the way in. This gives you maximum room for future on-the-fly adjustments as the cable stretches.
- Adjust at the Crankcase: Loosen the 10mm or 12mm locknut on the lower adjuster. Turn the adjuster sleeve until you achieve roughly 10-15mm of lateral play at the tip of the lever.
- Lock and Verify: Hold the adjuster sleeve in place and tighten the locknut. Re-measure the play. Pull the lever and ensure the actuator arm on the engine moves smoothly through its full arc without binding.
Hydraulic Clutch Nuances
Modern sportbikes and premium nakeds (like the KTM Duke 890 or Ducati Panigale V4) utilize hydraulic master cylinders. While they self-adjust for wear, they are not immune to engagement issues. If a hydraulic clutch is slipping, the master cylinder pushrod may lack clearance, effectively pre-loading the clutch. If it is failing to disengage, air in the hydraulic line or degraded DOT 4/DOT 5.1 fluid (which is hygroscopic and absorbs water) is usually the culprit, requiring a complete system bleed.
Diagnostic Matrix: Persistent Engagement and Disengagement Issues
If a proper motorcycle clutch adjustment at the lever and crankcase does not resolve your shifting complaints, you must look inside the clutch cover. Below is a diagnostic framework based on real-world transmission teardowns.
| Symptom | Probable Root Cause | Mechanical Verification | Estimated Fix Cost (2026) |
|---|---|---|---|
| Clutch slipping under heavy load | Worn friction plates or incorrect oil | Measure plate thickness with digital calipers; limit is typically 3.0mm | $85 - $160 (EBC CK Series or OEM plates) |
| Clutch slipping despite new plates | Fatigued clutch springs | Measure spring free length; e.g., Yamaha MT-07 limit is 45.5mm | $30 - $55 (Heavy-duty spring kit) |
| Hard shifting, creeping in gear | Notched clutch basket or warped steel plates | Inspect aluminum basket fingers; check steel plates on glass with feeler gauge | $40 (Filing) to $350 (Hinson Billet Basket) |
| Lever feels notchy or binds | Frayed cable or dry actuator ramp | Disconnect cable and pull by hand; inspect actuator ball-and-ramp | $15 - $35 (OEM replacement cable) |
Deep Dive: Notched Clutch Baskets and Warped Steel Plates
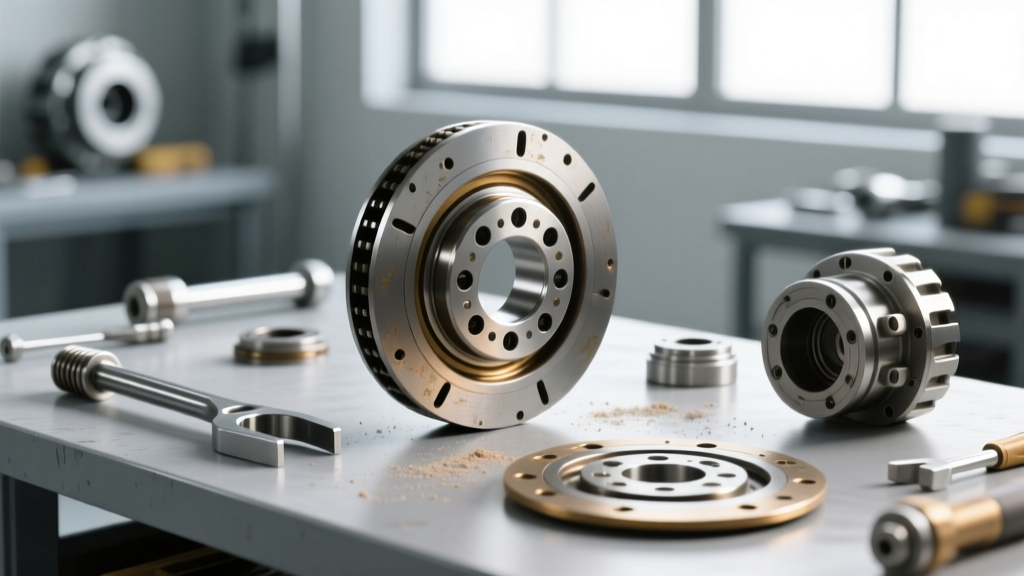
One of the most common causes of severe disengagement issues (dragging) in wet multi-plate clutches is a notched clutch basket. The outer clutch basket is typically cast aluminum, while the friction and steel plates are hardened steel. Over thousands of miles of engagement impacts, the steel tabs gouge microscopic grooves (notches) into the softer aluminum fingers of the basket.
When you pull the lever to disengage the clutch, the friction plates expand slightly and get wedged in these notches, refusing to separate from the steel plates. This keeps the transmission partially engaged. As noted in Barnett Clutches technical documentation, minor notching can be carefully dressed flat with a high-quality mill bastard file. However, if the grooves are deep enough to catch your fingernail, the basket must be replaced to prevent catastrophic transmission lockup or accelerated wear on the new clutch pack.
Similarly, warped steel separator plates will prevent the clutch pack from compressing and releasing evenly. To check this, place a steel plate on a perfectly flat surface (like a piece of thick glass) and attempt to slide a 0.1mm feeler gauge underneath. If the gauge passes under the plate, it is warped and must be replaced.
Internal Assembly: Torque Specs and Fluid Requirements
When replacing friction plates or springs to cure engagement issues, precision during reassembly is non-negotiable. Always soak new cork or Kevlar friction plates in the exact engine oil you plan to use for at least 2 hours prior to installation. This prevents the facing material from scorching on initial startup.
Furthermore, you must use a motorcycle-specific oil rated JASO MA or MA2. Standard automotive oils contain friction modifiers designed to improve fuel economy in cars; in a shared-sump motorcycle, these modifiers will coat the clutch plates and cause immediate, severe slipping.
When reinstalling the clutch spring bolts, use a calibrated torque wrench. Most Japanese and European motorcycles require between 8 Nm and 10 Nm (6 to 7 lb-ft) for the 6mm clutch spring bolts. Always tighten these in a criss-cross, star pattern to ensure even pressure across the pressure plate. Overtightening can strip the soft aluminum threads of the inner hub, resulting in a costly engine case repair.
Summary
Mastering motorcycle clutch adjustment is a fundamental skill that saves time, money, and prevents roadside breakdowns. By maintaining 10-15mm of free play, utilizing the correct JASO MA2 fluids, and knowing when to inspect internal hard parts like the clutch basket and springs, you can eliminate both engagement slip and disengagement drag. Treat your clutch pack with mechanical sympathy, and your transmission will reward you with crisp, effortless shifts for tens of thousands of miles.