Welcome to the Garage: Understanding Your Bike's Hydraulics
If you have recently transitioned from a vintage cable-driven motorcycle to a modern street bike, dirt bike, or sport ATV, you have likely noticed the buttery smooth feel of the left-hand lever. That effortless engagement is the magic of a hydraulic clutch system. Instead of relying on a physical steel cable that stretches, frays, and requires constant lubrication, modern machines use fluid dynamics to multiply the force of your fingers and disengage the transmission.
However, when that lever suddenly goes soft, pulls all the way to the grip, or your ATV starts creeping forward at a stoplight, it can be incredibly intimidating for a beginner. Diagnosing motorcycle and ATV clutch problems requires understanding the difference between a hydraulic failure and a mechanical internal failure. In this guide, we will break down exactly how your system works, the most common symptoms of failure, and how to fix them with professional-grade precision.
The Anatomy of a Motorcycle Hydraulic Clutch System
Before we turn a single wrench, you need to visualize the pathway of pressure. When you squeeze the lever on your handlebars, you are pushing a piston inside the master cylinder. This forces non-compressible fluid through a reinforced hose (often braided steel on performance models) down to the engine case.
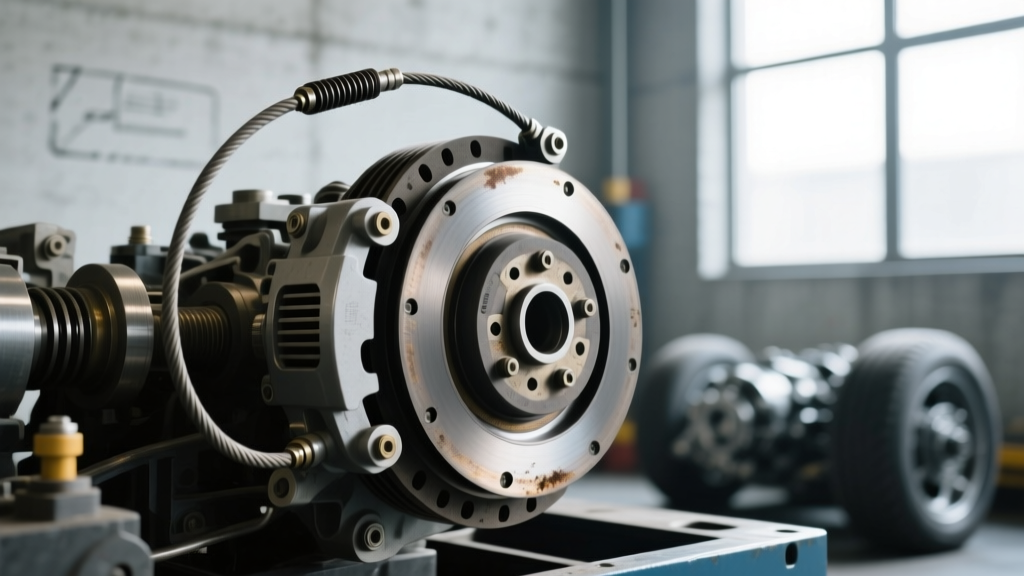
The fluid enters the slave cylinder, pushing a secondary piston outward. This piston actuates a clutch pushrod that passes directly through the center of your transmission's main shaft. The pushrod presses against a mushroom-shaped pressure plate, lifting it away from the clutch pack (the alternating stack of steel and friction plates). When the pressure plate lifts, the springs compress, the plates separate, and power from the engine is disconnected from the rear wheel or tracks.
Pro-Tip for Beginners: Never confuse the clutch hydraulic system with your brake system. While they operate on the exact same physical principles, they use completely different fluids and seal materials. Mixing them up will destroy your components in minutes.
Top 4 Hydraulic Clutch Symptoms on Bikes and ATVs
When riders bring their machines into the shop, 90% of hydraulic clutch system complaints fall into one of these four categories. Learning to identify the symptom is the first step toward an accurate diagnosis.
1. The "Spongy" Lever and Gear Grinding
The Symptom: The lever feels squishy or spongy, and when you try to shift into first gear from a stop, the transmission clunks loudly or grinds.
The Diagnosis: Air in the hydraulic line. Unlike fluid, air is a gas and can be compressed. When you pull the lever, you are compressing the air bubble instead of moving the slave cylinder piston. This prevents the clutch pack from fully separating, causing the transmission input shaft to keep spinning (clutch drag), which results in grinding gears.
The Fix: A standard hydraulic bleed using a vacuum bleeder or the traditional "pump-and-hold" method. Always ensure your master cylinder reservoir is topped off during this process to prevent sucking more air into the system.
2. The Lever Pulls to the Grip (Total Loss of Pressure)
The Symptom: You pull the lever, and it stays pinned against the handlebar grip with zero resistance. You look down and see a puddle of oily fluid on your engine cases or ATV floorboards.
The Diagnosis: A blown seal. On motorcycles, this is usually the internal piston seal inside the slave cylinder failing due to age, heat, or contaminated fluid. On ATVs like the Polaris Scrambler or Sportsman, the slave cylinder is often mounted low on the chassis, making it highly susceptible to mud, water, and grit intrusion, which scores the cylinder wall and shreds the seal.
The Fix: Rebuild or replace the slave cylinder. (See the torque specs and part numbers below).
3. Clutch Dragging and Creeping (The False Hydraulic Diagnosis)
The Symptom: The lever feels perfectly firm, and the hydraulic system is fully bled, but the bike still creeps forward when the lever is pulled in, or it is incredibly difficult to find neutral.
The Diagnosis: This is where beginners get tricked. If the hydraulics are firm, the problem is usually mechanical, not hydraulic. On high-hour dirt bikes (like the Yamaha YZ450F or Honda CRF450R), the aluminum fingers of the inner clutch basket become "notched" or grooved from the friction tabs slamming into them. These notches trap the friction plates, preventing them from separating even when the hydraulic pushrod is fully extended. Another culprit is warped steel plates caused by overheating the clutch in deep ATV mud bogs.
The Fix: Inspect the clutch basket for notching. If you can catch your fingernail in a groove on the basket fingers, the basket must be replaced or sent out for machining (like the Rekluse Core Manual basket upgrade).
4. Notchy or Inconsistent Lever Feel
The Symptom: The lever feels gritty, or the engagement point wanders randomly from ride to ride.
The Diagnosis: Contaminated fluid or a failing master cylinder bore. If moisture has entered the DOT fluid, it causes internal corrosion in the master cylinder, creating microscopic pitting that grabs the rubber seal. Alternatively, the clutch pushrod bearing (a small needle bearing inside the pressure plate) may be dry or failing, creating mechanical binding that transfers back to your lever.
The Golden Rule: DOT Fluid vs. Mineral Oil
The single most expensive mistake a beginner can make is pouring the wrong fluid into their master cylinder. Hydraulic clutch systems are designed for one of two completely incompatible fluid types. Using the wrong one will cause the rubber seals to swell, turn to jelly, and fail catastrophically.
| Fluid Type | Common Brands / Specs | Typical Applications | Cleaning Solvent |
|---|---|---|---|
| DOT 4 / DOT 5.1 | Castrol SRF, Motul RBF 600 | Brembo, Nissin, Avid (Most Japanese & Italian bikes) | Isopropyl Alcohol / Brake Cleaner |
| Mineral Oil | Magura Blood, Shimano Mineral, LHM+ | Magura, some Husqvarna & BMW models | Isopropyl Alcohol (Never use brake cleaner!) |
Always check the cap on your master cylinder. It will explicitly state either "DOT 4" or "Mineral Oil Only." For a deep dive into fluid chemistry and boiling points, refer to Magura's official tech documentation or Brembo's motorcycle maintenance guides.
Garage Guide: Slave Cylinder Rebuild & Torque Specs
If you have diagnosed a blown slave cylinder seal, do not immediately buy a $200 complete assembly. Most OEM slave cylinders can be rebuilt for under $40 using a basic seal kit. Here is the professional workflow:
- Protect Your Paint: DOT fluid is highly corrosive to paint and plastics. Wrap your ATV fenders or motorcycle gas tank in microfiber towels and plastic wrap before opening the system.
- Remove and Disassemble: Unbolt the slave cylinder. Remove the bleeder valve and push the piston out using low-pressure compressed air (keep a rag over it to catch the piston so it doesn't shoot across the garage).
- Clean and Inspect: Clean the bore with fresh fluid or isopropyl alcohol. Run your finger along the inside wall. If you feel deep scratches or scoring, the housing is ruined; you must buy a complete assembly. If it is smooth, proceed.
- Lubricate and Reassemble: Coat the new OEM rubber seals in clean brake fluid (never use petroleum grease, which destroys DOT seals). Push the new piston in by hand.
- Torque to Spec: Reinstall the unit. Overtightening soft aluminum engine cases is a common beginner mistake.
Critical Torque Specifications (General Baselines)
- Slave Cylinder Mounting Bolts (M6): 8 to 10 Nm (6 to 7.5 lb-ft)
- Hydraulic Line Banjo Bolt: 20 to 25 Nm (15 to 18 lb-ft) Always use two new crush washers!
- Clutch Pressure Plate Spring Bolts: 8 to 10 Nm (Apply blue Loctite 243)
When to Rebuild vs. Replace: Cost & Part Number Breakdown
Knowing when to save money with a rebuild kit and when to bite the bullet on a full assembly is a hallmark of a seasoned mechanic. Below is a cheat sheet for some of the most popular motorcycle and ATV hydraulic clutch systems on the market today.
| Vehicle Platform | Component | OEM Part Number | Estimated Cost (2026) |
|---|---|---|---|
| KTM / Husqvarna / GasGas (450/350/250) | Slave Cylinder Rebuild Kit | 54832091100 | $35 - $45 |
| KTM / Husqvarna / GasGas | Complete Slave Assembly (Brembo) | 54832091000 | $160 - $190 |
| Honda CRF450R / CRF250R | Master Cylinder Rebuild Kit | 22893-KZS-J00 | $28 - $35 |
| Polaris Sportsman / Scrambler ATV | Slave Actuator Assembly | 3235584 (Varies by Year) | $120 - $150 |
| Yamaha YZ450F / WR450F | Clutch Pushrod Bearing | 93332-00076 | $12 - $18 |
Final Thoughts for the Home Mechanic
Diagnosing a hydraulic clutch system on a motorcycle or ATV is entirely logical once you separate the hydraulic circuit from the mechanical clutch pack. If the lever feels wrong, look at the fluid, the seals, and the lines. If the lever feels firm but the bike still acts up, pull the clutch cover and inspect the basket, plates, and pushrod bearing. By keeping your fluid fresh, using the correct torque specs, and avoiding the dreaded "mixed fluid" trap, your hydraulic clutch will provide thousands of miles of flawless, one-finger shifts.