The Root Cause: Why Bearings and Seals Fail Together
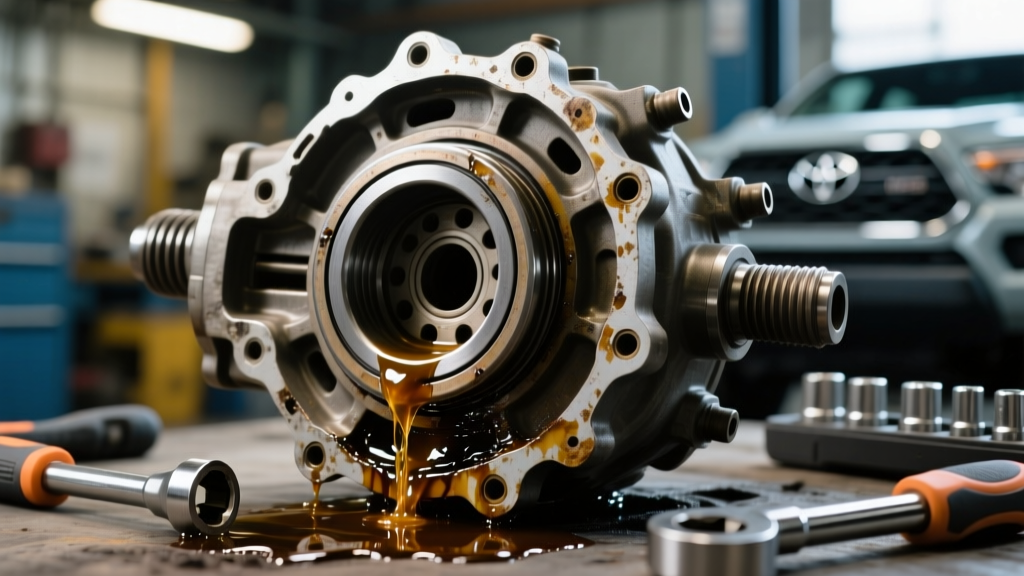
Spotting a puddle of thick, pungent gear oil on your garage floor is the universal hallmark of a leaky differential. While many DIYers and novice mechanics rush to simply pry out the old seal and tap in a new one, this superficial approach almost guarantees a comeback. The harsh reality of axle mechanics is that seals rarely fail in isolation. A leaky differential is frequently the secondary symptom of a primary failure: worn differential bearings.
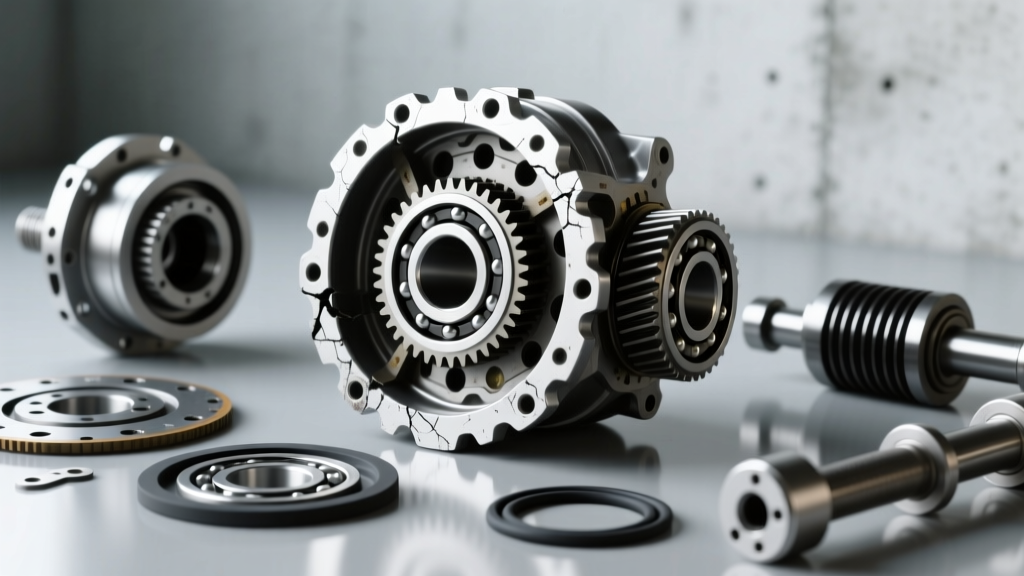
When pinion or carrier bearings develop excessive clearance, the rotational axis of the pinion gear or axle shaft shifts under load. This runout—sometimes as little as 0.005 inches of deflection—causes the sealing lip to lose uniform contact with the mating surface. At highway speeds, this microscopic wobble generates immense friction, heat, and eventual tearing of the seal's elastomer lip. If you replace the seal without addressing the bearing preload and runout, the new seal will be destroyed within a few hundred miles. To properly fix a leaky differential, you must treat the bearing and seal replacement as a single, unified service procedure.
OEM vs. Aftermarket: 2026 Parts Sourcing Guide
Sourcing the correct components is critical. The market is flooded with cheap, offshore bearing and seal kits that use inferior steel alloys and low-grade nitrile rubber. For a permanent repair, you must rely on tier-one suppliers like Timken for bearings and SKF or National for seals. Below is a reference chart for the three most common light-truck and SUV axles on the road today.
| Axle Model | Pinion Seal (OEM/Top Tier) | Pinion Bearing Set | Axle Shaft Seal | Fluid Capacity |
|---|---|---|---|---|
| Ford 8.8 (Super 8.8) | SKF 28936 / National 711004 | Timken SET13 | National 710966 | 2.0 - 2.3 Quarts |
| Dana 44 (Jeep/Truck) | National 710928 | Timken SET10 | SKF 17944 | 2.5 - 3.0 Quarts |
| GM 8.5 / 8.6 (10-Bolt) | SKF 29132 | Timken SET9 | National 710967 | 2.0 - 2.25 Quarts |
Always cross-reference your specific RPO code or axle tag before ordering. Furthermore, when replacing pinion bearings, it is highly recommended to upgrade from the factory crush sleeve to a solid pinion spacer kit (such as those offered by Ratech). Solid spacers eliminate the risk of over-crushing during assembly and maintain bearing preload far longer under heavy towing or off-road use.
The Pinion Side: Crush Sleeves, Solid Spacers, and Preload
The pinion seal is the most common culprit behind a leaky differential. Replacing it requires removing the driveshaft, the pinion yoke, and the pinion nut. This is where the job transitions from basic maintenance to precision machining. The pinion nut does not merely hold the yoke in place; it dictates the bearing preload. Preload is the rolling resistance of the pinion bearings, measured in inch-pounds of rotational torque.
Measuring Rotational Torque
Before disassembling the axle, you must measure the existing rotational torque using a beam-style inch-pound torque wrench. A standard click-type torque wrench is useless for this measurement. Connect the wrench to the pinion nut and rotate the assembly slowly. For a used axle with broken-in bearings, you should see between 8 and 14 inch-pounds of resistance. If the resistance is near zero, your bearings are severely worn and causing the seal leak due to excessive play.
The Crush Sleeve Dilemma
When you remove the pinion nut, the factory crush sleeve is permanently deformed and cannot be reused. If you are installing a new crush sleeve, you will need to torque the new pinion nut to approximately 200-250 ft-lbs to begin crushing the sleeve, checking the rotational torque every quarter-turn. It is incredibly easy to over-crush the sleeve. If you exceed the target 16-24 inch-pounds (for new bearings), you must disassemble the entire pinion gear, replace the crushed sleeve, and start over.
This is why expert mechanics prefer solid spacer kits. A solid spacer uses precision-machined steel shims to set the exact depth and preload. You torque the pinion nut to a high static clamping force (usually around 250 ft-lbs), and the solid spacer maintains that preload indefinitely without the risk of collapsing under shock loads.
Axle Seals and Carrier Bearings: Setting the Stage
If your leaky differential is weeping from the axle tubes, the repair process involves pulling the axle shafts. On semi-floating axles like the Ford 8.8 or GM 10-bolt, this requires removing the differential cover, draining the 75W-90 or 75W-140 synthetic gear oil, rotating the carrier to access the cross-pin, and removing the C-clips (or S-clips) that retain the axle shafts.
Once the shafts are pulled, the wheel bearings and seals are exposed. Pressing off old bearings requires a hydraulic press and the correct bearing puller jaws to avoid damaging the axle shaft splines. When pressing on new Timken or SKF bearings, always apply pressure to the inner race only. Pressing on the outer race will Brinell the bearing rollers, leading to catastrophic failure and gear whine within weeks.
Carrier Bearing Preload
While the differential is open, inspect the ring and pinion gear contact pattern. If you are replacing the carrier bearings (the two large bearings on either side of the differential case), you must reset the carrier preload. On Dana axles, this is done by adjusting the thickness of the shims located behind the bearing cups. On GM and Ford axles with adjuster nuts, you tighten the nuts to achieve a specific side-bearing preload, usually measured as a total rotational torque increase of 15-20 inch-pounds over the pinion-only rotational torque. Always consult the specific Dana Spicer or OEM service manual for your exact axle ratio and model, as shim thicknesses vary by thousandths of an inch.
Advanced Troubleshooting: When the Drip Returns
You have replaced the bearings, installed premium seals, and set the preload to factory specifications. Yet, three weeks later, you notice a fresh spot of gear oil on the driveway. Why is your differential still leaking? Here are the three hidden culprits that plague even experienced technicians.
1. Pitted Pinion Yoke Sealing Surfaces
The rubber lip of a pinion seal rides on the machined surface of the pinion yoke. Over tens of thousands of miles, the seal lip and embedded dirt carve a microscopic groove into the steel yoke. A brand-new seal will not be able to bridge this groove, resulting in an immediate leak. Instead of buying a new, expensive forged yoke, use a stainless steel wear sleeve (such as the SKF Speedi-Sleeve). These ultra-thin sleeves press directly over the worn yoke shaft, providing a pristine, mirror-finish sealing surface for the new seal lip.
2. Clogged Axle Breather Valves
Differentials are not sealed systems; they must breathe. As the 75W-140 or 75W-90 gear oil heats up during highway driving or towing, the air inside the housing expands. The axle breather valve (usually a small plastic cap on a hose routed high into the frame rail) allows this expanding air to escape. If this valve becomes clogged with mud, debris, or ice, the internal pressure spikes. This hydraulic pressure will forcefully blow gear oil past even the most perfectly installed, high-quality seals. Always clean or replace the breather valve and ensure the vent hose is clear during any differential service.
3. Overfilling the Housing
More fluid is not better. The fill hole on a differential housing is precisely located to ensure the fluid level sits just below the centerline of the axle shafts. If a technician uses a pump and forces an extra half-quart of fluid into the housing, the churning action of the ring gear will aerate the oil and push the excess fluid up into the axle tubes. This constant fluid bath will eventually overwhelm the axle seals, causing them to weep. Fill the differential until the fluid is level with the bottom of the fill hole threads, and no higher.
Final Thoughts on Drivetrain Integrity
Addressing a leaky differential is an exercise in precision, patience, and proper parts sourcing. By understanding the symbiotic relationship between bearing preload and seal integrity, utilizing solid spacers, and verifying rotational torque with the correct instruments, you can restore your axle to factory-fresh reliability. Whether you are maintaining a daily-driven commuter SUV or prepping a heavy-duty truck for cross-country towing, respecting the tolerances of the differential is the only way to keep the gear oil inside the housing where it belongs.