The 'Change Differential Fluid Jeep JK' Reality Check
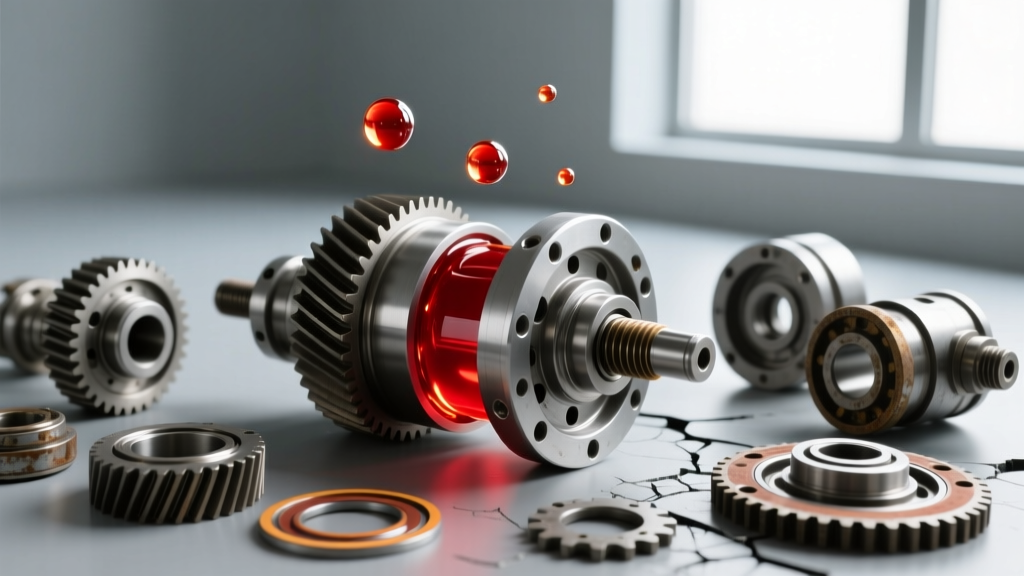
For most Jeep Wrangler JK owners (2007-2018), a routine differential service is a straightforward weekend task. You jack up the axle, drain the old gear oil, clean the mating surfaces, and refill with fresh 75W-140 synthetic. But what happens when you pull the rear differential cover and, instead of clean or slightly darkened oil, a slurry of glitter, metallic paste, and chunky shavings pours into your drain pan?
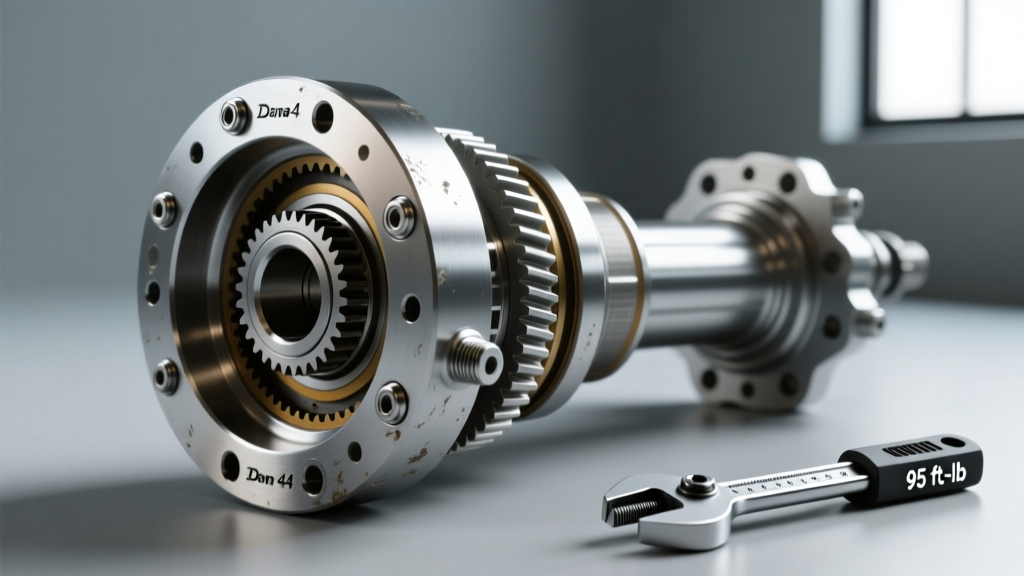
This is the exact moment a simple change differential fluid Jeep JK maintenance item pivots into a full-scale differential rebuild. The Jeep JK rear axle is the Next Generation Dana 44 (NGD44), a robust unit that nonetheless suffers from bearing fatigue, ring and pinion wear, and carrier issues when subjected to larger tires (35-inch and above) without proper regearing. In 2026, with the majority of JKs pushing well over 100,000 miles, encountering catastrophic differential wear during a fluid change is increasingly common.
This step-by-step guide will walk you through the diagnostic process, the specialized teardown of the NGD44, and the precise rebuild procedures required to get your JK back on the trail.
Diagnosing the Need for a Rebuild
Before ordering parts, you must differentiate between normal limited-slip clutch pack wear and catastrophic gear or bearing failure.
- Normal Wear: A fine, dark grey paste on the drain plug magnet and a slight burnt smell. This indicates Trac-Lok clutch pack wear. A fluid change and a dose of limited-slip friction modifier will suffice.
- Bearing Failure: Shiny, metallic flakes suspended in the oil. You may hear a rhythmic howling or growling that changes with vehicle speed. This means your Timken carrier or pinion bearings are disintegrating.
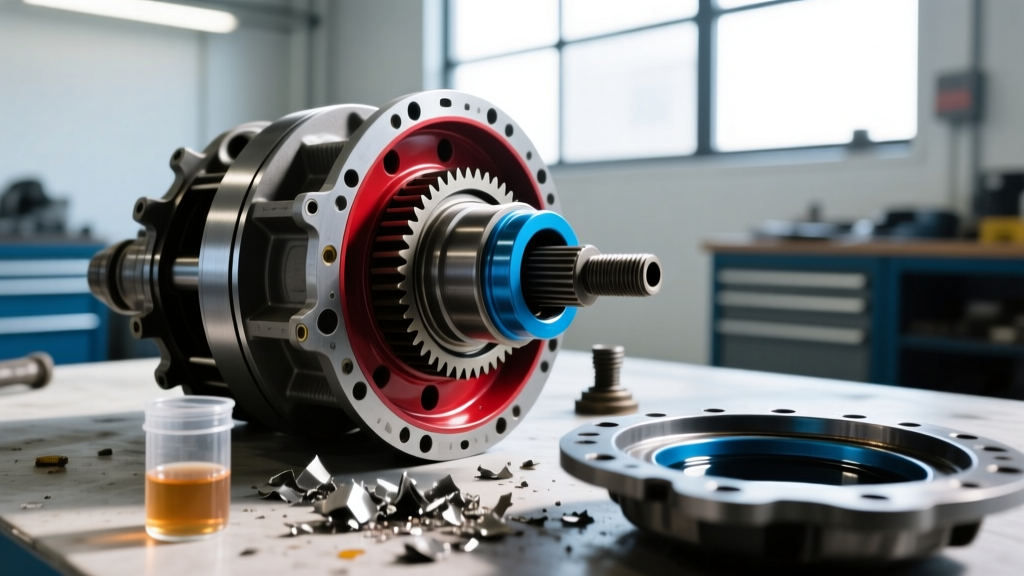
- Ring & Pinion Failure: Chunky metal shards, broken teeth on the drain plug, or a distinct 'clunk' on throttle tip-in. The gear pattern has degraded, or the pinion depth has shifted due to a crushed crush sleeve.
Essential Tools and Parts for NGD44 Rebuilds
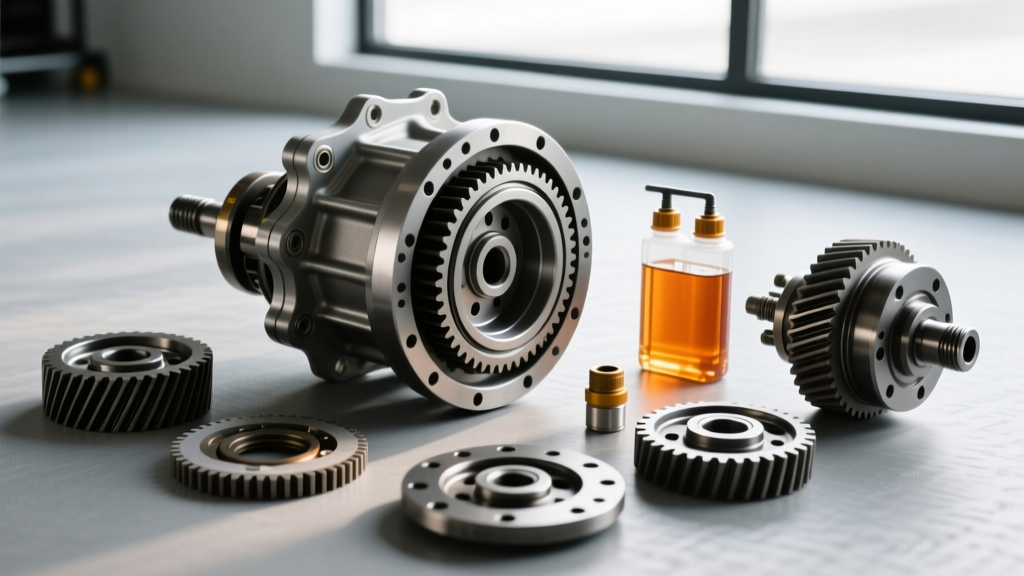
The NGD44 differs significantly from older Dana 44 axles found in TJs and XJs. Using the wrong master kit or assuming left-hand thread ring gear bolts will halt your build immediately. Below is the required checklist for a professional-grade rebuild.
| Category | Item / Specification | Estimated Cost (2026) |
|---|---|---|
| Master Overhaul Kit | Yukon Gear YK D44-NG (Includes Timken bearings, races, NGD44 specific shims) | $380 - $450 |
| Ring & Pinion | Revolution Gear & Axle 4.56 NGD44 Set (Matched to your tire size) | $280 - $340 |
| Pinion Spacer Upgrade | Yukon SK SS02 Solid Pinion Spacer Kit (Eliminates crush sleeve failure) | $65 - $85 |
| Ring Gear Bolts | 1/2'-20 Right Hand Thread (Grade 8, specific to NGD44) | $25 - $40 |
| Specialty Tools | Dial Indicator, Inch-Pound Torque Wrench, Bearing Press, Setup Bearings | $150 - $300 (if not owned) |
| Consumables | Red Loctite 272, RTV Silicone, 75W-140 GL-5 Gear Oil (approx. 2.0 qts) | $60 - $90 |
Step-by-Step Jeep JK Differential Rebuild Procedures
Phase 1: Teardown and Axle Shaft Removal
Begin by safely supporting the Jeep on jack stands and removing the rear wheels and brake calipers. Disconnect the ABS sensor wires and brake line brackets from the axle tubes. Using a 13mm or 15mm socket (depending on your specific JK year and aftermarket axle shafts), remove the eight bolts securing the axle shafts to the axle flange. Use a slide hammer to pull the shafts out, ensuring you do not damage the axle seals.
Next, unbolt the driveshaft from the pinion yoke. Mark the driveshaft and yoke for reassembly balance. Remove the pinion nut using a heavy-duty impact or a yoke holding tool. Slide the yoke off and use a seal puller to remove the pinion seal.
Unbolt the carrier bearing caps (keep them strictly organized by side and orientation—they are line-bored with the housing and cannot be swapped). Lift the carrier assembly out of the housing. Finally, drive the pinion gear out of the housing from the inside using a brass drift.
Phase 2: Pinion Depth and Solid Spacer Setup
This is where the NGD44 rebuild diverges from older axles. We highly recommend ditching the OEM crush sleeve for a solid pinion spacer setup, which prevents pinion preload loss during heavy trail impacts.
- Press the Setup Bearing: Hone out an old inner pinion bearing so it slips on and off the pinion stem easily. This is your 'setup bearing'.
- Measure Pinion Depth: The new ring and pinion will have a pinion depth etching (e.g., +2 or -1). Using a pinion depth tool, measure the distance from the centerline of the carrier bore to the pinion face. Adjust the pinion depth shim (located under the inner bearing race) until your measurement matches the factory etching plus your setup bearing tolerance.
- Set Pinion Preload: Install the solid spacer and shims. Torque the pinion nut. Because you are using a solid spacer, you are shimming for rotational drag rather than crushing metal. Target 15 to 25 inch-pounds of rotational torque on the pinion yoke using your inch-pound torque wrench.
Phase 3: Carrier Setup and Backlash Adjustment
The NGD44 uses a shim-behind-the-race design. The shims sit between the bearing races and the axle housing, not under the bearings on the carrier itself. This is a massive advantage, as it prevents you from having to press and pull carrier bearings repeatedly to find the correct backlash.
- Mount the Ring Gear: Clean the carrier mating surface with brake cleaner. Heat the new ring gear in an oven to 250°F to expand it, then drop it onto the carrier. Install the new 1/2'-20 Right Hand thread ring gear bolts. Apply Red Loctite 272 and torque them in a star pattern to 75-85 ft-lbs.
- Press the Bearings: Press the new Timken carrier bearings onto the carrier assembly.
- Set Backlash: Install the carrier into the housing with your estimated shim packs behind the races. Bolt the bearing caps down to 60 ft-lbs. Mount a dial indicator to the housing, resting the tip on a ring gear tooth. Rotate the carrier to measure backlash. The NGD44 target backlash is typically 0.006' to 0.010'. Adjust the left and right shim packs accordingly—adding thickness to one side while subtracting the exact same thickness from the other to maintain carrier bearing preload.
- Check the Pattern: Apply yellow gear marking compound to the ring gear. Rotate the gears under load and inspect the drive and coast patterns. The pattern should be centered on the tooth face, slightly biased toward the heel under load. Adjust pinion depth shims if the pattern runs too high (toe) or too low (root).
Final Assembly and Break-In Protocol
Once the pattern and backlash are verified, install the axle shafts, ensuring you seat them fully into the carrier side gears without binding. Reinstall the brake components and ABS lines.
Seal the differential cover with a high-quality RTV silicone (like Permatex Ultra Black) or a reusable gasket. Allow the RTV to cure for at least 2 hours before filling. Refill the axle with 2.0 quarts of a high-quality 75W-140 or 80W-90 GL-5 synthetic gear oil. According to synthetic lubrication experts, GL-5 rated fluids contain the necessary extreme pressure (EP) additives required to protect hypoid gear sets from wiping under heavy shock loads. If your JK is equipped with a Trac-Lok limited-slip differential, do not forget to add the required 4 oz of limited-slip friction modifier to prevent chatter.
The Critical 500-Mile Break-In
New ring and pinion gears generate immense friction and heat as they mate. Follow this strict break-in procedure to prevent burning your new gears:
- Drive the vehicle normally for the first 15 miles, keeping speeds under 45 mph.
- Stop and let the axle cool completely to ambient temperature.
- Drive for another 50 miles, avoiding heavy towing or off-road abuse.
- At the 500-mile mark, drain and refill the differential fluid again. This removes the microscopic metallic paste generated during the initial mating process, ensuring long-term bearing and gear life.
By treating a routine fluid inspection as a gateway to a meticulous, spec-driven rebuild, you ensure your Jeep JK's drivetrain can handle the demands of modern off-roading and oversized tire setups for years to come. For further identification of your specific axle ratio and housing variations, always consult the official Spicer/Dana differential identification resources before ordering hard parts.