The Hidden Cost of Ignoring a 'Minor' Dana 44 Axle Leak
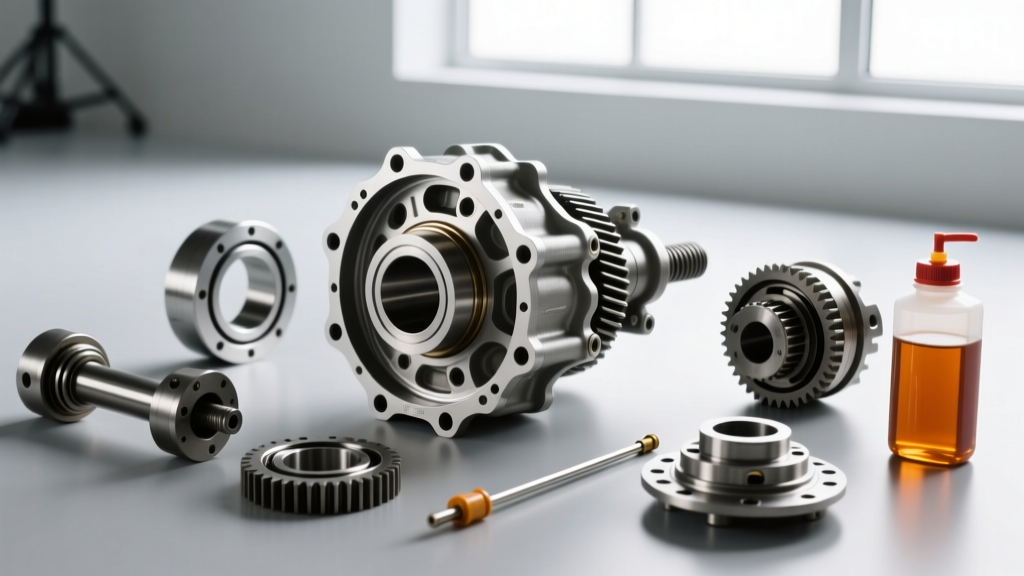
The Jeep Wrangler JK (2007-2018) equipped with the Dana 44 front and rear axles is a cornerstone of the off-road community. However, as these vehicles age and accumulate trail miles, axle seal degradation becomes an inevitable reality. Many owners dismiss a few drops of gear oil on the driveway as a cosmetic nuisance, opting to simply 'top it off' periodically. This is a critical mechanical error. In a splash-lubricated Dana 44 housing, a fluid drop of just 1.5 inches fundamentally alters the internal lubrication dynamics, leading directly to the catastrophic failure of the differential spider gears and carrier cross pins.
This model-specific repair guide details the exact diagnostic protocols, torque specifications, and teardown procedures required to halt Dana 44 leaks and inspect the internal carrier assembly before irreversible metallurgical damage occurs.
How Fluid Starvation Destards the Carrier Assembly
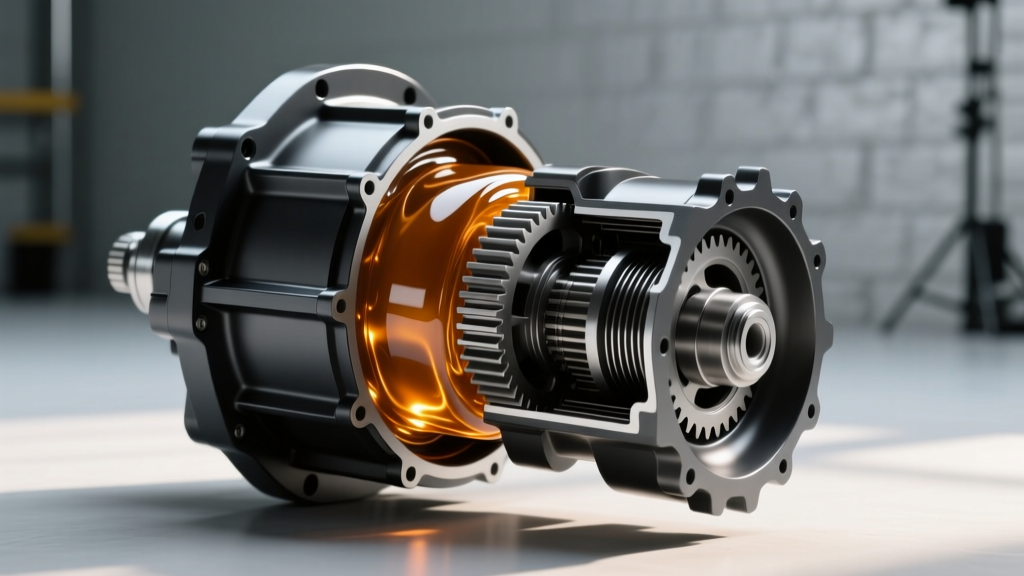
The Dana 44 relies on the ring gear acting as a slinger, dipping into the differential fluid sump at the bottom of the housing and throwing oil upward to coat the pinion bearings, axle shafts, and the internal carrier components. Because the differential spider gears are mounted at the absolute top of the carrier assembly, they are the furthest component from the fluid sump. When an axle tube seal or pinion seal leaks and drops the fluid level below the ring gear's centerline, the spider gears are starved of lubrication. The resulting friction welds the spider gears to the cross pin, shattering the side gears and locking the axle shafts together under load—a dangerous failure mode when cornering on high-traction surfaces.
Step-by-Step Leak Detection Matrix
Before unbolting a single component, you must accurately identify the leak source. Misdiagnosing a pinion seal leak as a differential cover weep will result in wasted labor and continued fluid loss. Clean the entire axle housing with brake cleaner, drive the vehicle for 15 miles, and inspect the housing using the matrix below.
| Leak Location | Visual Symptoms | Common Failure Cause | Severity & Action |
|---|---|---|---|
| Pinion Yoke Seal | Oil slung radially onto the exhaust crossmember and undercarriage; wet pinion flange. | Worn seal lip, scored yoke surface, or clogged axle breather causing pressure buildup. | High. Requires pinion nut removal and bearing preload reset. |
| Axle Tube Inner Seal | Fluid dripping from the back of the wheel hub/rotor; wet inside the brake dust shield. | Worn U-joint binding and chewing the seal lip; pitted axle shaft sealing surface. | Critical. Requires axle shaft removal; front requires carrier drop. |
| Differential Cover | Seeping along the mating flange; oil tracking down the bottom of the pumpkin. | Over-torqued cover bolts warping the stamped steel pan; degraded RTV or cork gasket. | Moderate. Drain, clean, and reseal with proper torque sequence. |
Repair Protocol: Pinion Seal Replacement & Preload Preservation
Replacing the Dana 44 pinion seal (Part # Spicer 43119 or SKF 20430) is not simply a matter of unbolting the yoke and swapping the rubber. The pinion nut dictates the crush sleeve tension, which sets the pinion bearing preload. If you over-torque the new nut, you will over-crush the sleeve, destroying the pinion bearings within 500 miles. If you under-torque it, the pinion gear will wobble, destroying the ring and pinion mating pattern.
The Rotational Torque Method
- Mark and Measure: Before removing the pinion nut, mark the nut's exact position relative to the pinion threads with a paint pen. Using an inch-pound beam-style torque wrench on the pinion nut, measure the rotational torque required to turn the pinion assembly (with the brake calipers removed to eliminate drag). A healthy used Dana 44 typically reads between 15 and 25 inch-pounds.
- Extract and Replace: Use a heavy-duty yoke holder and a 1-5/16 inch socket to remove the nut. Slide the yoke off using a 3-jaw puller (never hammer the pinion threads). Pry out the old seal, grease the lip of the new seal, and seat it flush using a specialized seal driver.
- Re-torque to Spec: Reinstall the yoke and a new pinion nut. Tighten the nut in small increments, constantly checking the rotational torque with your inch-pound wrench. Stop tightening the exact moment your rotational torque reading matches your original recorded number plus 5 inch-pounds to account for the new seal's drag.
Axle Seal Repair: Front vs. Rear Teardowns
The rear Dana 44 axle seals (Mopar 68003699AA) can be replaced by simply pulling the brake caliper, rotor, and axle shaft. The C-clip or press-fit retainer allows the shaft to slide out, giving you direct access to the seal at the end of the axle tube. However, the front Dana 44 is a different beast.
The Front Dana 44 Carrier Drop Requirement
To replace the inner passenger-side axle seal on a JK front Dana 44, you must disconnect the intermediate axle shaft. On many JK front housings, accessing the inner seal requires dropping the entire carrier assembly out of the housing. This is the exact moment where a comprehensive inspection of the differential spider gears becomes mandatory.
Expert Technician Note: Never mix up the Dana 44 carrier bearing caps. They are line-bored at the factory with the housing. If you reinstall the left cap on the right side, or rotate them 180 degrees, you will misalign the ring gear, causing immediate tooth shearing and catastrophic axle lockup. Always stamp or mark the caps and housing during disassembly.
Inspecting and Replacing the Spider Gears
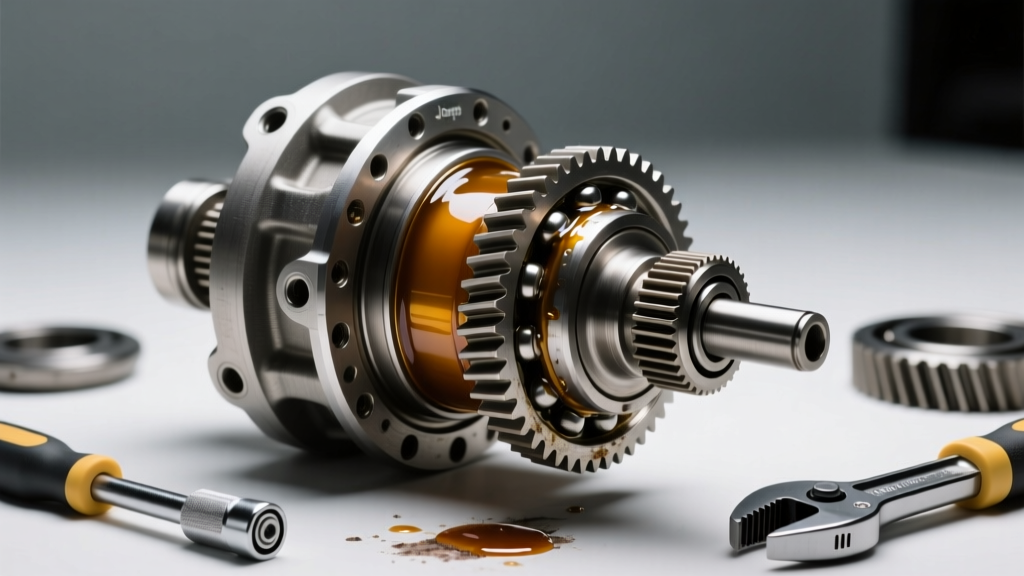
With the carrier on the bench, remove the cross pin retaining bolt and slide out the cross pin. If the fluid level was allowed to drop due to a prolonged leak, you will likely find severe heat bluing (a dark purple/black oxidation) on the cross pin and galling on the inner bores of the differential spider gears. If the spider gears show any pitting or if the cross pin exhibits scoring deeper than a fingernail catch, the internal kit must be replaced.
The standard replacement kit for an open Dana 44 is the Dana Spicer 706008X (or Yukon Gear YKD44-2). This kit includes two side gears, two spider gears, the cross pin, and the retaining bolt. According to Spicer Parts Technical Resources, proper installation requires coating all gear contact surfaces with the same 75W-140 gear oil used in the housing before reassembly to prevent initial startup dry-runs.
Fluid Refill: Capacities, Torque Specs, and Friction Modifiers
Once the seals are replaced and the carrier is reinstalled (torquing the carrier bearing cap bolts to exactly 60 lb-ft), the differential cover must be resealed. Abandon cheap RTV silicone, which can bead up internally and clog the oil pickup channels. Use a reusable, precision-cut rubber gasket like the Lube Locker LL-D44. Install the cover bolts hand-tight, then torque them in a crisscross pattern to 30-35 lb-ft.
2026 Gear Oil Specifications for the JK Platform
Jeep's factory manual often lists 75W-90, but for any JK Wrangler used for towing, off-roading, or running larger-than-stock tires, a 75W-140 Full Synthetic gear oil is the industry standard for thermal stability. As noted in Quadratec's JK Drivetrain Archives, the increased rotating mass of 35-inch tires generates immense heat at the ring and pinion contact patch, rapidly breaking down lighter weight oils.
- Rear Axle Capacity: 2.0 Quarts (1.9 Liters)
- Front Axle Capacity: 2.0 Quarts (1.9 Liters)
- Friction Modifier Rule: If your JK is equipped with the factory Trac-Lok limited-slip rear differential, you must add 4 oz of Mopar Limited Slip Additive (Part # 4318060AB). Failure to do so will cause clutch pack chatter during low-speed cornering. If your JK has the factory Rubicon electric lockers or an aftermarket Detroit Locker, do not use friction modifiers, as they reduce the bite threshold of the locking mechanisms.
Summary of Preventative Maintenance
A differential leak is never just a mess; it is a countdown to mechanical failure. By utilizing the rotational torque method for pinion seals, carefully managing carrier cap alignment during inner axle seal repairs, and proactively inspecting the differential spider gears for thermal damage, you ensure the longevity of your Dana 44 axles. Always verify your breather tubes on the axle housings are routed high into the engine bay and are free of debris; a clogged breather will pressurize the housing during thermal expansion, forcing fluid past even brand-new, perfectly installed seals.