Diagnosing the Honda Pilot VTM-4: Fluid Change vs. Full Rebuild
The Honda Pilot’s Variable Torque Management (VTM-4) all-wheel-drive system is an engineering marvel when properly maintained, but it is notoriously unforgiving when neglected. When owners first notice a shudder, binding sensation, or groaning noise during tight parking lot turns, they typically research the honda pilot differential fluid change cost, hoping a simple $120 to $180 service will cure the ailment. While a fluid service is the correct first step for early-stage chatter, it cannot reverse physical damage to the internal electromagnetic clutch packs.
As of 2026, shop labor rates and OEM parts pricing have shifted, making the financial gap between a routine maintenance service and a complete differential rebuild more pronounced than ever. This guide bridges the gap between basic maintenance and advanced drivetrain repair, providing a professional-grade, step-by-step overview of the VTM-4 differential rebuild procedure for when a simple fluid drain-and-fill is no longer enough.
The Financial Reality: Maintenance vs. Reconstruction
Understanding the financial stakes helps justify the meticulous nature of the rebuild procedure. Below is a comparative breakdown of service tiers for the Honda Pilot rear differential.
| Service Tier | Estimated Cost (2026) | Procedure Scope | Indication |
|---|---|---|---|
| VTM-4 Fluid Service | $130 - $190 | Drain, refill with 2.6L OEM fluid (P/N 08200-9003) | Routine 30k-mile maintenance or mild, early-stage shudder |
| Clutch Pack Rebuild | $1,400 - $2,100 | Teardown, replace clutch packs, seals, and friction discs | Persistent binding, metallic flakes in drained fluid |
| Remanufactured Swap | $2,800 - $3,600 | Complete unit replacement with factory-rebuilt assembly | Catastrophic ring/pinion failure, seized bearings, cracked case |
Source data adapted from RepairPal's estimator and regional dealership service menus.
Step-by-Step VTM-4 Differential Rebuild Procedure
Rebuilding a VTM-4 unit is not a standard open-differential overhaul. The system relies on twin wet-clutch packs actuated by electromagnetic coils to distribute torque side-to-side. Contamination from degraded friction material is the primary enemy of this system. According to the Honda Technical Information System, improper handling of these clutch packs during a rebuild will result in immediate AWD system failure.
Phase 1: Extraction and Safe Teardown
Before splitting the case, the differential must be properly extracted and drained to preserve the integrity of the internal components and the surrounding subframe.
- Fluid Evacuation: Remove the 17mm drain plug. Inspect the fluid. If it smells burnt or contains heavy metallic glitter (clutch friction material), a rebuild is mandatory. Torque spec for reinstallation is 45 N·m (33 lb-ft).
- Driveshaft and Axle Removal: Mark the rear propeller shaft flange for balance alignment before unbolting it. Remove the 32mm rear axle nuts (torque spec: 245 N·m / 181 lb-ft upon reassembly) and disconnect the CV axles from the hub assemblies.
- Subframe Liberation: Support the rear differential with a transmission jack. Remove the four primary mounting bolts securing the diff to the rear subframe, then carefully lower the 110 lb assembly.
Phase 2: Internal Inspection and Clutch Pack Replacement
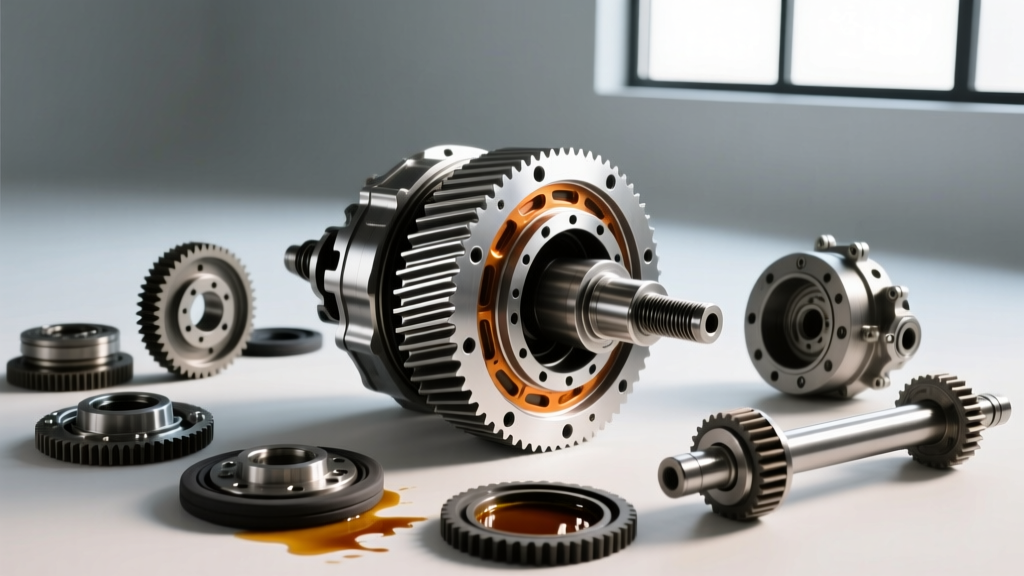
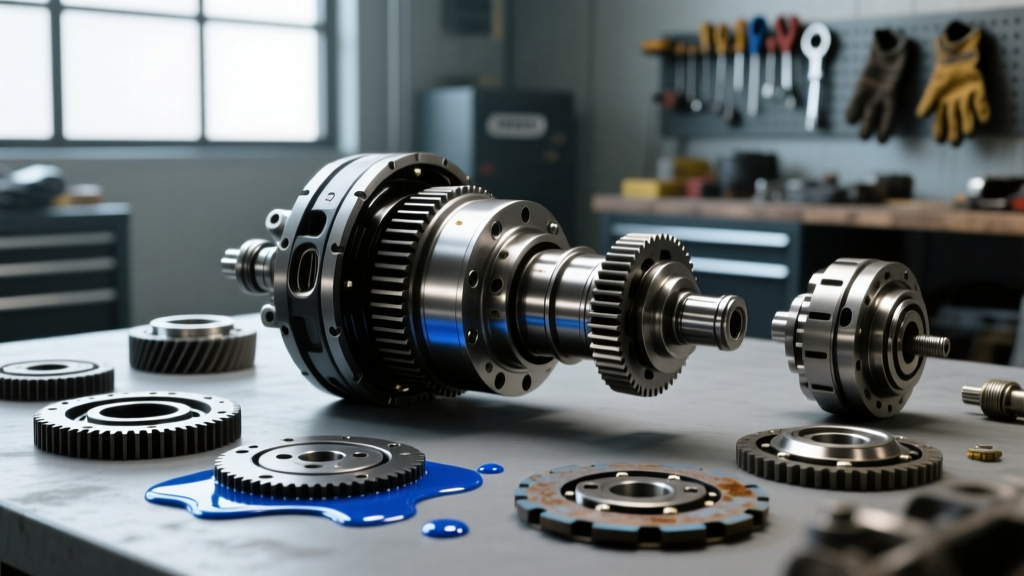
Once on the bench, the rebuild process shifts to precision measurement and component replacement. The VTM-4 case is split by removing the perimeter bolts. Note that Honda uses specific liquid gaskets on these mating surfaces; do not use RTV silicone, as it can break off and clog the internal fluid pickup screens.
- Clutch Pack Assessment: The VTM-4 utilizes two distinct wet-clutch assemblies. Inspect the friction discs for delamination, glazing, or heat bluing. If the steel separator plates show scoring deeper than 0.05mm, they must be replaced alongside the friction discs.
- Electromagnetic Coil Testing: Use a digital multimeter to test the resistance of the internal solenoids. A healthy VTM-4 coil typically reads between 4.5 and 5.5 ohms at room temperature. An open circuit dictates a complete harness replacement.
- Bearing and Seal Extraction: Press out the carrier bearings and pinion bearings using a hydraulic press and appropriate bearing race drivers. Never reuse crush sleeves or stretch bolts during reassembly.
Phase 3: Ring, Pinion, and Bearing Setup
If the ring and pinion gears show pitting or abnormal wear patterns, the rebuild must include a gear swap. However, if the damage was isolated to the clutch packs, the original gears can be retained provided they are thoroughly cleaned with a non-chlorinated brake cleaner to remove embedded friction dust.
Expert Insight: The most common mistake DIYers and generalist mechanics make when reassembling a Honda VTM-4 is ignoring the pinion bearing preload. Because the VTM-4 uses a collapsible crush sleeve to set pinion depth and preload, overtightening the pinion nut will crush the sleeve too far, binding the pinion bearing and causing catastrophic overheating within 50 miles.
Use a dial indicator to verify ring gear backlash. The factory specification for the Honda Pilot rear differential is typically 0.10 mm to 0.15 mm (0.004 - 0.006 inches). Adjust the side bearing adjusting nuts incrementally until the backlash and gear contact pattern (verified via yellow marking compound) are perfectly centered on the drive and coast sides of the gear teeth.
Critical Torque Specifications for VTM-4 Reassembly
Precision torque application is vital to prevent case warping and fluid leaks. Below are the critical fastener specifications sourced from Honda Parts Now and OEM service literature.
| Component | Torque Specification | Notes / Requirements |
|---|---|---|
| Differential Case Perimeter Bolts | 65 N·m (48 lb-ft) | Apply Honda Bond HT liquid gasket to mating surfaces |
| Pinion Flange Nut | 190 - 230 N·m (140 - 170 lb-ft) | Use new crush sleeve; stake nut after final torque |
| Drain and Fill Plugs | 45 N·m (33 lb-ft) | Always replace the aluminum crush washers |
| Propeller Shaft Flange Bolts | 40 N·m (29 lb-ft) | Align balance marks made during removal |
| Rear Axle Nuts | 245 N·m (181 lb-ft) | Use a new staked nut; do not reuse old hardware |
Phase 4: Reinstallation and the Crucial VTM-4 Refill
Once the differential is sealed, hoist it back into the subframe and reconnect the driveshaft and CV axles. The final, and arguably most critical, step is the fluid refill. The Honda Pilot VTM-4 rear differential requires exactly 2.6 Liters (2.75 US Quarts) of fluid.
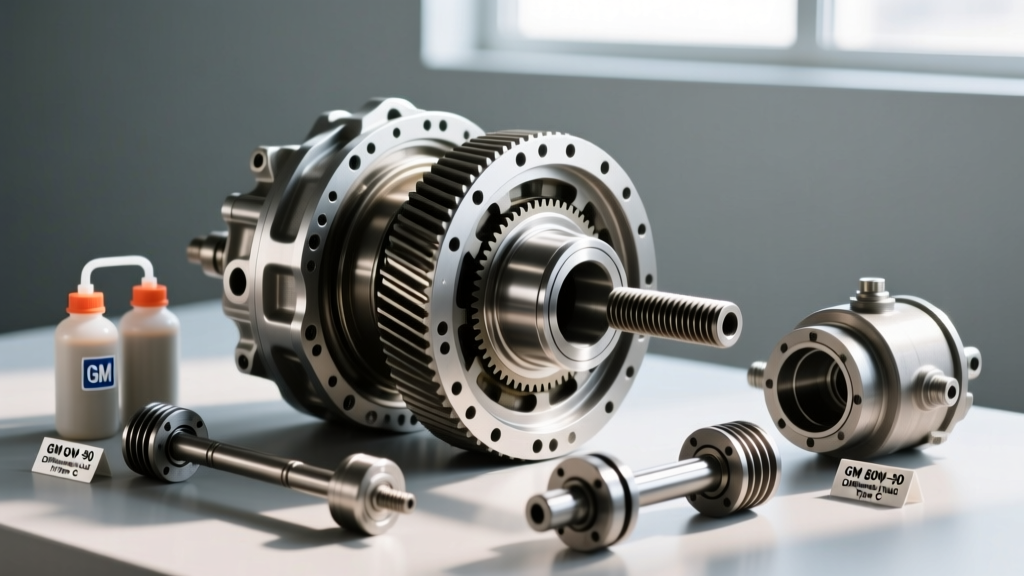
WARNING: You must use genuine Honda VTM-4 Differential Fluid (P/N 08200-9003). This fluid contains proprietary friction modifiers specifically engineered for the electromagnetic wet-clutch material. Substituting standard 75W-90 GL-5 gear oil, even those labeled "LS" (Limited Slip), will cause immediate clutch chatter, erratic torque vectoring, and eventual destruction of the newly installed clutch packs. The RockAuto catalog and local dealerships are the safest avenues for procuring verified OEM fluid to avoid counterfeit formulations.
The Refill and Calibration Procedure
- Ensure the vehicle is parked on a perfectly level surface. The fill plug is the reference point for the correct fluid level.
- Remove the 17mm fill plug located on the upper rear quadrant of the differential housing.
- Pump in the VTM-4 fluid until it begins to weep out of the fill hole. Reinstall the fill plug with a new crush washer and torque to 45 N·m.
- VTM-4 Clutch Calibration: After a rebuild or fluid change, the system must be calibrated. Using a bi-directional OBD2 scan tool, access the AWD module and execute the "VTM-4 Clutch Calibration" routine. This commands the electromagnetic coils to cycle, bleeding air from the clutch cavities and setting the baseline hydraulic pressure.
- Perform a figure-eight test drive in a damp, empty parking lot at speeds under 10 MPH to allow the friction modifiers to fully coat the clutch packs.
Final Thoughts on Drivetrain Longevity
While searching for the lowest honda pilot differential fluid change cost is a smart financial move for routine upkeep, ignoring the warning signs of internal degradation will quickly escalate a $150 maintenance task into a $2,000+ drivetrain reconstruction. By understanding the intricate VTM-4 rebuild procedure, the necessity of OEM friction modifiers, and the exact torque specifications required for reassembly, both enthusiasts and professional technicians can ensure the Honda Pilot's AWD system remains capable, quiet, and reliable for hundreds of thousands of miles.