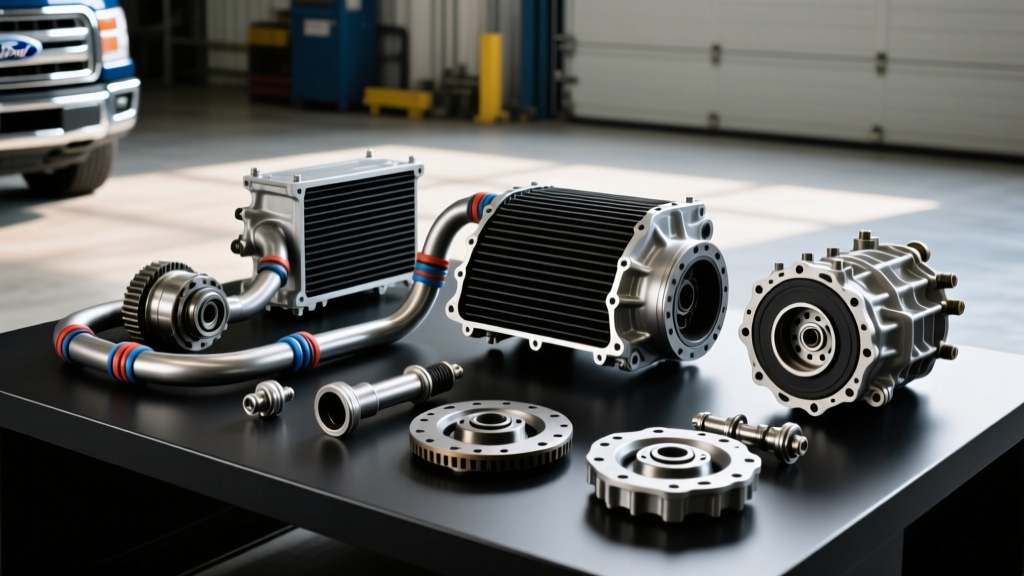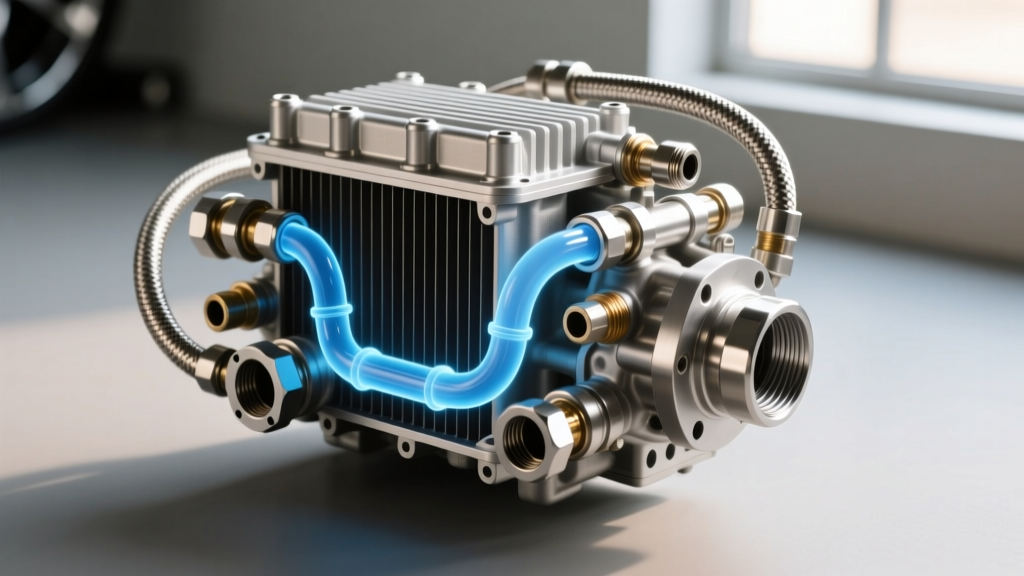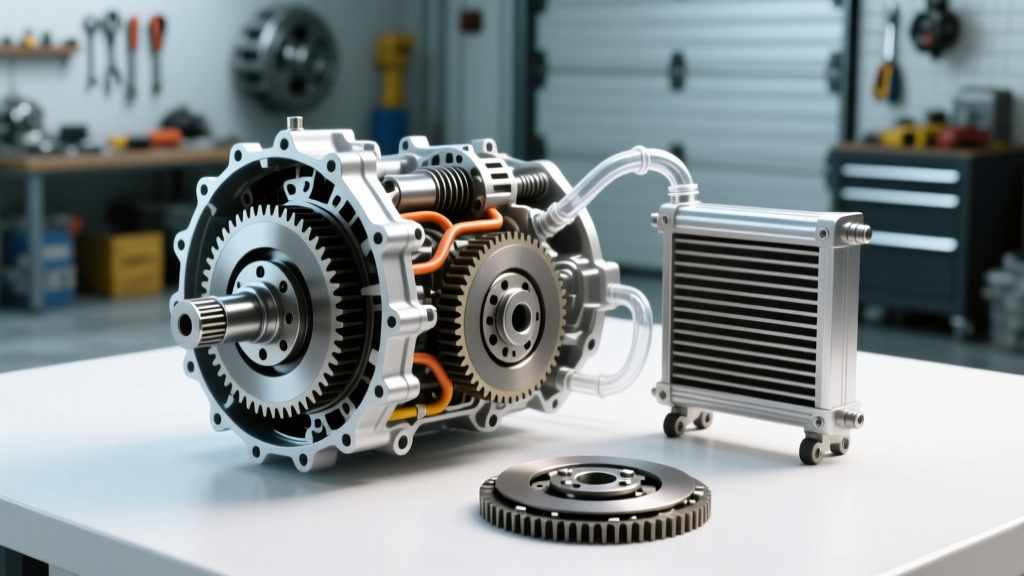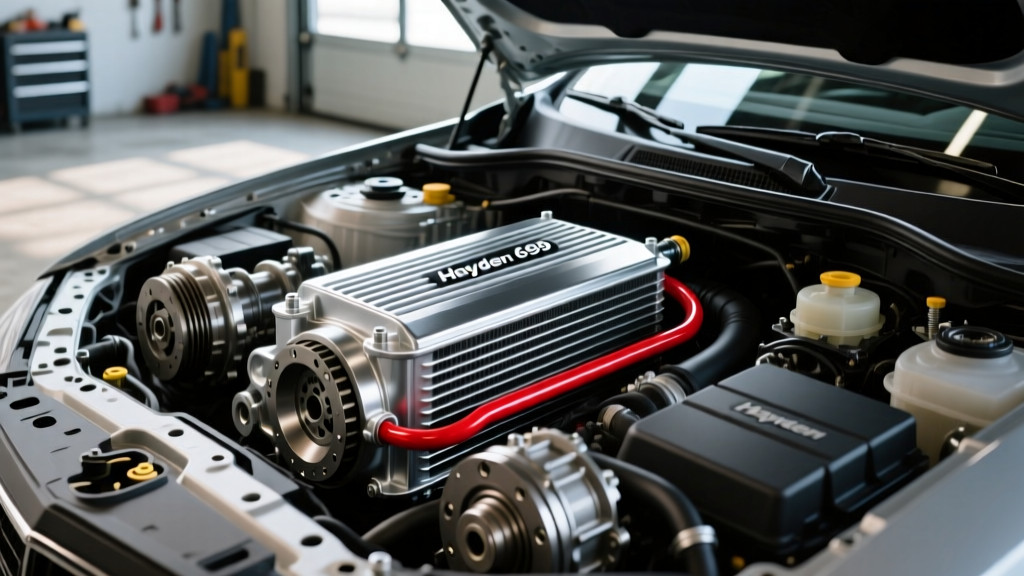
Transmission overheating is the silent killer of modern drivetrains, responsible for nearly 90% of all automatic transmission failures. When internal temperatures exceed 220°F, automatic transmission fluid (ATF) begins to oxidize, varnish forms on valve bodies, and clutch packs glaze over. For heavy-duty applications—such as towing with a GM 6L80E, Ford 6R80, or Ram 68RFE—the factory radiator-integrated cooler is rarely sufficient to shed parasitic heat. This step-by-step guide details how to diagnose thermal issues and execute a preventative auxiliary cooler installation using the Hayden 699 transmission cooler, a 24,000 GVW-rated heavy-duty unit.
The Thermal Breakdown Cycle: Why OEM Coolers Fail
Modern transmissions operate with incredibly tight thermal tolerances. The baseline for optimal ATF life is 175°F to 195°F. According to AMSOIL's tribology research, for every 20°F increase above 200°F, the lifespan of the transmission fluid is cut in half. By 240°F, the fluid loses its shear stability, and by 260°F, clutch friction materials begin to physically degrade and delaminate.
Common causes of drivetrain overheating include:
- Internal Radiator Cooler Blockage: Debris, clutch material, and degraded fluid accumulate in the OEM radiator's internal tubes, severely restricting flow.
- Torque Converter Slip: Unlocking torque converters during low-speed towing or grade climbing generate massive amounts of localized heat.
- Stagnant Airflow: Factory coolers are often mounted deep behind the A/C condenser and intercoolers, suffering from heat-soak during idle or low-speed uphill pulls.
Sizing the Solution: Hayden 699 Specifications
The Hayden 699 (Part #699) is a Rapid-Cool Heavy Duty tube-and-fin cooler designed for trucks and SUVs up to 24,000 lbs Gross Vehicle Weight (GVW). Priced typically between $75 and $95, it features 3/4-inch hose barbs, making it ideal for high-flow applications like the Allison 1000 or the Ford 10R80. Consult the Hayden Automotive Tech Center for specific vehicle fitment data.
| Cooler Model | Dimensions (H x L x D) | GVW Rating | Inlet/Outlet Barb | Best Application |
|---|---|---|---|---|
| Hayden 697 | 11.5" x 8.75" x 1.25" | 16,000 lbs | 5/8" | Half-ton trucks, light towing |
| Hayden 698 | 11.5" x 10" x 1.25" | 20,000 lbs | 5/8" | 3/4-ton trucks, slide-in campers |
| Hayden 699 | 11.5" x 12.25" x 1.25" | 24,000 lbs | 3/4" | 1-ton duallys, heavy equipment towing |
Step-by-Step Hayden 699 Installation Guide
Step 1: Pre-Install Diagnostics and Fluid Evacuation
Before installing the Hayden 699, verify the health of your current ATF. Pull the dipstick or check the fluid level plug. If the fluid smells burnt or is dark brown, a flush is mandatory. Overheated fluid contains suspended friction material that will immediately clog the fins and tubes of your new cooler.
For a GM 6L80E, remove the transmission pan. The pan bolts require a precise torque of 9 Nm (80 lb-in) upon reassembly to prevent warping the aluminum casting. Replace the OEM filter (ACDelco Part #TF922) and use a new gasket. Drain the torque converter if a drain plug is accessible, or use a fluid exchange machine to swap out the total 11.5-quart capacity with a high-quality synthetic like Valvoline MaxLife Multi-Vehicle or Mobil 1 Synthetic ATF.
Step 2: Strategic Mounting for Maximum Airflow
The Hayden 699 measures 11.5" x 12.25". You must mount it in front of the radiator and A/C condenser to access ambient air. Do not rely solely on the included plastic zip-ties and foam pads for heavy-duty towing; high-frequency vibration will eventually fracture the cooler's aluminum headers.
- Mark the mounting points on the radiator support bracket.
- Drill 1/4-inch holes and mount the cooler using stainless steel L-brackets and M6x1.0 flange nuts.
- Apply a bead of RTV silicone to the bracket contact points to prevent galvanic corrosion between the steel brackets and the aluminum cooler frame.
- Ensure a minimum 1-inch gap between the cooler fins and the A/C condenser to prevent debris trapping and allow the engine cooling fan to pull air effectively.
Step 3: Plumbing in Series (The Golden Rule of Cooling)
A common mistake is bypassing the factory radiator cooler entirely. The OEM cooler acts as a transmission fluid warmer during cold starts, bringing the ATF up to operating temperature quickly to prevent torque converter shudder and ensure proper valve body hydraulic pressure. You must plumb the Hayden 699 in series with the OEM cooler.
Correct Routing Sequence:
Transmission OUT → OEM Radiator Cooler IN → OEM Radiator Cooler OUT → Hayden 699 IN → Hayden 699 OUT → Transmission IN (Return).
Because the Hayden 699 utilizes 3/4-inch barbs, you must use 3/4-inch internal diameter (ID) hose rated for hot oil, such as Gates Green Stripe transmission hose (Part #27095). Standard 5/8-inch hose will bottleneck the flow on high-volume pumps like the Allison 1000. Secure all connections with stainless steel T-bolt clamps rather than standard worm-gear clamps, which can cut into the soft rubber hose under high-pressure thermal cycling. Torque the T-bolt clamps to 35 in-lbs.
Step 4: Filling, Bleeding, and Thermal Verification
After routing the lines, fill the system through the dipstick tube or fill plug. The Hayden 699 and the associated 3/4-inch lines will add approximately 1.5 to 2.0 quarts of extra fluid capacity to your drivetrain.
Start the engine, cycle the gear selector through all positions (P-R-N-D-L) while holding the brake, and let the vehicle idle. Monitor the transmission temperature via an OBD2 scanner. Once the fluid reaches 180°F to 200°F (the temperature at which the thermostat bypass opens, if equipped), check the fluid level and top off as necessary.
Thermal Bypass Valves: The Hidden Overheating Culprit
Many modern transmissions, including the GM 8L90 and Ram 68RFE, utilize a thermal bypass valve that blocks cooler flow entirely until the fluid reaches 180°F to 190°F. While this aids in cold-weather fuel economy, these valves are notorious for sticking in the closed position, causing catastrophic overheating even with a massive auxiliary cooler installed.
When installing the Hayden 699 on a vehicle equipped with a thermal bypass valve, it is highly recommended to install a bypass delete kit (such as those from TransGo or custom CNC aluminum blocks). This forces 100% of the fluid to the coolers at all times, ensuring the Hayden 699 can actively manage thermal loads during heavy towing.
Verifying Flow Rates and Pressure Drops
Adding an auxiliary cooler inherently adds hydraulic restriction to the lubrication circuit. The Hayden 699's tube-and-fin design flows exceptionally well, but improper hose sizing can cause a pressure drop that starves the transmission of lube flow. After installation, connect a transmission pressure gauge to the line pressure tap. Compare your idle and stall pressures against the factory service manual specifications. If line pressure drops more than 5-10 PSI at idle with the new cooler installed, you must upgrade your return lines or verify that the OEM radiator cooler is not internally collapsed.
Post-Install Maintenance and Edge Cases
Installing the Hayden 699 transmission cooler drastically reduces the risk of thermal degradation, but it requires ongoing maintenance. Every 15,000 miles, inspect the cooler fins for impacted bugs, road grime, and cottonwood, which act as insulators. Use a low-pressure water stream or compressed air (blowing from the engine bay outward) to clean the fins.
For extreme towing environments, consider installing a Magnefine inline transmission filter on the return line just before the fluid re-enters the transmission. This catches microscopic metallic particles before they can circulate through the Hayden 699's internal tubes and cause a restriction.
By addressing the root causes of transmission overheating and executing a precise, series-routed installation of a high-capacity unit like the Hayden 699, you can easily extend the lifespan of your transmission well past the 200,000-mile mark, even under severe towing conditions.