The Hidden Culprit Behind Harley Throw-Out Bearing Noise
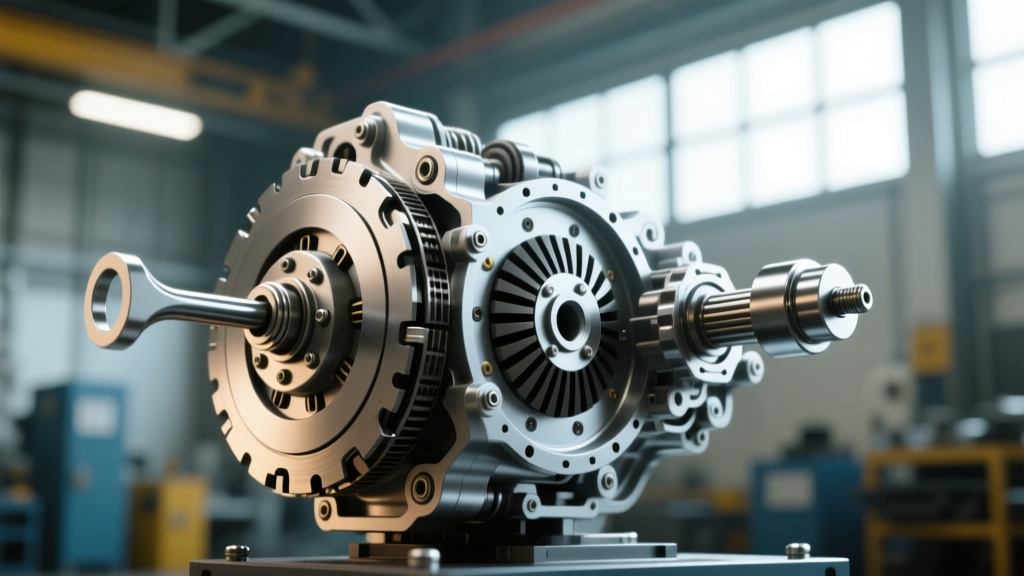
When troubleshooting bike clutch slipping on a Harley-Davidson, most riders and even some novice mechanics immediately suspect worn friction plates or a weakened diaphragm spring. However, on the iconic Twin Cam and Milwaukee-Eight platforms, a distinct whirring or grinding noise emanating from the primary chaincase often points to a much more insidious failure point: the clutch release bearing, universally known in the garage as the throw-out bearing. As we navigate the 2026 riding season, understanding the symbiotic relationship between this small needle-roller bearing and your clutch’s clamping force is critical for preventing catastrophic primary chaincase damage and restoring seamless power delivery.
Why a Failing Bearing Causes Bike Clutch Slipping
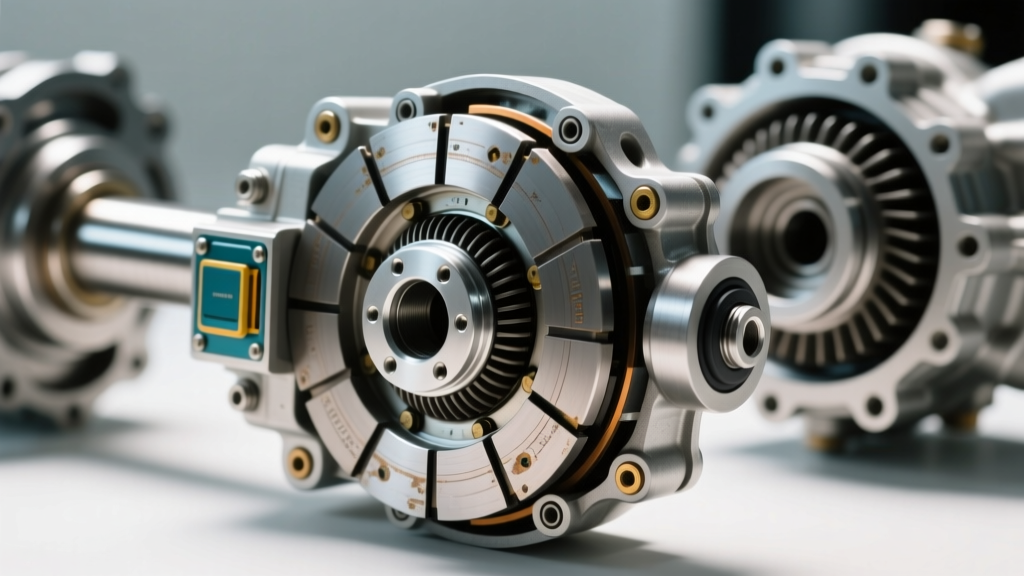
To understand how a bearing failure translates into a slipping clutch, you have to look at the geometry of the Harley clutch actuation system. The throw-out bearing (OEM Part #37850-94) rides directly on the clutch pushrod, pressing against the clutch diaphragm spring when you pull the lever.
The Mechanics of Incomplete Clamping
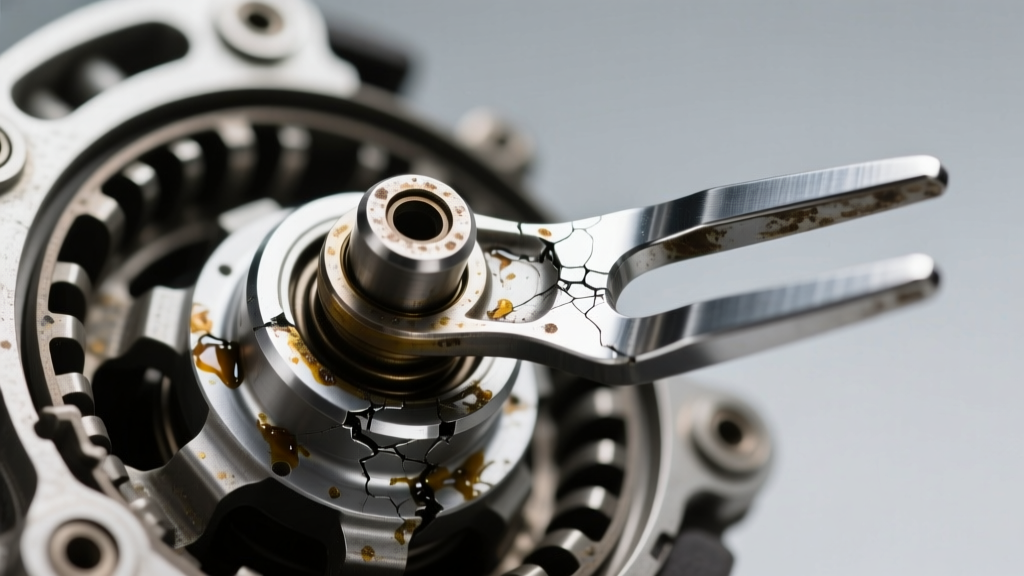
The OEM bearing utilizes a plastic retainer cage to separate the needle rollers. Over time, the intense heat inside the primary chaincase—combined with the high rotational friction of the pushrod—causes this plastic cage to degrade, melt, or disintegrate. When the cage fails, the needle rollers bind and seize onto the pushrod.
If the bearing seizes in a slightly extended position, it prevents the clutch pushrod from fully retracting when you release the lever. This creates a microscopic but continuous preload against the diaphragm spring. The pressure plate cannot apply its full 600+ lbs of clamping force to the friction stack. The result? You experience classic bike clutch slipping under heavy load, high RPM, or during aggressive acceleration, despite having perfectly good friction plates.
Diagnostic Matrix: Bearing Failure vs. Worn Plates
Distinguishing between a failing throw-out bearing and standard clutch wear requires a systematic approach. Use the following diagnostic matrix to isolate the root cause of your drivetrain issues.
| Symptom | Throw-Out Bearing Failure | Worn Friction Plates |
|---|---|---|
| Audible Noise | Whirring, rattling, or grinding that changes pitch when the clutch lever is pulled in. | Silent operation; no abnormal mechanical noise from the primary. |
| Slipping Behavior | Slips under load but may also exhibit "dragging" or difficulty finding neutral at a stop. | Slips progressively worse as RPM increases; neutral is easy to find. |
| Lever Feel | Hydraulic lever may feel notchy, or the actuator arm fails to return fully to the stop. | Lever feel remains smooth and consistent; freeplay remains normal. |
| Primary Fluid | Fluid may contain fine metallic glitter or black plastic flecks (from the melted cage). | Fluid appears normal or contains standard dark clutch material wear. |
Model-Specific Repair Guide: Twin Cam & Milwaukee-Eight
Replacing the throw-out bearing on a Harley-Davidson Big Twin does not require splitting the cases or removing the primary chaincase entirely. The bearing is accessible through the clutch basket once the primary cover and derby cover are removed. Below is the exact procedure for 2007-present Twin Cam and 2018-present Milwaukee-Eight Softail models.
Essential Tools and OEM Part Numbers
- OEM Clutch Release Bearing: 37850-94 (or updated 37850-94A)
- Aftermarket Upgrade: Barnett Kevlar/Torrington Clutch Release Bearing (Highly recommended)
- Clutch Spring Bolts: Qty 6 (OEM 3793A-90) - Replace if stretched
- Primary Chaincase Lubricant: 32 oz (1 Quart) Harley-Davidson Formula+ or Syn3 20W-50
- Tools: Inch-pound torque wrench, foot-pound torque wrench, clutch spring compressor tool (or large C-clamp), magnetic pickup tool, primary drain pan.
Step-by-Step Replacement Procedure
Safety Warning: Always disconnect the negative battery terminal before working inside the primary chaincase to prevent accidental starter engagement.
- Drain the Primary: Remove the primary chaincase drain plug (Torque spec for reinstallation: 14-21 ft-lbs). Allow the fluid to drain completely into a pan. Inspect the fluid for the aforementioned plastic flecks or metallic shimmer.
- Remove the Derby Cover: Use a Torx or Allen bit (depending on your specific year) to remove the outer primary derby cover. Clean the mating surface.
- Compress the Clutch Spring: Using a dedicated clutch spring compressor tool, compress the diaphragm spring to relieve tension on the clutch spring bolts. Remove the six clutch spring bolts (Torque spec: 84-108 in-lbs).
- Extract the Diaphragm Spring and Pressure Plate: Carefully remove the compressor tool and lift out the diaphragm spring, followed by the pressure plate. Keep the friction and steel plates in order if you plan to reuse them, though measuring them with a caliper against the J&P Cycles service specifications is highly advised.
- Remove the Pushrod and Bearing: Pull the clutch pushrod straight out. The throw-out bearing will either come out with it or remain seated in the center of the clutch hub. Use a magnetic pickup tool or a hooked pick to gently extract the bearing.
- Inspect and Clean: Wipe down the pushrod. If the pushrod is scored, pitted, or blued from heat, it must be replaced (OEM Part #38568-94). A scored pushrod will destroy a new bearing in under 500 miles.
- Install the New Bearing: Coat the new throw-out bearing and the pushrod generously with fresh primary fluid or assembly lube. Insert the pushrod through the primary chaincase, followed by the bearing, ensuring it seats flush against the pressure plate contact point.
- Reassemble the Clutch Stack: Reinstall the pressure plate, diaphragm spring, and clutch spring bolts. Torque the bolts in a star pattern to 84-108 in-lbs.
2026 Cost Breakdown: OEM vs. Aftermarket Upgrades
The market for Harley drivetrain components has evolved significantly. While OEM parts are reliable, the aftermarket has engineered superior solutions to the plastic-cage failure point. Below is a comparative analysis of your replacement options.
| Component Option | Material / Design | Estimated Cost (2026) | Longevity & Expert Verdict |
|---|---|---|---|
| OEM Harley-Davidson | Needle roller with plastic retainer cage | $45 - $55 | Prone to heat degradation. Expected life: 30k-50k miles. |
| Barnett Torrington Upgrade | Flat Torrington-style roller bearing, steel cage | $85 - $110 | Eliminates plastic melting. Distributes load evenly. Expert Choice. |
| AIM Clutch Release Bearing | Heavy-duty needle bearing with high-temp synthetic cage | $65 - $80 | Good middle-ground option for mild street riding. |
Expert Insight: When upgrading to a Barnett Torrington-style bearing, you may need to adjust your clutch pushrod freeplay. The Torrington bearing is slightly thinner than the OEM needle bearing, which can alter the actuation point of your hydraulic clutch. Always verify actuator arm freeplay after installation.
Expert Tips for Primary Chaincase Reassembly and Adjustment
Once the bearing is replaced and the primary cover is reinstalled, the job is not complete. The hydraulic clutch actuator (the "screech" adjuster on the side of the primary) must be properly calibrated to prevent the new bearing from experiencing premature preload.
Setting Pushrod Freeplay
The most common mistake that leads to immediate recurrence of bike clutch slipping is failing to set the mechanical freeplay at the actuator arm.
- Loosen the locknut on the clutch actuator adjuster screw.
- Turn the adjuster screw inward (clockwise) until you feel resistance against the pushrod and bearing.
- Back the adjuster screw out (counter-clockwise) exactly 1/2 to 5/8 of a turn. This establishes the critical 1/16" to 1/8" of mechanical freeplay.
- Hold the screw in place and tighten the locknut to 84-108 in-lbs.
Finally, refill the primary chaincase with exactly 32 oz (1 quart) of your chosen lubricant. Overfilling the primary can cause the fluid to aerate and foam, leading to clutch drag and erratic hydraulic pressure. Bleed the hydraulic clutch line at the banjo bolt on the transmission side to ensure a firm, bubble-free lever feel. By addressing the throw-out bearing proactively, you restore the precise clamping geometry required for seamless power transfer and eliminate the dreaded primary chaincase whine.