When a Harley-Davidson Big Twin begins to exhibit drivetrain anomalies, the diagnostic path diverges sharply depending on what is inside the primary case. A Harley clutch replacement is rarely a simple swap-and-ride procedure; it requires a deep understanding of friction materials, spring pressures, and hydraulic or cable actuation dynamics. Whether you are troubleshooting a Milwaukee-Eight (M8) 114 or a Twin Cam 110, distinguishing between Original Equipment Manufacturer (OEM) failure modes and aftermarket kit quirks is critical for an accurate diagnosis.
Diagnostic Golden Rule: Never assume a slipping clutch requires a full replacement until you have verified primary fluid shear rates, clutch cable/hydraulic free-play, and compensator sprocket health. Misdiagnosis leads to unnecessary teardowns.
Decoding Clutch Slip: OEM Kevlar vs. Aftermarket Carbon Fiber
Clutch slip under heavy load—especially in the upper RPM range of 4th through 6th gear—is the most common complaint among touring and performance riders. However, the root cause varies wildly between OEM and aftermarket friction materials.
OEM Friction Plate Degradation
Harley-Davidson’s OEM friction plates (such as part #38143-17 for late-model M8 Touring) utilize a Kevlar and cellulose blend designed for smooth engagement and low noise. When OEM plates fail, they typically exhibit thermal glazing. The cellulose binder breaks down under sustained highway heat, creating a glassy surface on the friction material. If you pull the primary cover and the plates look shiny and feel smooth to the touch, the OEM clutch pack is burned out. Furthermore, OEM steels are prone to bluing if the rider frequently slips the clutch in stop-and-go traffic.
Aftermarket Carbon Fiber Glazing and Contamination
Many riders opt for a Barnett Tools & Engineering Carbon Fiber clutch kit during a Harley clutch replacement to handle the torque of a 117ci or 121ci CVO engine. Carbon fiber offers a higher coefficient of friction but requires a precise break-in period and specific primary fluid. If an aftermarket carbon clutch is slipping, diagnose the following:
- Fluid Incompatibility: Carbon fiber requires high-quality synthetic 20W-50 (like Mobil 1 V-Twin). Using OEM Formula+ with friction modifiers can cause carbon plates to slip.
- Improper Break-In: Carbon fiber needs heat cycling. If a rider baby-throttled the bike for the first 500 miles, the carbon may have glazed rather than seated into the steel plates.
- Spring Pressure Deficit: Carbon fiber demands higher clamping force. If the mechanic retained the OEM diaphragm spring instead of upgrading to a +15% or +30% aftermarket spring, slip is inevitable.
Diagnosing Clutch Drag and Lurching at Stops
Clutch drag occurs when the friction and steel plates fail to separate completely, causing the motorcycle to lurch forward when the lever is pulled in, or making neutral difficult to find. This symptom is heavily influenced by the physical stack height and spring tension of the chosen replacement kit.
The Aftermarket Extra-Plate Dilemma
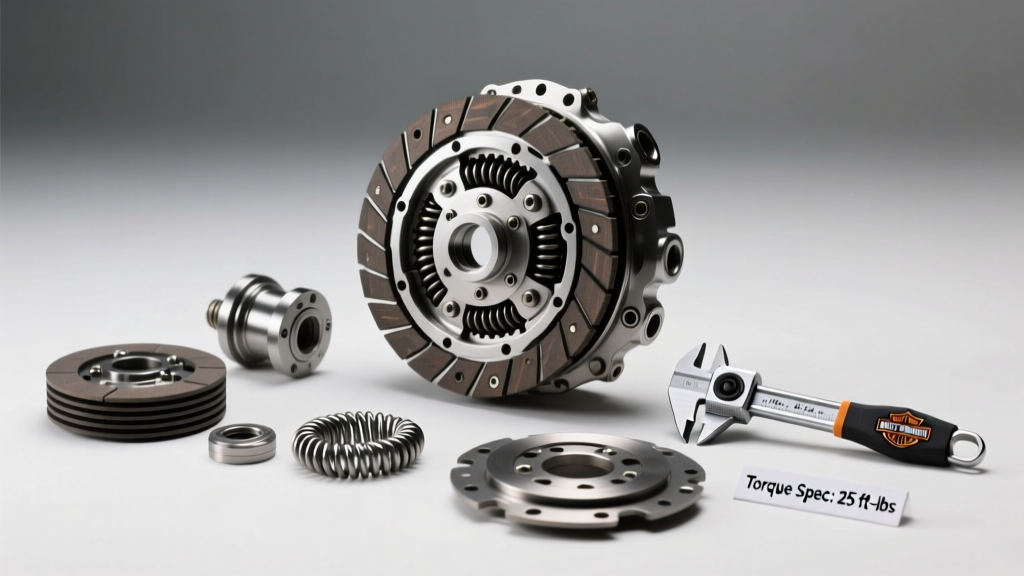
Kits like the AIM Corporation Torq-Drive Extra Plate Clutch Kit add an additional friction and steel plate to the stack to increase surface area and torque capacity without increasing spring pressure. While brilliant for heavy baggers, extra-plate kits drastically reduce the clearance gap between plates when disengaged.
Troubleshooting Drag in Extra-Plate Kits:
- Check Clutch Cable/Hydraulic Free Play: AIM and other extra-plate kits require exacting adjustment. For cable clutches, you need exactly 1/16" to 1/8" of free play at the lever. For hydraulic M8 Softails, ensure the master cylinder pushrod has a minimum of 0.030" clearance. Too much free play prevents the clutch from fully engaging; too little prevents it from fully disengaging.
- Inspect Steel Plate Runout: With tighter clearances, a warped OEM steel plate (runout exceeding 0.005") will catch on the extra friction plate, causing drag. Always replace steels with new, laser-cut aftermarket units when installing an extra-plate kit.
Primary Case Rattles and Chatter Post-Swap
A new clutch should operate silently. If a Harley clutch replacement results in a metallic rattle at idle that disappears when the lever is pulled, the issue is rarely the clutch pack itself. Instead, diagnose the clutch hub and cush drive.
When installing high-friction aftermarket plates (like sintered bronze or aggressive Kevlar), the sudden bite can accelerate wear on the clutch basket tangs and the compensator sprocket rubbers. If the clutch basket tangs are notched, the friction plates will hang up on the aluminum burrs, preventing smooth disengagement and causing a chattering noise. Use a dial indicator or a simple pick tool to check for notches on the inner hub and outer basket. If notches are present, the basket must be replaced or machined, regardless of whether you are using OEM or aftermarket plates.
Harley Big Twin Clutch Torque & Spec Reference (2026 Data)
Precision torque application is non-negotiable during a Harley clutch replacement. The following table outlines critical specifications for Milwaukee-Eight and Twin Cam Big Twins to ensure proper clamping and prevent catastrophic primary drive failure.
| Component | OEM Spec / Tolerance | Aftermarket Consideration | Fastener Treatment |
|---|---|---|---|
| Clutch Hub Nut (M8 & TC) | 70 - 80 ft-lbs (95 - 108 Nm) | Verify thread engagement; some aftermarket hubs require 85 ft-lbs | Red Loctite 271 |
| Compensator Sprocket Bolt | 150 - 165 ft-lbs (203 - 223 Nm) | Do not reuse OEM bolts if yielding is visible | Red Loctite 262 |
| Primary Chain Adjuster Lock | 180 - 210 in-lbs (20 - 24 Nm) | Ensure 5/8" - 3/4" up-and-down play on the bottom run | Blue Loctite 243 |
| Friction Plate Thickness | 0.118" - 0.122" (New) | Carbon fiber kits may measure thinner; follow mfr stack height | N/A (Measure 4 points) |
| Primary Fluid Capacity | 32 oz (1 Quart) | Do not overfill; causes aeration and clutch drag | 20W-50 V-Twin Synthetic |
Cost vs. Longevity: Troubleshooting the Wallet
When planning a Harley clutch replacement, the financial outlay directly correlates to the torque output of your engine and your riding style. Here is a realistic 2026 market breakdown for a complete clutch system overhaul on a Milwaukee-Eight Touring model:
- OEM Standard Replacement ($250 - $350): Includes OEM friction plates, OEM steels, and a stock diaphragm spring. Ideal for bone-stock 107ci engines ridden conservatively. Failure mode: Premature slip if paired with a heavy motorcycle and two-up mountain riding.
- Screamin' Eagle Heavy Duty Kit ($400 - $500): Harley’s official performance upgrade (e.g., part #41300-07A). Features a stiffer spring and revised friction material. Excellent for Stage 1 and Stage 2 builds. Failure mode: Increased lever effort can cause hand fatigue in heavy traffic.
- Aftermarket Carbon/Extra-Plate Kits ($550 - $850): Barnett Carbon Fiber or AIM Torq-Drive kits. Essential for Stage 3/4 builds (114ci+ with big cams). Failure mode: Requires meticulous adjustment and premium primary fluids; highly sensitive to rider error during break-in.
Final Diagnostic Protocol
Before tearing down the primary case, perform a Stall Test (in a safe, open area). Put the bike in second gear, hold the front brake, and slowly roll on the throttle while easing out the clutch. If the engine RPM climbs but the bike doesn't pull against the brake, the clutch is slipping (diagnose fluid, spring, or friction material). If the engine bogs down and stalls immediately, the clutch is grabbing, but if the bike still creeps forward with the lever pulled to the grip, you have clutch drag (diagnose cable free-play, warped steels, or notched basket tangs).
For comprehensive factory procedures, always cross-reference your specific model year with the official Harley-Davidson Service Manuals. A successful Harley clutch replacement relies not just on the parts you buy, but on the precision of your diagnosis and the exactness of your wrenching.