Introduction: Demystifying the Primary Drive
Whether you are wrenching on a classic Twin Cam 103 or a modern Milwaukee-Eight 114, understanding how your motorcycle transfers power from the engine to the transmission is critical for a smooth ride. The Harley-Davidson Big Twin utilizes a wet, multi-plate clutch system housed inside the primary chaincase. For beginners, the inner workings of this system can seem like a mechanical puzzle. However, when you first study a Harley Davidson clutch assembly diagram, the overlapping layers of steel and friction material begin to make perfect logical sense.
In this beginner-friendly explainer, we will break down the anatomy of the clutch pack, diagnose the two most common failure modes—engagement (slipping) and disengagement (dragging)—and provide the exact torque specifications and adjustment procedures you need to fix the issue in your own garage.
Decoding the Harley Davidson Clutch Assembly Diagram
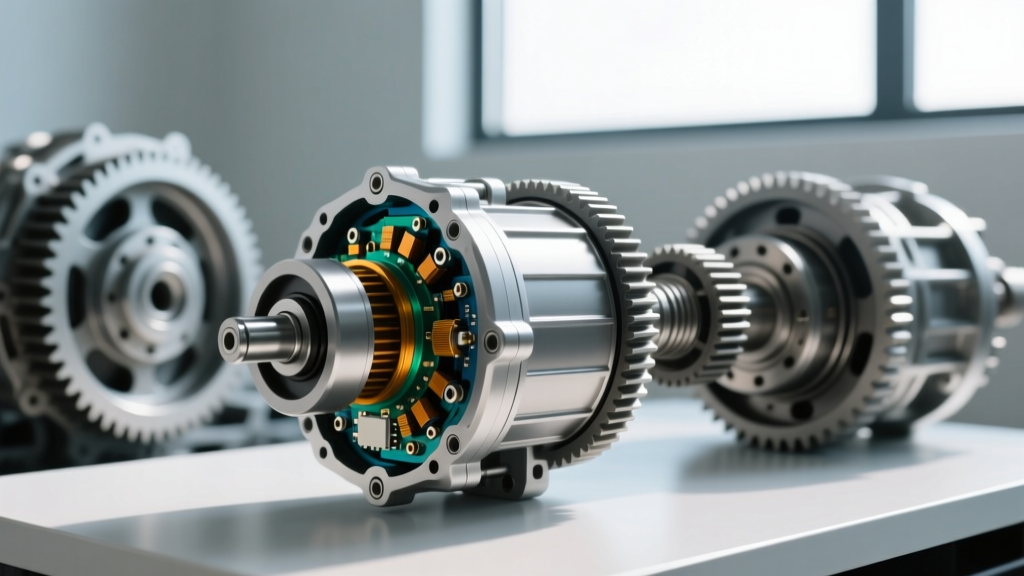
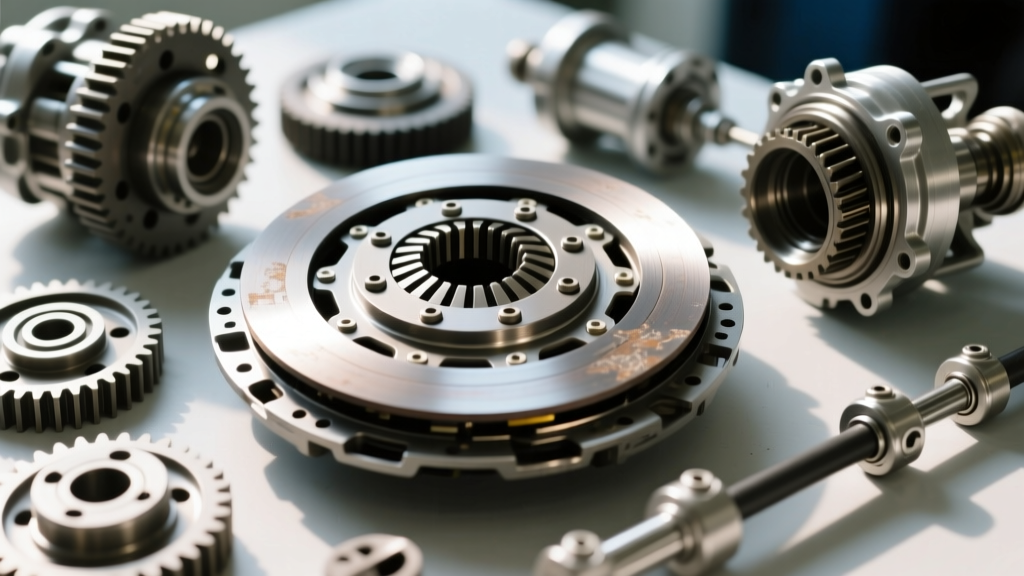
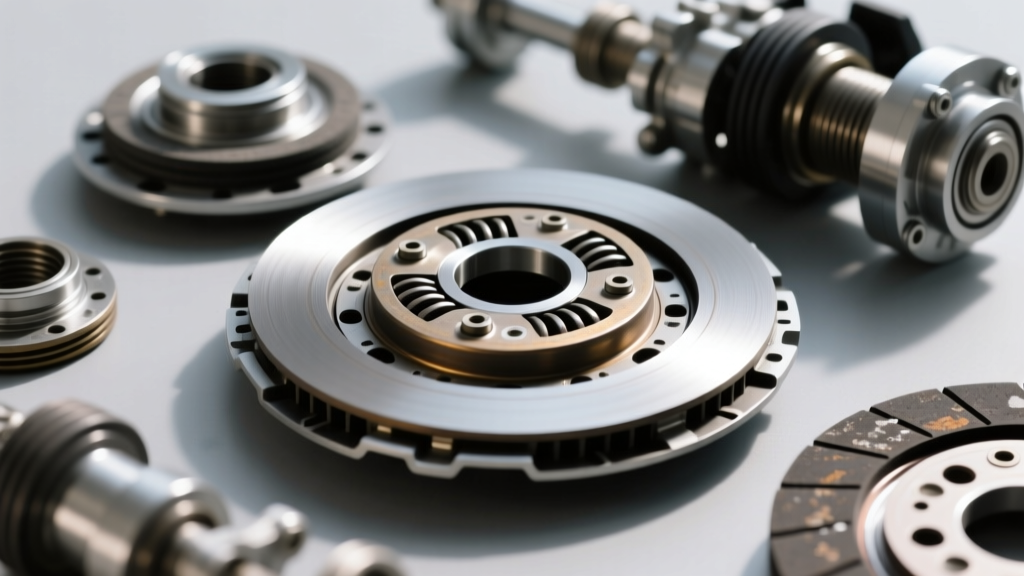
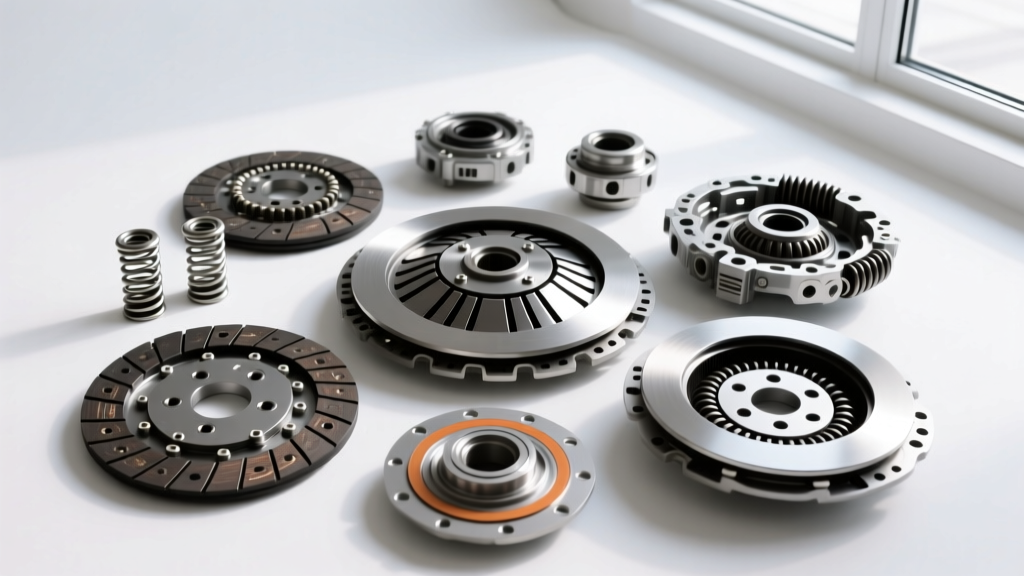
Before turning a single wrench, you must understand the components shown in any standard Harley Davidson clutch assembly diagram. Think of the clutch as a sophisticated sandwich that is constantly bathed in primary chaincase lubricant.
- Clutch Shell (Basket): The outer aluminum housing driven by the primary chain. It features inner 'teeth' or tabs.
- Friction Plates: These have outer tabs that lock into the clutch shell. They are coated in a high-friction material (often Kevlar or paper-based composite).
- Steel Plates (Drive Plates): These sit between the friction plates and feature inner splines that lock onto the central clutch hub.
- Clutch Hub: The central piece bolted to the transmission mainshaft. When the friction and steel plates lock together, the hub turns, driving the transmission.
- Pressure Plate & Diaphragm Spring: The spring applies massive inward pressure to clamp the plates together (engagement).
- Release Bearing & Pushrod: When you pull the clutch lever, a cable pulls a pushrod that presses against the release bearing, lifting the pressure plate and separating the clutch pack (disengagement).
Troubleshooting Disengagement: Why Your Harley Won't Shift
Disengagement issues occur when you pull the clutch lever to the grip, but the transmission refuses to shift into neutral, or the bike 'lurches' forward when you click into first gear. This is commonly known as clutch drag.
The 'Notched Basket' Syndrome
The most frequent culprit for clutch drag on Harley Big Twins is a notched clutch shell. Over thousands of miles, the hard steel tabs of the friction plates literally hammer grooves (notches) into the softer aluminum inner teeth of the clutch shell. When you pull the lever to disengage the clutch, the friction plates get physically stuck in these notches, preventing the clutch pack from expanding and separating. If your cable adjustment is correct but the bike still drags, a notched basket is almost certainly the cause.
Warped Steel Plates
Excessive heat from riding the clutch in stop-and-go traffic can cause the inner steel plates to warp. Even when the pressure plate is lifted, the warped steels continue to rub against the friction plates, causing drag and generating massive amounts of heat inside the primary chaincase.
Troubleshooting Engagement: The Dreaded Clutch Slip
Engagement issues happen when the clutch is fully released (lever out), but the engine RPMs flare without a corresponding increase in road speed. This is clutch slip, and it will quickly burn out your friction plates if ignored.
Friction Modifier Contamination (The Golden Rule)
CRITICAL WARNING: Never use standard automotive motor oil in a Harley-Davidson primary chaincase. Automotive oils contain 'friction modifiers' designed to improve fuel economy in cars. In a wet motorcycle clutch, these modifiers coat the friction plates, completely destroying their ability to grip. Always use a dedicated motorcycle primary fluid like Harley-Davidson Formula+ or SYN3 20W-50.
Weak Diaphragm Spring or Incorrect Stack Height
The diaphragm spring (part number 38000115 for many modern Big Twins) loses tension over time. Additionally, as friction material wears off the plates, the overall 'stack height' of the clutch pack decreases. If the stack height falls below the minimum specification, the spring cannot apply enough clamping force, resulting in slip under heavy acceleration or when climbing hills.
Critical Specifications & Torque Values (2026 Reference Guide)
Proper reassembly requires strict adherence to torque specifications. Over-tightening can strip the soft aluminum primary components, while under-tightening can lead to catastrophic transmission failure. Below is a reference table for late-model Twin Cam (2007-2017) and Milwaukee-Eight (2018+) Big Twins.
| Component | Specification / Torque | Expert Notes & Tools Required |
|---|---|---|
| Clutch Hub Nut | 70 - 80 ft-lbs | Right-hand thread (2007+). Requires Red Loctite 271. Use a proper clutch holding tool. |
| Diaphragm Spring Screws | 80 - 100 in-lbs | INCH-pounds, NOT foot-pounds! Use a 1/4-inch drive torque wrench. Apply Blue Loctite 243. |
| Minimum Clutch Pack Stack Height | 1.620 inches | Measure the entire pack (friction + steel) with calipers. If below 1.620", replace the pack. |
| Pushrod Adjuster Screw | 1/2 to 3/4 turn out | Back out from the point of resistance to ensure bearing freeplay. |
| Clutch Lever Freeplay | 1/16" to 1/8" | Measured at the lever perch. Critical for full engagement and disengagement. |
| Primary Fluid Capacity | ~32 oz (1 Quart) | Fill until fluid level reaches the bottom of the clutch basket diaphragm spring. |
Step-by-Step Pushrod and Cable Adjustment
Many beginners mistakenly try to fix a dragging or slipping clutch by simply twisting the barrel adjuster on the handlebar cable. This is incorrect. Proper adjustment must start inside the primary chaincase. According to Harley-Davidson Official Maintenance Guides, follow this exact sequence:
- Slacken the Cable: Loosen the cable adjuster at the handlebar or lower casing until you have maximum slack.
- Access the Adjuster Screw: Remove the primary derby cover. In the center of the clutch pressure plate, you will find an adjuster screw with a locknut.
- Find Zero Lash: Loosen the locknut. Using an Allen key, turn the adjuster screw inward (clockwise) until you feel firm resistance. This is the pushrod making contact with the release bearing.
- Set the Freeplay: Back the adjuster screw out (counter-clockwise) exactly 1/2 to 3/4 of a turn. This ensures the release bearing is not under constant load, which would destroy the bearing and cause clutch slip.
- Lock and Seal: Hold the Allen key steady and tighten the locknut to 80-100 in-lbs. Reinstall the derby cover with a new O-ring.
- Adjust the Cable: Finally, tighten the cable adjuster until you have exactly 1/16" to 1/8" of freeplay at the lever perch.
When to Replace: Upgrading the Clutch Pack
If adjustment fails to cure your slipping, or if you open the primary and discover a deeply notched basket, it is time for replacement. For heavy touring or high-horsepower builds, upgrading to an aftermarket setup is highly recommended. Barnett Clutches Technical Information suggests their Kevlar friction plates (part number 307-30-1008 for many Big Twins) paired with their billet aluminum clutch basket. A billet basket eliminates the notching issue entirely, ensuring smooth disengagement for the life of the motorcycle.
Expect to pay between $180 and $250 for a premium OEM-equivalent friction and steel plate kit, while a complete billet basket and clutch hub conversion can range from $450 to $700. While the upfront cost is higher, the elimination of clutch drag and the extended service interval make it a worthwhile investment for any serious rider.
Summary
Mastering the Harley Davidson clutch assembly diagram transforms a frustrating mechanical issue into a straightforward maintenance task. By understanding the relationship between the pushrod, the diaphragm spring, and the friction pack, you can accurately diagnose whether your bike is suffering from engagement slip or disengagement drag. Always respect the torque specifications, never contaminate the primary with automotive oils, and remember that a proper adjustment always starts inside the primary chaincase, not at the handlebar lever.