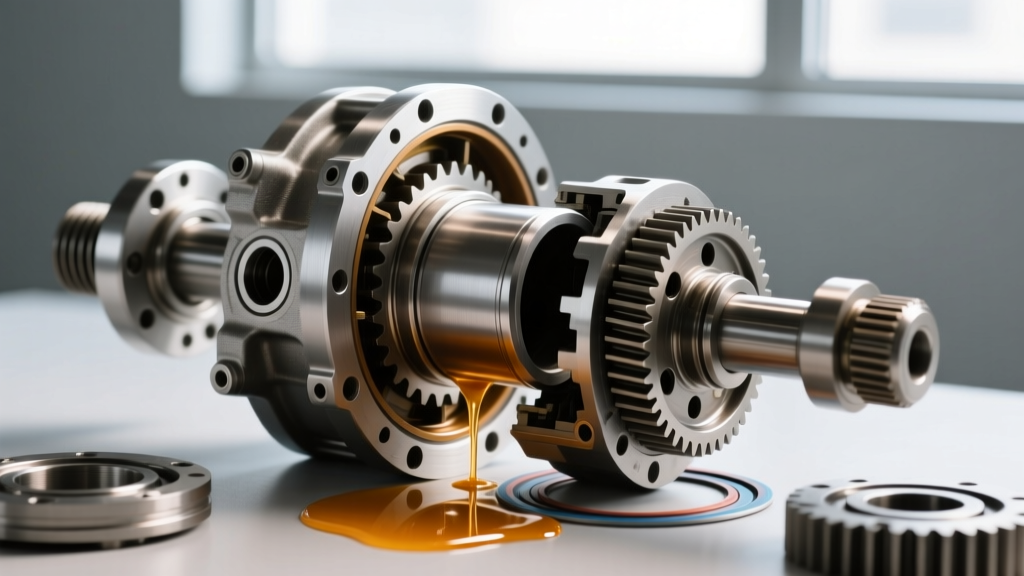
Why the Front Differential Parts Diagram is Your Blueprint
Rebuilding an Independent Front Suspension (IFS) differential is a precision task that separates seasoned drivetrain technicians from weekend warriors who end up with whining axles. Whether you are servicing a 2007-2018 Chevy Silverado 1500 or a GMC Sierra, consulting an accurate front differential parts diagram before turning a single wrench is non-negotiable. Unlike solid front axles (like the Dana 44 or Dana 60), the GM 8.25-inch IFS clamshell design relies on precise carrier shimming rather than threaded adjusters to set backlash and bearing preload.
In this comprehensive guide, we will walk through the complete teardown, measurement, and rebuild procedure for the GM 8.25" IFS front differential, utilizing industry-standard tooling, exact torque specifications, and premium fluid recommendations for 2026.
Core Components of the GM 8.25" IFS Assembly
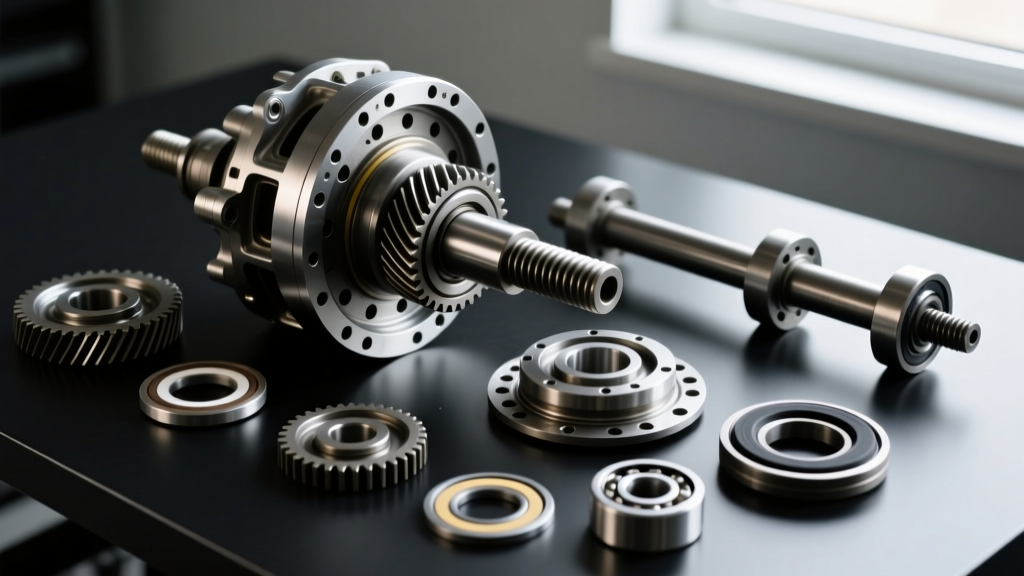
Before draining the gear oil, familiarize yourself with the primary assemblies found in your front differential parts diagram:
- Pinion Shaft Assembly: Includes the pinion gear, inner and outer tapered roller bearings, crush sleeve (or solid spacer), pinion seal, and yoke/flange.
- Carrier Assembly: Houses the ring gear, differential case, side gears, spider gears, and cross pin shaft.
- Carrier Bearings & Shims: Two large tapered roller bearings pressed onto the carrier. In the GM IFS, shim packs sit *behind* the bearing races in the housing to adjust backlash.
- Housing (Clamshell): The aluminum differential casing that bolts to the transaxle or intermediate shaft tube.
Preparation: Tools, Teardown, and Safety
A successful rebuild requires more than just a socket set. You will need a dial indicator with a magnetic base, an inch-pound torque wrench (beam-style preferred for accuracy), a press, bearing pullers, and a pinion depth setting tool specific to the GM 8.25" IFS (such as the OTC 7109 or equivalent master setup kit).
Teardown and Diagnostic Inspection
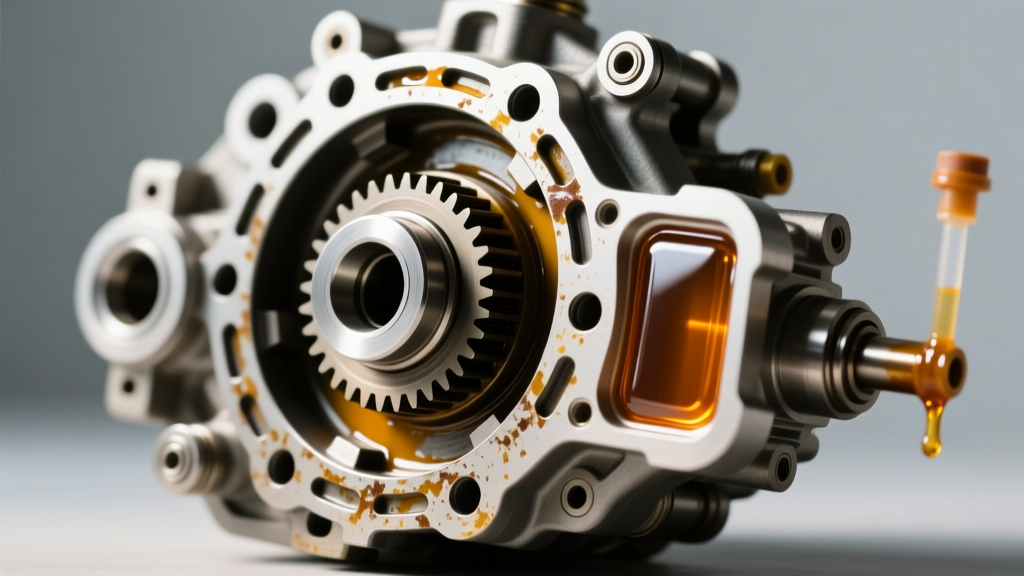
Begin by draining the differential fluid. The condition of the 75W-90 gear oil is your first diagnostic clue. A metallic glitter suspended in the fluid indicates normal wear or a failing pinion bearing, while chunky metal shards point to catastrophic spider gear or ring-and-pinion failure. Remove the front driveshaft, intermediate axle shafts, and unbolt the differential housing from the vehicle. Secure the clamshell in a vise using soft jaws to prevent scoring the aluminum mating surfaces.
Remove the carrier bearing caps. Crucial Step: Mark the caps and the housing with a paint pen so they are reinstalled in their exact original locations and orientations. Bearing caps are line-bored from the factory and are not interchangeable.
Step 1: Setting Pinion Depth and Bearing Preload
The most critical measurement in any differential rebuild is pinion depth. This dictates how deeply the pinion gear meshes into the ring gear's heel and toe. Look at the face of your new pinion gear; it will have a laser-etched number (e.g., +2, -1, or 0). This number represents the variance in thousandths of an inch from the nominal depth.
Using the Setup Tool
- Press the inner pinion bearing (Timken NP255392) onto the pinion shaft without the shims for the initial depth check, or use a dedicated setup bearing that has been honed out for easy slip-fitting.
- Assemble the pinion depth tool into the housing bore.
- Measure the distance from the tool's machined surface to the pinion face using feeler gauges or a digital micrometer.
- Adjust the shim pack behind the inner bearing race until your measurement matches the factory specification, compensating for the etching on the new pinion head. For example, if the old pinion was +2 and the new one is -1, you must remove 0.003" of shim thickness.
Crush Sleeve vs. Solid Spacer Conversion
Factory GM 8.25" IFS differentials use a crush sleeve to achieve pinion bearing preload. While cheap to manufacture, crush sleeves are notorious for failing under heavy towing or off-road use, leading to pinion nut backing off and catastrophic seal leaks. We highly recommend converting to a solid pinion spacer kit (available from companies like Yukon Gear & Axle) during your rebuild. This requires setting the preload using selective shims behind the pinion nut, achieving a target rotational torque of 15 to 25 inch-pounds for new bearings.
Step 2: Carrier Installation and Backlash Adjustment
Unlike solid axles that use threaded side adjusters, the GM 8.25" IFS uses shim packs located behind the outer bearing races. To set backlash (the clearance between the ring and pinion gear teeth), you must adjust the thickness of the shims on the left and right sides of the carrier.
- Press the carrier bearings (Timken SET1024) onto the differential case.
- Install the carrier into the housing with your estimated shim packs.
- Mount the dial indicator perpendicular to the ring gear teeth at the heel.
- Rock the ring gear back and forth while holding the pinion yoke stationary. Your target backlash is 0.006" to 0.010".
- If backlash is too tight (e.g., 0.002"), you must decrease the shim thickness on the ring gear side and increase it by the exact same amount on the opposite side to maintain carrier bearing preload.
GM 8.25" IFS Rebuild Specifications & Torque Chart
| Component / Measurement | Specification / Target | Notes / Part Reference |
|---|---|---|
| Pinion Bearing Preload (New) | 15 - 25 in-lbs | Measured at pinion nut with seal installed |
| Ring Gear Backlash | 0.006" - 0.010" | Measure at 3 equidistant points on the ring |
| Ring Gear Bolts (10mm) | 70 ft-lbs | Apply Red Loctite 271 to threads |
| Carrier Bearing Cap Bolts | 70 ft-lbs | Caps must align with factory indexing marks |
| Differential Cover Bolts | 25 ft-lbs | Use RTV or factory reusable gasket |
| Master Rebuild Kit | N/A | Yukon Gear YK T8.25-IFS or equivalent |
Step 3: Gear Pattern Verification
Numbers on a dial indicator mean nothing if the physical gear mesh pattern is flawed. Apply a liberal coat of yellow gear marking compound to the drive and coast sides of four consecutive ring gear teeth. Apply moderate drag to the carrier using a gloved hand or a rag wrapped around the axle shaft while rotating the pinion yoke back and forth.
According to Randy's Ring & Pinion technical guidelines, an ideal pattern should be centered on the face of the tooth, slightly biased toward the heel under load, and never touching the root or the top land. If the pattern is high on the tooth (toward the top land), the pinion is too deep and requires removing shims. If the pattern is low (toward the root), the pinion is too shallow.
Step 4: Final Assembly and Fluid Selection
Once the pattern and backlash are verified, clean the housing thoroughly with brake cleaner to remove all marking compound and metal shavings. Install the pinion seal using a seal driver to prevent cocking the seal in the bore. Reinstall the differential housing to the vehicle, ensuring the mating surface to the intermediate tube is clean and sealed with a high-quality anaerobic sealant or OEM specified RTV.
Fluid Capacity and Break-In Procedures
The GM 8.25" IFS front differential requires approximately 1.75 quarts (1.65 Liters) of gear oil. For 2026, we strongly advise against using conventional mineral-based 80W-90 gear oils for rebuilt differentials. The extreme pressure (EP) additives in modern synthetic 75W-90 GL-5 fluids provide vastly superior thermal stability and film strength, which is critical during the initial 500-mile break-in period of new ring and pinion gears.
Expert Tip: Do not use limited-slip friction modifier additives in the front IFS differential unless you have specifically installed a front locking or limited-slip carrier (like an Eaton E-Locker or ARB Air Locker). The factory open differential does not require modifiers, and adding them can reduce the coefficient of friction on the side gears, leading to premature wear.
Fill the differential with a premium synthetic such as AMSOIL Severe Gear 75W-90 or Mobil 1 Synthetic Gear Lubricant until the fluid level is exactly even with the bottom of the fill hole threads. For a comprehensive breakdown of GL-5 additive packages and thermal breakdown thresholds, refer to the AMSOIL technical auto bulletins.
After the first 500 miles of mixed driving, drain and refill the front differential. The initial break-in generates microscopic metallic paste from the lapping of the new gears. Flushing this paste out is the single most important maintenance step to ensure your rebuilt GM 8.25" IFS differential operates quietly and reliably for the next 150,000 miles. For further setup tooling and shim kits, technicians frequently reference the Yukon Gear Technical Resources portal for application-specific diagrams and shim thickness charts.