The Anatomy of the GM K2XX Cooling Circuit
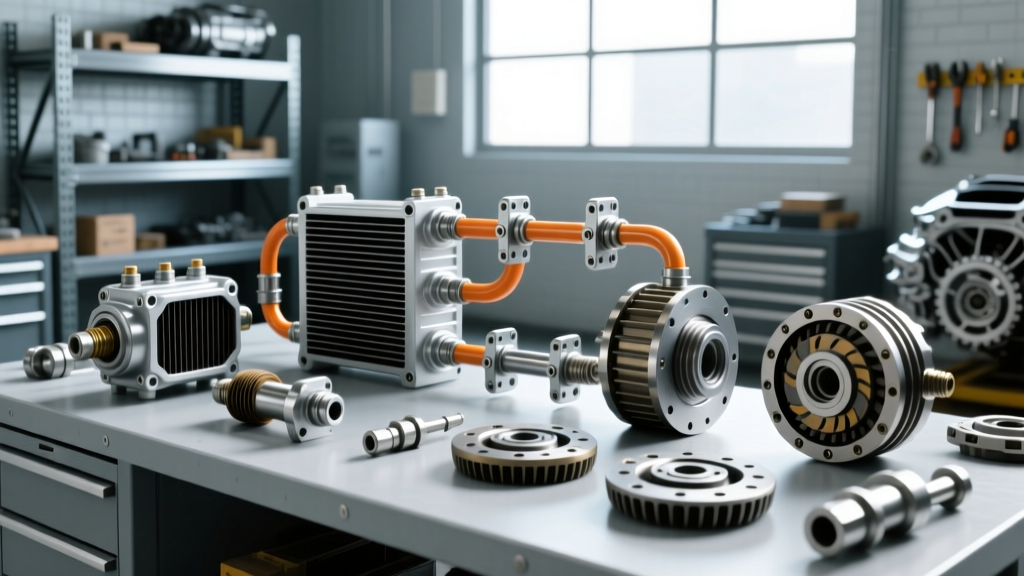
If you own a 2014-2018 Chevrolet Silverado or GMC Sierra 1500 equipped with the venerable 6L80 (or the 8L90 in 6.2L models), you are already familiar with its towing capabilities. However, as these trucks age and accumulate mileage, a highly specific and frustrating issue plagues the drivetrain: the transmission cooler line leak. Unlike older GM trucks that used simple flare nuts and continuous hard lines, the K2XX platform utilizes a complex hybrid routing system. This system pairs aluminum hard lines with flexible rubber crimp hoses and quick-connect fittings to manage NVH (Noise, Vibration, and Harshness) and accommodate engine movement.
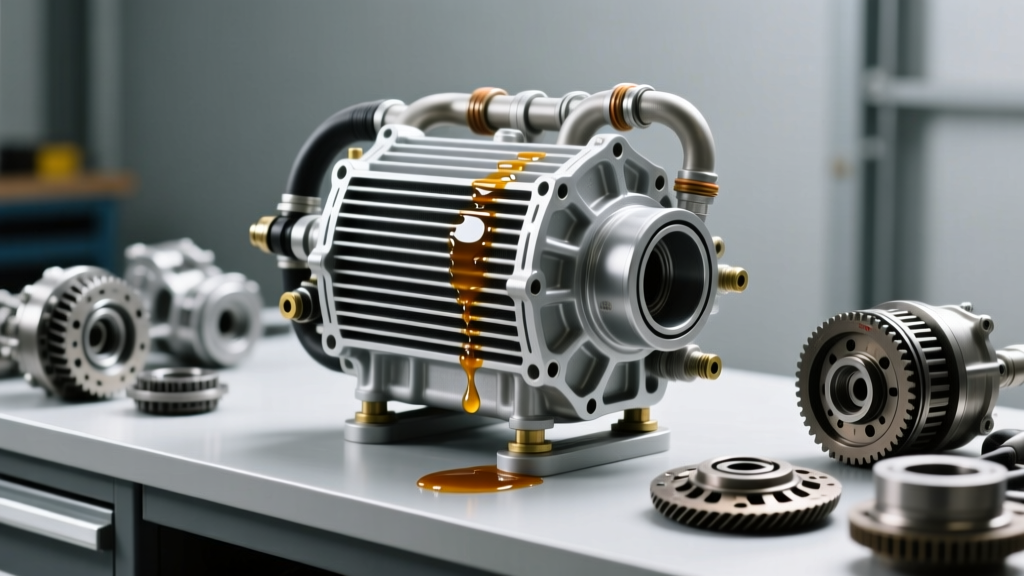
While this design is excellent for ride comfort, it introduces multiple failure points under high thermal loads. When you are towing a 7,000-pound trailer through a mountain pass, transmission fluid temperatures can easily spike past 220°F (104°C). This extreme thermal cycling accelerates the degradation of the O-rings and crimp seals, inevitably leading to a transmission cooler line leak that can starve the 6L80 of lubrication and destroy the clutch packs in a matter of miles.
Diagnostic Matrix: Where is the Leak Originating?
Before you order replacement parts or an auxiliary cooler upgrade, you must accurately diagnose the exact origin of the fluid loss. GM's 6L80 cooling circuit has three primary failure zones. Clean the lines with brake cleaner, run the engine to operating temperature, and inspect the following areas.
| Failure Location | Root Cause | Visual Symptom | Estimated DIY Repair Cost |
|---|---|---|---|
| Passenger Side Quick-Connect | Viton O-ring extrusion / thermal baking from exhaust proximity | Red/brown fluid dripping onto the passenger crossmember or exhaust shield | $15 - $30 (O-ring kit) |
| Rubber-to-Metal Crimp Sleeve | Hose delamination and aluminum ferrule corrosion | Slow weeping or misting of fluid along the rubber hose section | $80 - $140 (Complete line assembly) |
| Transmission Case Adapter | Porous aluminum casting or degraded thread sealant | Fluid pooling at the top of the bellhousing inspection cover | $45 - $60 (OEM Adapter + Sealant) |
Step-by-Step Repair: Fixing the Quick-Connect Leak
The most common culprit for a transmission cooler line leak on the 6L80 is the quick-connect fitting located near the radiator or the engine block. These fittings rely on a specialized internal O-ring and a plastic or metal retaining clip. Here is the professional-grade procedure to repair it without damaging the aluminum hard lines.
Required Tools and Materials
- 5/8" and 3/4" Fuel Line Disconnect Tool Set (e.g., Lisle 39400)
- ACDelco Transmission Cooler Line O-Ring Kit (or equivalent Viton-rated assortment)
- Dexron VI ATF (ACDelco Part # 10-9395) or Dexron ULV for 8L90 models
- Shop towels and safety glasses
The Repair Procedure
1. Depressurize and Disconnect: With the engine cold, locate the leaking quick-connect. Use the specialized disconnect tool to compress the internal release tabs while gently pulling the line outward. Never pry the fitting with a screwdriver, as scoring the aluminum barb will guarantee a future leak.
2. Inspect and Replace: Remove the old retaining clip and extract the flattened O-ring. Lubricate the new Viton O-ring with a dab of fresh Dexron VI ATF and seat it into the fitting groove. Reinstall the retaining clip until it audibly clicks.
3. Reconnect and Test: Push the hard line back into the quick-connect until it bottoms out and the clip engages. Give the line a firm tug to verify it is locked.
4. Addressing the Case Adapter: If your diagnostic matrix pointed to the transmission case adapter, you will need to drain the pan, remove the adapter, and clean the threads. Apply a small amount of GM-approved thread sealant (not standard Teflon tape, which can shred and block the cooler orifices) and torque the adapter to exactly 27 Nm (20 lb-ft). Over-torquing will crack the 6L80's aluminum case.
Upgrading the Cooler: Bypassing Factory Limitations
Fixing the leak is only half the battle. The factory auxiliary cooler on the Silverado 1500 is notoriously undersized for heavy GCWR (Gross Combined Weight Rating) applications. If you are frequently towing, upgrading to a high-efficiency stacked-plate cooler is mandatory to prevent future thermal expansion leaks and fluid degradation. For a comprehensive look at heavy-duty cooling solutions, referencing the Mishimoto Silverado Transmission Cooler technical specifications reveals a massive increase in cooling surface area over the OEM tube-and-fin design.
Auxiliary Cooler Sizing Chart for GM 1500 Trucks
Selecting the right cooler depends on your specific towing profile. Use this chart to match your operating parameters with the correct core technology.
| Towing Profile (GCWR) | Recommended BTU/hr Capacity | Optimal Core Type | Example Part / Series |
|---|---|---|---|
| Light Duty (< 5,000 lbs) | 15,000 - 18,000 | Plate-and-Fin | Derale Series 8000 |
| Medium Duty (5,000 - 8,000 lbs) | 22,000 - 26,000 | Stacked-Plate | Derale Hyper-Cool 10000 |
| Heavy Duty (> 8,000 lbs / Mountainous) | 30,000+ | Stacked-Plate w/ Fan | Mishimoto MMTC-20 / MMTC-26 |
The Thermal Bypass Valve Dilemma
When installing an aftermarket cooler on a 6L80 or 8L90, you must address the factory thermal bypass valve. Located in the cooler line circuit, this valve restricts fluid flow to the cooler until the ATF reaches approximately 180°F (82°C). The engineering intent is to help the transmission reach operating temperature quickly in cold climates, reducing parasitic drag and emissions.
However, for dedicated tow rigs, this valve can cause dangerous temperature spikes during the first few miles of a heavy pull. While some off-road and towing forums recommend deleting the bypass valve entirely, doing so can lead to overcooling in winter, which prevents the fluid from vaporizing internal moisture. The expert consensus for 2026 is to retain the bypass valve but upgrade the auxiliary cooler's volume. A larger stacked-plate core will absorb the thermal shock much faster once the valve opens, keeping peak temperatures safely below the 225°F danger zone where Dexron VI begins to oxidize rapidly. For exact fluid degradation metrics, consult the ACDelco Automatic Transmission Fluid technical data sheets.
Real-World Cost Analysis: OEM vs. Aftermarket
Dealership service departments typically quote between $650 and $950 to replace a single leaking transmission cooler line assembly on a K2XX truck, largely due to the high OEM part markup and standardized labor times that require dropping the transmission crossmember. By diagnosing the exact failure point—often just a $20 O-ring or a $120 aftermarket complete line assembly from vendors like Dorman or ACDelco—you can retain the savings and reinvest them into a high-flow auxiliary cooler. A premium stacked-plate kit costs between $350 and $500, offering vastly superior thermal management compared to the factory setup, ultimately protecting your 6L80's 3-5-R clutch hub and torque converter from heat-related failure.
Final Torque and Fluid Verification
After any cooler line repair or upgrade, proper fluid level verification is critical. The 6L80 does not have a traditional dipstick; it utilizes a leveling plug on the transmission pan. With the vehicle perfectly level and the engine idling, the fluid temperature must be between 86°F and 122°F (30°C - 50°C) when you remove the leveling plug. If you are using the 8L90, ensure you are strictly using Dexron ULV (Ultra Low Viscosity), as standard Dexron VI will cause immediate shudder and valve body cross-leakage in the 8-speed unit. By addressing the transmission cooler line leak at its root and optimizing your thermal management, your GM truck will remain a reliable workhorse for the long haul.