The Great Debate: Transmission Cooler vs Radiator Cooler
For decades, automotive engineers have relied on the vehicle's main radiator to manage transmission thermals. The internal heat exchanger is cost-effective and helps the transmission reach operating temperature quickly. However, as towing capacities have surged and overlanding builds have grown heavier through 2026, the limitations of the OEM internal cooler have become glaringly apparent. This brings us to a critical crossroads for enthusiasts and fleet managers alike: should you rely on the factory radiator, or is it time to learn how to install aftermarket transmission cooler setups to safeguard your drivetrain?
In this model-specific repair guide, we are focusing on the ubiquitous GM 6L80 and 6L90 six-speed automatic transmissions. Found in millions of Silverados, Tahoes, and Camaros, the 6L80 is a robust unit that is highly vulnerable to one specific, catastrophic cooling system failure. We will break down the engineering differences between internal and external cooling, and provide a master-class installation guide for upgrading your rig.
Core Cooling Architecture Compared
| Feature | Internal Radiator Cooler (OEM) | External Stacked-Plate Cooler (Aftermarket) |
|---|---|---|
| Thermal Capacity | Limited by radiator surface area and coolant temps | Independent airflow; massive BTU rejection |
| Warm-Up Time | Fast (heated by engine coolant) | Slower (requires external thermostat for cold climates) |
| Failure Risk | High (internal brazing cracks mix fluids) | Zero cross-contamination risk |
| Pressure Drop | Low (short internal routing) | Moderate (requires proper line sizing) |
Why the GM 6L80 Demands an External Upgrade
To understand why bypassing the radiator is a rite of passage for GM truck owners, you must understand the "Strawberry Milkshake of Death" (SMOD). Between 2007 and 2014, GM utilized Delphi and Harrison radiators with internally brazed transmission cooler tanks. Over time, thermal cycling and vibration cause the internal brazing to fracture.
Because the engine cooling system operates at 15-18 PSI and the 6L80 transmission cooler circuit operates at only 8-12 PSI, a breach forces ethylene glycol directly into the transmission. Glycol is catastrophic to automatic transmission fluid (ATF). It chemically strips the friction material off the clutch packs—specifically the 3-5-R and 4-5-6 clutches—often destroying the transmission within 50 miles of the initial leak. By installing an external cooler and completely bypassing the radiator's internal tank, you physically eliminate the possibility of cross-contamination.
Sizing Your Cooler for Modern Towing Standards
When selecting a cooler, tube-and-fin designs are outdated for heavy-duty applications. You need a stacked-plate cooler, which offers superior surface area and structural rigidity. According to Hayden Automotive Technical Resources, you should size the cooler based on your Gross Vehicle Weight Rating (GVWR) and intended use:
- Light Duty / Commuting (Up to 10,000 lbs GVWR): Hayden 676 (11" x 7-1/2")
- Heavy Towing / Overlanding (10,000 - 16,000 lbs GVWR): Hayden 678 (11" x 11-1/2") or Derale 10009
- Commercial / Extreme Desert (16,000+ lbs GVWR): Hayden 679 (11" x 15-1/4") with auxiliary fan
Note: For the 6L80, the Hayden 678 (Part # 678, retailing around $75-$90 in 2026) is the goldilocks unit. It fits perfectly behind the grille of most GM full-size trucks without blocking critical airflow to the AC condenser.
Step-by-Step: How to Install Aftermarket Transmission Cooler
This guide assumes a complete radiator bypass. We will route the transmission fluid directly from the gearbox to the new external cooler, and back to the transmission, entirely circumventing the radiator.
Tools and Parts Required
- Cooler: Hayden 678 Stacked-Plate Cooler
- Fluid: ACDelco Dexron VI (Part # 10-9395) - Purchase 3 quarts for line flushing and top-off
- Line Adapters: 5/8" and 1/2" EFI hose barb fittings (to mate with OEM quick-disconnects)
- Transmission Hose: 5/8" and 1/2" Gates TransOil hose (approx. 6 feet total)
- Tools: Lisle 39960 Quick-Disconnect Tool Set, 15mm/16mm line wrenches, torque wrench (in-lb and ft-lb), zip ties, and hose clamps.
Phase 1: Line Disconnection and Bypass Routing
- Locate the OEM Lines: Identify the two metal transmission lines running from the passenger side of the 6L80 transmission up to the bottom of the radiator.
- Disconnect at the Radiator: Use the 5/8" and 1/2" collet tools from the Lisle set. Push the line inward slightly, insert the tool to spread the internal plastic collet, and pull the line outward. Warning: Have a drain pan ready; approximately 1.5 quarts of Dexron VI will drain from the lines and the radiator's internal tank.
- Cap the Radiator: If you are keeping the OEM radiator for engine cooling, you must loop the two transmission ports on the radiator together using a short piece of hose and two clamps, or install specific brass radiator bypass caps. Leaving them open will cause engine coolant to leak if the internal tank is a shared-flow design on your specific model year.
Phase 2: Mounting and Plumbing the External Cooler
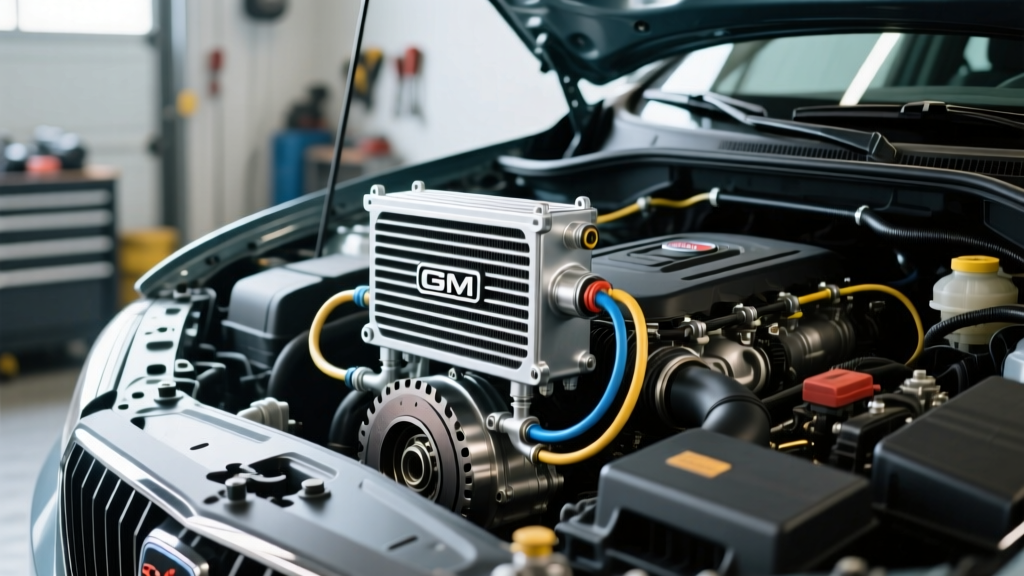
- Mount the Cooler: Position the Hayden 678 directly in front of the AC condenser. Use the included mounting rods and foam spacers. Do not overtighten the zip ties or mounting brackets; bending the aluminum fins reduces thermal efficiency. If using bracket bolts, torque M8 hardware to 18 lb-ft (25 Nm).
- Route the Hoses:
- Line 1 (Hot Side): Run a new 5/8" hose from the TOP transmission fitting (this is the OUT port on the 6L80) to the IN port on the aftermarket cooler.
- Line 2 (Cold Side): Run a new 1/2" hose from the OUT port on the aftermarket cooler back to the BOTTOM transmission fitting (the return/IN port on the 6L80).
- Secure and Protect: Use nylon zip ties every 6 inches. Ensure hoses do not rest against the exhaust manifolds or steering shaft. Use split-loom tubing where the hoses pass through the radiator support core to prevent chafing.
Phase 3: Fluid Correction and Thermal Cycling
Because you drained the OEM lines and the new cooler is dry, you must replenish the system. The 6L80 has a total dry capacity of 11.2 quarts, but the lines and external cooler hold roughly 1.5 to 2.0 quarts.
- Add 2 quarts of fresh ACDelco Dexron VI through the transmission dipstick tube.
- Start the engine. Allow it to idle. With your foot firmly on the brake, cycle the shifter through P-R-N-D-L, pausing for 3 seconds in each gear. This actuates the valve body (as detailed in Sonnax technical documentation) and primes the new cooler circuit.
- Check the dipstick. The 6L80 dipstick has a specific "HOT" crosshatch zone that correlates to fluid temperatures between 160°F and 200°F. Use an infrared thermometer on the transmission pan to verify the fluid is in this range before making your final level adjustment.
- Inspect all four hose barb connections for weeping under operating pressure (which will spike to roughly 100 PSI during torque converter lockup).
The Thermostat Bypass Debate: In-Line vs. Standalone
A common question when learning how to install aftermarket transmission cooler units is whether to run the cooler in-line with the radiator (Trans -> Aux Cooler -> Radiator -> Trans) or as a complete standalone bypass.
"For daily drivers in northern climates, an in-line setup or an external cooler with an integrated thermal bypass valve (like the Hayden 4597) is mandatory. Dexron VI must reach at least 160°F to vaporize internal condensation. Running a massive standalone cooler in freezing weather will cause the fluid to over-cool, leading to sluggish shift times and torque converter shudder." - Drivetrain Systems Engineering Guidelines, 2025 Edition
However, for heavy towing in southern climates, or for vehicles where the OEM radiator is known to be compromised (the aforementioned Delphi units), a complete standalone bypass is the only logical choice. The slight delay in warm-up time is a negligible trade-off for the absolute guarantee that engine coolant will never destroy your clutch packs.
Final Verdict
The transmission cooler vs radiator cooler debate ultimately comes down to risk tolerance and application. While the OEM radiator is sufficient for light, unladen commuting, the inherent design flaws in many factory heat exchangers make them a ticking time bomb for modified or towing vehicles. By investing roughly $120 in parts and two hours of labor to execute a complete radiator bypass, you effectively bulletproof the 6L80's cooling circuit. For more advanced valve body and cooling flow diagnostics, consult TransGo's technical library to ensure your line pressure remains optimized after adding the restriction of an external stacked-plate cooler.