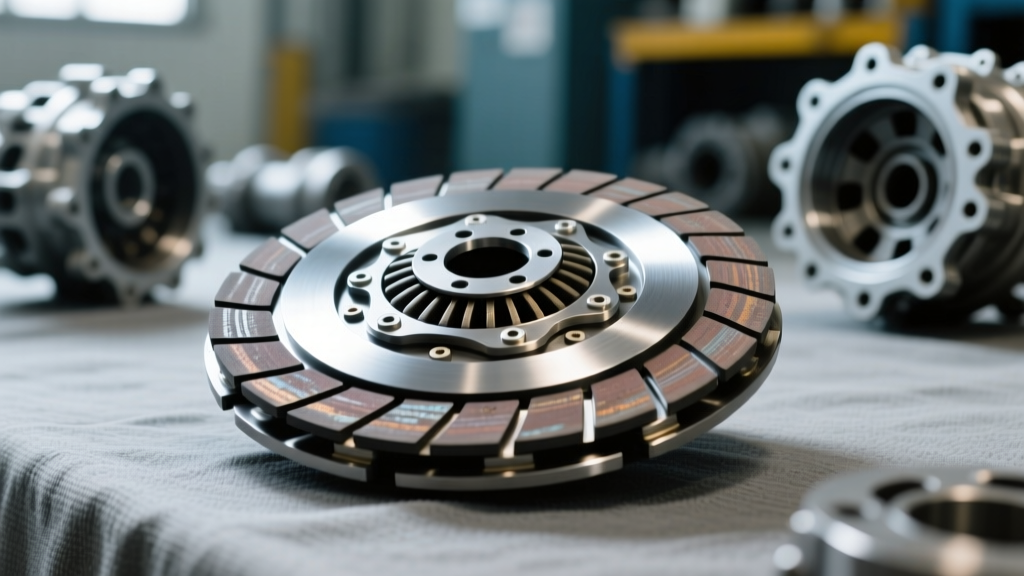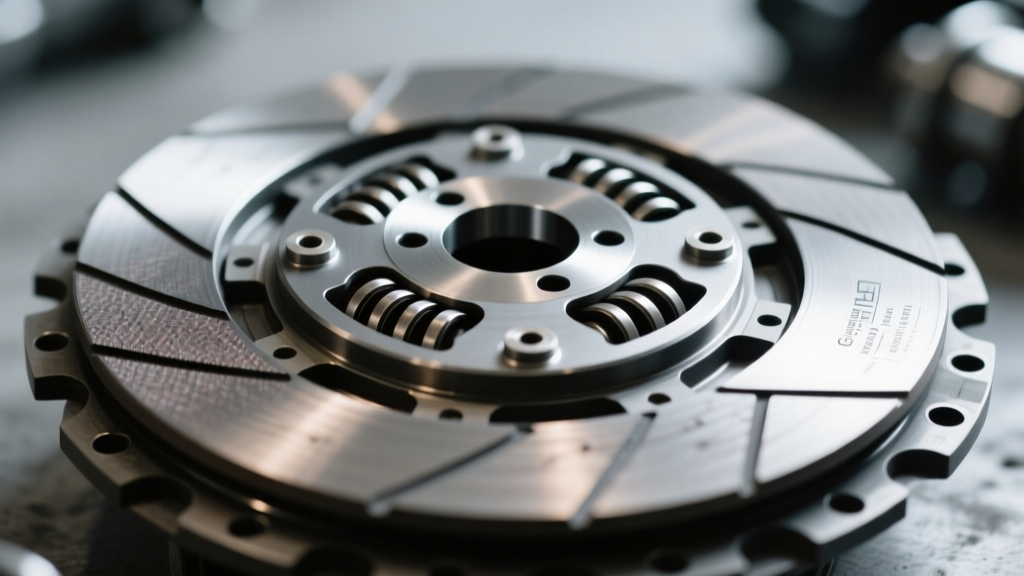
The GM 6L80 1-2-3-4 Clutch Pack: A Known Vulnerability
Even as we navigate the automotive landscape of 2026, the GM 6L80 and 6L90 six-speed automatic transmissions remain some of the most heavily serviced units in the aftermarket. Found in millions of Silverados, Tahoes, Camaros, and Corvettes from 2006 through 2020, the 6L80 is generally robust. However, it harbors a notorious weak point: the 1-2-3-4 clutch pack. When this pack fails, it typically takes out the entire transmission due to catastrophic debris contamination.
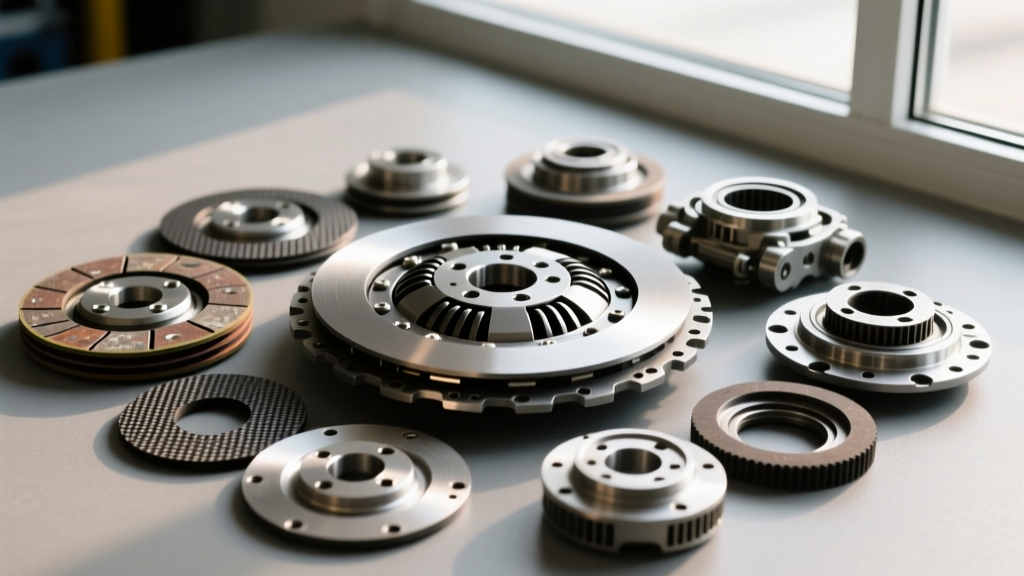
As a transmission rebuilder or advanced DIYer, sourcing the correct multi-disc clutch kit parts is only half the battle. The true test of expertise lies in understanding the hydraulic apply rates, the metallurgical flaws of the OEM wave plate, and the exacting clearance specifications required to make the 1-2-3-4 clutch pack survive high-torque applications. This model-specific repair guide breaks down the exact procurement, inspection, and assembly protocols for the 6L80 1-2-3-4 clutch assembly.
Sourcing the Right Multi-Disc Clutch Kit Parts
When the 1-2-3-4 clutch burns up, the friction material delaminates, and the steel separator plates often warp or blue from extreme thermal loading. You cannot reuse these components. When shopping for replacement clutch kit parts, you generally have two routes: OEM replacement or high-performance aftermarket upgrades.
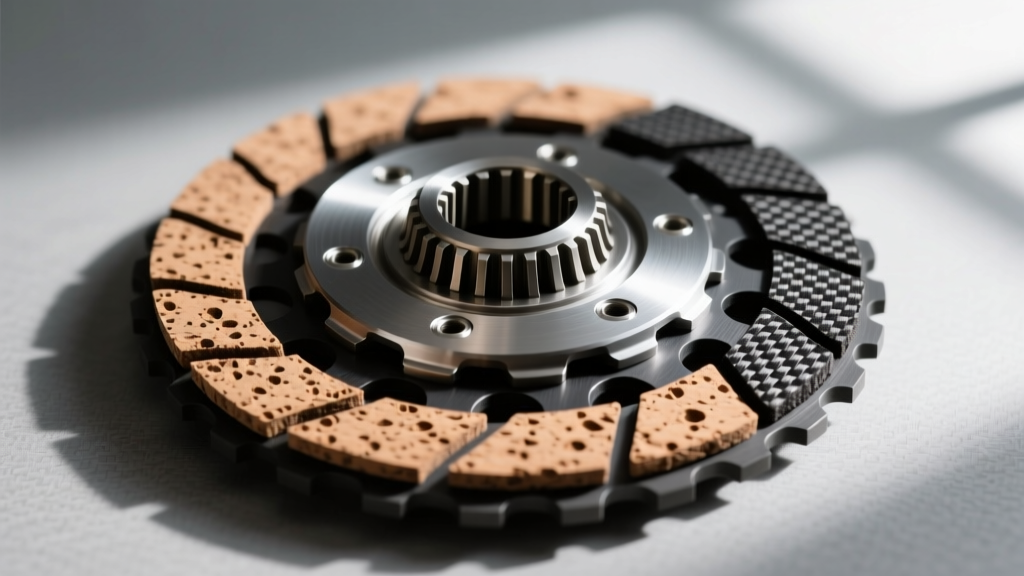
For standard daily drivers, OEM ACDelco friction and steel plates are adequate. However, for vehicles subjected to towing, off-roading, or aftermarket tuning, upgrading to high-energy friction materials is mandatory. According to Alto Products, their Red Eagle or GPZ friction materials offer significantly higher thermal thresholds and increased coefficient of friction, which reduces slip time and heat generation during the 1-2 and 2-3 shifts.
Component Specification & Procurement Table
| Component | OEM Part Number | Performance Upgrade | Quantity per Pack | Approx. Cost (2026) |
|---|---|---|---|---|
| Friction Disc (1-2-3-4) | ACDelco 24239189 | Alto G10420 (Red Eagle) | 5 | $35 - $65 |
| Steel Separator Plate | ACDelco 24239190 | Alto 204380 (Kolene) | 4 | $25 - $45 |
| Apply Piston Seal Kit | ACDelco 24235071 | Sonnax O-Ring Kit | 1 Set | $12 - $18 |
| Wave Plate (Cushion) | GM 24239194 | Sonnax 104960-01K | 1 | $25 - $40 |
The Wave Plate Failure and the Mandatory Upgrade
You cannot discuss 6L80 clutch kit parts without addressing the OEM wave plate (cushion plate). The factory wave plate is stamped from relatively thin spring steel. Over time, the cyclic loading of the 1-2-3-4 clutch apply causes metal fatigue. The wave plate eventually snaps, sending jagged shrapnel directly into the friction discs, instantly destroying the clutch pack and contaminating the valve body and torque converter.
As documented in Sonnax technical bulletins, the fix is not to simply replace the OEM wave plate with another OEM wave plate. You must upgrade to a heavy-duty, thicker wave plate or eliminate it entirely using a flat steel plate and a modified backing plate setup. If you are rebuilding this unit in 2026, installing a heavy-duty wave plate kit is considered mandatory by top-tier transmission shops to prevent warranty comebacks.
Precision Assembly: Soaking, Stacking, and Air-Checking
Once your clutch kit parts have arrived, the assembly process requires strict adherence to cleanliness and lubrication protocols. The 6L80 relies on Dexron VI (or the newer Dexron ULV for specific late-model applications, though Dexron VI remains the standard for the vast majority of 6L80s).
Friction Disc Pre-Soak Protocol
- Fluid Selection: Use only genuine Dexron VI or a licensed equivalent. Do not use generic 'multi-vehicle' ATF for the soak.
- Duration: Submerge the new friction discs in a clean tray of ATF for a minimum of 2 hours before assembly. This allows the porous friction material to become fully saturated, preventing a dry start-up that would instantly glaze or burn the new clutches.
- Handling: Wear lint-free nitrile gloves. The oils and acids from human skin can contaminate the friction paper and alter the coefficient of friction.
Piston and Seal Installation
The 1-2-3-4 apply piston is machined from aluminum and utilizes inner and outer lip seals. When installing the new seals from your kit, use a dedicated seal installer tool. Rolling or cutting a lip seal during installation will result in a slow hydraulic leak, causing a delayed 1-2 shift or a flaring 2-3 shift once the transmission reaches operating temperature.
After seating the piston and return spring assembly, you must perform an air-check. Apply 30-40 PSI of compressed air to the 1-2-3-4 clutch apply orifice in the case. You should hear a solid, immediate 'thud' as the piston travels and compresses the clutch pack. When you release the air, the return springs must snap the piston back instantly. Any sluggishness indicates binding seals or misaligned friction lugs.
Clearance Measurement and Selective Snap Ring Selection
The most critical step when installing multi-disc clutch kit parts is verifying the pack clearance. If the clearance is too tight, the clutches will drag, generating massive heat and premature failure. If the clearance is too wide, the piston will bottom out on its bore before fully clamping the discs, resulting in severe slip and burnt frictions.
Expert Target Clearance: For the GM 6L80 1-2-3-4 clutch pack, the ideal operating clearance is between 0.040' and 0.070' (1.02mm - 1.78mm). Always defer to the tight side of the spec for performance applications to ensure rapid apply times.
To measure clearance, install the backing plate and use a dial indicator mounted to the transmission case. Zero the indicator on the backing plate, then pry up gently with a pick to measure the total travel. GM provides selective snap rings to adjust this clearance. You must measure your stack and select the appropriate ring:
- 0.087' (2.21mm) - Part # 24235081
- 0.093' (2.36mm) - Part # 24235082
- 0.099' (2.51mm) - Part # 24235083
- 0.105' (2.67mm) - Part # 24235084
- 0.111' (2.82mm) - Part # 24235085
If you cannot achieve the 0.040'-0.070' spec using the selective snap rings, you must swap the backing plate for a thicker or thinner aftermarket variant, or verify that you have the correct thickness of steel separator plates in your clutch kit parts order.
Hydraulic Feed and Valve Body Considerations
While the mechanical clutch kit parts are vital, the hydraulic feed dictates their survival. The 6L80 is known for wear in the valve body's clutch apply valves, specifically the 1-2-3-4 clutch apply valve bore. If this bore is worn, hydraulic pressure bleeds off, and no amount of premium friction material will save the clutch pack from slipping.
According to rebuilding data aggregated by Transmission Digest, it is highly recommended to install a Sonnax Zip Valve kit or ream the bore and install an oversized anodized valve to restore line pressure integrity. Furthermore, inspect the clutch hub for wear on the aluminum splines. The steel plates can chew into the softer aluminum hub over time, causing the plates to hang up and preventing the clutch pack from releasing fully when the 1-2-3-4 clutch is deactivated.
Final Torque Specs and Reinstallation
Once the clutch pack is assembled, the snap ring is seated, and the clearance is verified, the final step is securing the assembly and mating the transmission case to the bellhousing and pump. Precision torque application is non-negotiable to prevent case distortion, which can bind the clutch hub and cause immediate failure.
GM 6L80 Critical Torque Specifications
- Oil Pump to Case Bolts (M8): 11 Nm (97 lb-in) in a crisscross pattern.
- Valve Body to Case Bolts (M6): 11 Nm (97 lb-in). Note: These bolts are of varying lengths. Map them out on a cardboard template during disassembly to avoid punching through the case or failing to clamp the valve body.
- Torque Converter to Flexplate Bolts: 46 Nm (34 lb-ft) with Loctite 262 (Red).
- Extension Housing to Case Bolts: 34 Nm (25 lb-ft).
Conclusion: The Value of Methodical Rebuilding
Rebuilding the GM 6L80 1-2-3-4 clutch pack is a masterclass in modern automatic transmission diagnostics and repair. By moving beyond basic part-swapping and focusing on the root causes of failure—such as the fragile OEM wave plate and valve body wear—you ensure a durable repair. Sourcing high-quality, model-specific clutch kit parts, adhering to strict Dexron VI soak times, and dialing in the clearance to the exact thousandth of an inch are the hallmarks of a professional-grade rebuild. Whether you are restoring a classic 2010 Silverado or building a high-torque 2018 Camaro SS, these protocols will keep the 6L80 shifting flawlessly for years to come.