The G56 Transmission: Bench Build Fundamentals and Economics
The Mercedes-Benz G56 6-speed manual transmission, found in 2005-2018 Dodge Ram 2500 and 3500 trucks equipped with the 5.9L and 6.7L Cummins diesels, is legendary for its torque capacity. However, high mileage, aggressive tuning, and heavy towing inevitably lead to synchro crunch, bearing whine, and detent pop-out. Performing a G56 transmission rebuild on the bench is a highly rewarding but technically demanding project that requires precision metrology, specialized holding tools, and a strict adherence to torque specifications.
As a senior transmission specialist, I have outlined the exact bench build procedures, component inspection criteria, and a realistic 2026 cost breakdown to help you decide between a DIY garage rebuild and professional remanufacturing.
2026 G56 Rebuild Cost Breakdown: DIY Bench Build vs. Professional Shop
Before unbolting the PTO cover, you must understand the financial landscape. The G56 requires specific heavy-duty bearings and upgraded synchro rings that drive up the parts cost compared to lighter manual transmissions.
| Cost Category | DIY Bench Build (Estimated) | Professional Rebuilder (Estimated) |
|---|---|---|
| Master Rebuild Kit (Seals, Gaskets, Snap Rings) | $350 - $450 | Included |
| Bearing Kit (Timken/SKF Tapered & Needle) | $280 - $400 | Included |
| Synchro Rings (Upgraded Carbon/Kevlar Set) | $350 - $600 | Included |
| Hard Parts (Shift Forks, Interlock Pills, Gears) | $150 - $400 | $300 - $800 |
| Fluid (Mopar G56 Spec / Mobil Delvac 50) | $90 - $120 | Included |
| Specialty Tools (Mainshaft Holder, Pullers) | $150 - $250 | N/A |
| Labor & Machine Shop Services | $0 (Your Time) | $1,800 - $2,500 |
| Total Estimated Cost | $1,370 - $2,220 | $3,500 - $5,200 |
Note: Prices reflect early 2026 market rates for OEM and premium aftermarket components sourced from suppliers like Drivetrain America and local heavy-duty transmission distributors.
Phase 1: Bench Preparation and Teardown Procedures
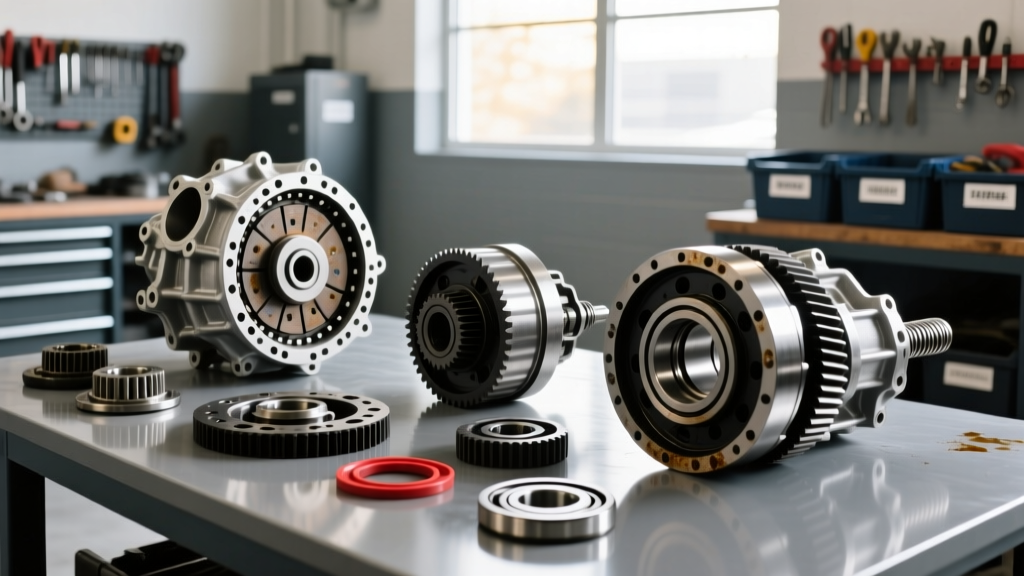
A successful G56 rebuild starts with a clean, organized bench and a systematic teardown. The G56 weighs approximately 175 lbs dry; ensure your bench is rated for the load and use a secondary support to prevent the case from tipping during component removal.
Initial Drain and Shift Tower Removal
- Drain the Fluid: Remove the fill and drain plugs. Expect to drain roughly 4.5 to 4.75 quarts. Inspect the magnetic drain plug for excessive ferrous shavings, which indicates severe bearing or gear failure.
- Remove the Shift Tower: Unbolt the six shift tower retaining bolts (13mm). Lift the tower straight up. Critical Warning: The shift tower contains interlock pills and detent springs. If these fall into the main case during removal, you will be fishing for them with a magnet for hours. Plug the tower cavity with a clean shop towel immediately.
- PTO Cover and Tailhousing: Remove the PTO cover on the passenger side to expose the mainshaft rear nut. Remove the rear tailhousing bolts and carefully slide the tailhousing off the output shaft, supporting the shaft to prevent binding.
Mainshaft Nut and Case Splitting
The mainshaft rear retaining nut is torqued to an immense 250 lb-ft and is often secured with a staked collar or heavy thread locker. You must use a dedicated G56 mainshaft holding fixture that bolts to the transmission pan rail and engages the gear teeth to prevent rotation. Once the nut is removed, unbolt the bellhousing-to-main case bolts. Use a dead-blow hammer and brass drift to separate the case halves. Do not pry on the machined mating surfaces with a screwdriver, as this will cause catastrophic fluid leaks post-rebuild.
Phase 2: Metrology and Component Inspection
Teardown is only half the battle. The G56 relies on precise selective shimming to maintain gear lash and bearing preload. Before ordering hard parts, perform these critical measurements:
- Synchro Ring Clearance: Press the synchro ring onto its mating gear cone and measure the gap with a feeler gauge. New specification is typically 0.040" to 0.060". If the clearance drops below 0.025", the synchro is bottoming out, resulting in the infamous G56 2nd-gear crunch. Replace all rings with upgraded carbon-lined variants.
- Needle Bearing Inspection: The G56 utilizes caged needle bearings between the gears and the mainshaft. Inspect the gear bores and shaft journals for brinelling (indentations) or heat bluing. If the shaft journal is scored, the mainshaft must be replaced or machined and sleeved.
- Shift Fork Wear: Measure the thickness of the shift fork pads where they engage the synchro sleeves. Wear exceeding 0.015" will cause incomplete gear engagement and pop-out under heavy load.
Expert Insight: The G56's 5th and 6th gear needle bearings are notorious for failing under high-heat towing conditions. Upgrading to high-capacity, heavy-duty needle bearings during the bench build is non-negotiable for any truck making over 450 rear-wheel horsepower. Consult the Cummins Forum Powertrain Section for community-tested bearing part numbers and supplier recommendations.
Phase 3: Mainshaft and Countershaft Bench Assembly
Reassembly requires absolute cleanliness. Wash all components in solvent, blow dry with compressed air, and coat all bearings and journals with assembly lube or the specific manual transmission fluid you plan to use.
Building the Mainshaft
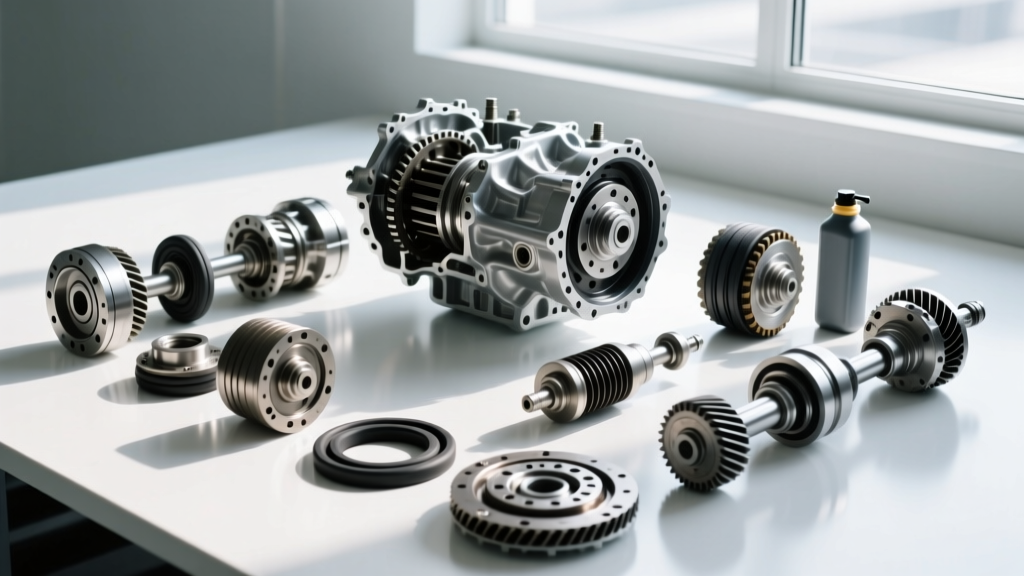
Assemble the mainshaft vertically in a soft-jawed vise. Install the gears, thrust washers, and synchro assemblies in reverse order of teardown. Pay close attention to the orientation of the synchro struts and blocker ring notches. When installing the snap rings, ensure they are fully seated in their grooves; a partially seated snap ring will disintegrate under torque, destroying the transmission case.
Countershaft and Bearing Preload
The G56 utilizes tapered roller bearings on the countershaft and mainshaft. Bearing preload is adjusted via selective shims located behind the outer bearing races in the case halves.
- Install the bearing races into the case halves using a driver tool.
- Drop the assembled mainshaft and countershaft into the lower case half.
- Install the upper case half and torque the case bolts to 35 lb-ft in a crisscross pattern.
- Measure the shaft endplay using a dial indicator mounted to the case. Target endplay is generally between 0.002" and 0.005". Adjust by swapping the selective shims behind the bearing races until the spec is met.
Phase 4: Shift Tower, Interlocks, and Final Mate
The shift tower is the brain of the G56. The interlock system prevents the driver from accidentally engaging two gears simultaneously, which would instantly lock and shatter the transmission.
Rebuilding the Detent and Interlock System
Disassemble the shift tower completely. Replace all detent springs, as metal fatigue over 150,000 miles causes weak spring tension, leading to the truck popping out of 5th or 6th gear under deceleration. Coat the interlock pills (the small steel balls and pins that sit between the shift rails) in heavy grease to hold them in place during tower installation. Ensure the shift rail notches are perfectly aligned before lowering the tower onto the case.
Final Torque Specifications
With the case halves mated, sealed with a thin bead of high-temp RTV (or the factory paper gasket), and the shift tower installed, you must secure the mainshaft rear nut.
- Mainshaft Rear Nut: 250 lb-ft (Use a torque multiplier or a 3/4" drive torque wrench. Stake the collar or apply red Loctite 271).
- Shift Tower to Case Bolts: 25 - 30 lb-ft.
- Tailhousing to Case Bolts: 30 - 35 lb-ft.
- PTO Cover Bolts: 15 - 20 lb-ft.
Phase 5: Fluid Specifications and Break-In Protocol
Fluid choice in the G56 is a subject of intense debate, but factory specifications and modern heavy-duty requirements must be balanced. Early G56 models called for ATF+4, but this led to premature synchro wear under high-load conditions. Chrysler later revised the specification to a dedicated manual transmission fluid.
For your 2026 bench build, fill the transmission with 4.75 quarts of Mopar G56 Manual Transmission Fluid (Part # 4773167AC) or a highly regarded heavy-duty alternative like Mobil Delvac Synthetic Transmission Fluid 50. The Delvac 50 provides superior film strength for the tapered roller bearings while maintaining the correct friction coefficient for the carbon synchro rings. You can verify current OEM fluid part numbers directly through the Mopar Official Parts Portal.
The Break-In Procedure
Once the G56 is bolted back to the Cummins engine, the break-in procedure is critical for seating the new synchros and bearings.
- Miles 0-50: Shift gently, keeping RPMs below 2,000. Avoid heavy throttle application and engine braking.
- Miles 50-500: Gradually increase load. Practice rev-matching on downshifts to assist the new synchro rings in mating to the gear cones.
- 500-Mile Mark: Drain the fluid and inspect for brass or ferrous particulate. Refill with fresh fluid. This first oil change removes the assembly lube and initial wear-in metals, ensuring long-term bearing life.
Final Verdict: Is the DIY Bench Build Worth It?
A G56 transmission rebuild on the bench is not for the novice mechanic. The requirement for specialized holding fixtures, precise selective shimming, and high-torque tooling elevates this job above a standard weekend clutch swap. However, by sourcing your own premium bearings and carbon synchros, you can achieve a build quality that rivals or exceeds professional remanufactured units for roughly half the cost. If you possess the metrology tools, the patience for meticulous cleaning, and the respect for the 250 lb-ft mainshaft nut, the DIY bench build remains the most economical and reliable path to resurrecting your Cummins-powered Ram.