The Actuation-Friction Paradigm in Manual Transmissions
As we navigate the automotive landscape in 2026, the manual transmission has largely transitioned to a niche enthusiast and heavy-duty commercial segment. However, for the millions of legacy manual vehicles and specialized track cars still on the road, understanding the intricate relationship between the actuation mechanism and the friction assembly is paramount. A common diagnostic trap for junior technicians is misidentifying a mechanical linkage fault—specifically a frayed clutch cable—as terminal friction disc wear. This technical deep-dive explores the precise lifespan indicators of clutch systems, quantifying the exact measurements that separate a simple cable adjustment from a full transmission-pull replacement.
Mechanical Linkage: When a Frayed Clutch Cable Mimics Disc Failure
Before tearing into a bellhousing, a master technician must evaluate the actuation circuit. In cable-operated systems (prevalent in 1990s-2010s Honda, Ford, and Volkswagen platforms, as well as modern motorcycles), the Bowden cable transfers pedal force to the clutch release fork. Over time, the inner steel wire undergoes cyclic fatigue.
Strand Breakage and Tensile Loss
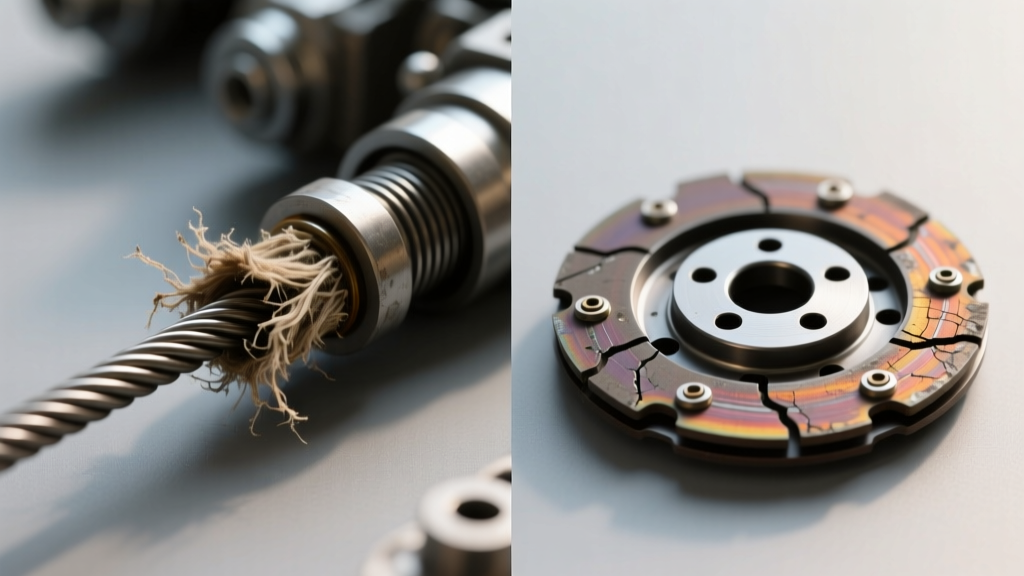
A clutch cable is composed of multiple braided steel strands encased in a PTFE-lined sheath. When individual strands snap under the 200-300 lbs of peak pedal tension, the cable doesn't immediately fail. Instead, it stretches. This micro-stretching alters the pedal geometry, effectively reducing the clamping force of the pressure plate against the friction disc. The result? Clutch slip under heavy load. To the untrained ear, the rising RPMs without proportional vehicle acceleration sound exactly like a glazed or worn-out friction disc. In reality, the disc may have 60% of its life remaining, but the frayed clutch cable is preventing full engagement.
Quantitative Lifespan Indicators: Measurements and Specs
Accurate diagnosis requires abandoning 'feel' and relying on hard data. According to Schaeffler LuK Clutch Systems engineering guidelines, clutch wear must be measured against strict OEM tolerances. Below is a definitive diagnostic matrix for evaluating clutch system health.
| Component | OEM New Specification | Service Wear Limit | Primary Failure Symptom |
|---|---|---|---|
| Friction Disc Thickness | 8.5mm - 9.5mm (Varies by application) | 0.3mm above rivet heads | Slipping under load, shudder on engagement |
| Pedal Free-Play (Cable) | 1.0' - 1.5' (25mm - 38mm) | Less than 0.5' or greater than 2.0' | Release bearing wear (no free-play) or slip (excessive play) |
| Flywheel Runout | 0.000' - 0.002' | 0.004' maximum | Clutch chatter, pedal pulsation, input shaft bearing wear |
| Pressure Plate Diaphragm Fingers | Uniform height (+/- 0.5mm) | Grooving deeper than 0.6mm | Uneven disengagement, gear crunching on shifts |
Diagnostic Protocol: Isolating Cable Stretch from Friction Loss
When a driver reports clutch slip, the Exedy Globalparts Technical Guidelines recommend a systematic isolation process before authorizing a teardown.
Step 1: The Static Free-Play Measurement
Using a steel ruler, measure the clutch pedal free-play at the pad. Depress the pedal by hand until you feel the distinct resistance of the diaphragm spring engaging. For most cable-actuated systems, this free travel must be between 1.0 and 1.5 inches. If free-play is non-existent, the release bearing is being held against the pressure plate fingers, causing friction-induced slip and rapid bearing failure. If free-play exceeds 2.0 inches, suspect a stretched or frayed clutch cable.
Step 2: Visual Cable Inspection
Trace the cable from the firewall to the bellhousing. Look for:
- Sheath Damage: Cracks in the outer rubber casing allowing moisture ingress, leading to internal corrosion and binding.
- Frayed Strands: Visible 'bird-caging' or snapped wire filaments near the cable end fittings or the pedal pivot.
- Adjuster Thread Engagement: If the firewall adjuster is maxed out on its threads, the cable has permanently elongated and must be replaced.
Step 3: The Loaded Stall Test (With Caution)
With the vehicle stationary, parking brake engaged, and wheels chocked, start the engine and engage 4th or 5th gear. Slowly release the clutch while applying moderate throttle (approx. 2,500 RPM). If the engine stalls immediately, the friction disc is likely within spec, and the slip was caused by actuation geometry (cable stretch). If the engine continues to run and RPMs climb freely, the friction material is compromised, or the flywheel is severely glazed.
Advanced Friction Material and Flywheel Analysis
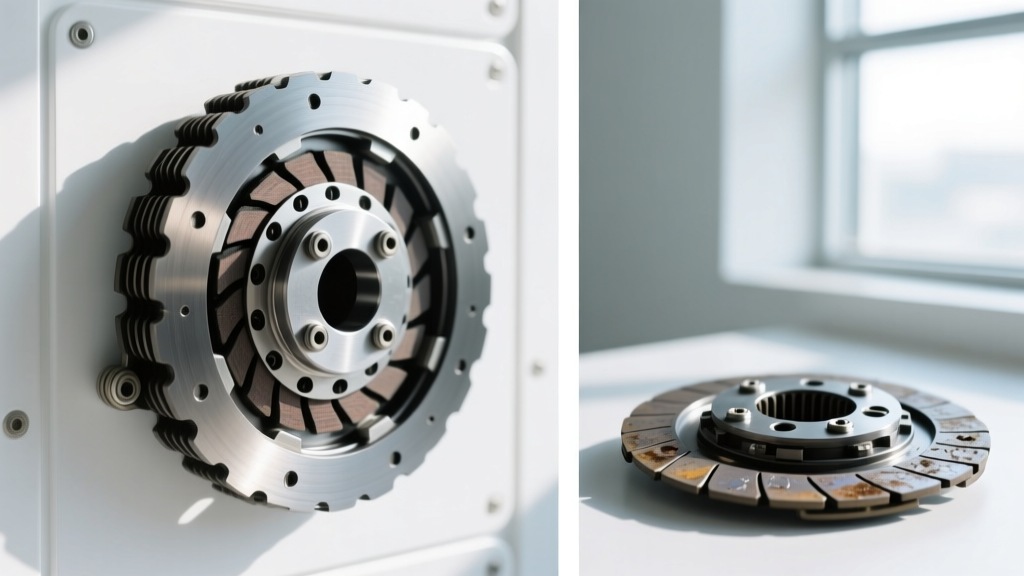
If diagnostics confirm actual disc wear, evaluating the friction material provides insights into driving habits and thermal events. Organic facings (common in OEM replacements like Sachs or Aisin) are designed for progressive engagement but will glaze if subjected to continuous slip temperatures exceeding 400°F (204°C). Conversely, ceramic or Kevlar sintered materials (used in performance applications) can withstand up to 800°F (426°C) but require higher clamping forces and aggressive pedal feel.
When replacing the friction assembly, it is an absolute mandate to replace the entire clutch kit—disc, pressure plate, and release bearing. Reusing a pressure plate that has endured the heat of a slipping disc risks immediate failure due to warped metallurgy and annealed diaphragm springs. Furthermore, the flywheel must be measured for step-height and runout. A dual-mass flywheel (DMF) cannot be resurfaced; if the internal damping springs exhibit excessive rotational free-play (typically >2 degrees or >10mm at the outer edge), a complete DMF replacement or a verified single-mass conversion kit is required.
When reinstalling the flywheel, note that many modern OEM applications utilize Torque-To-Yield (TTY) fasteners. These must be replaced and torqued in a multi-stage process (e.g., 33 lb-ft followed by a 90-degree turn). Furthermore, the pilot bearing or bushing must be inspected. A seized pilot bearing will drag the input shaft, causing gear clash that is frequently misdiagnosed as a hydraulic or cable actuation failure.
Economic Breakdown: Cable Adjustment vs. Full Assembly Replacement
Understanding the financial delta between these two scenarios is vital for service advisors and DIY enthusiasts alike in 2026.
- Clutch Cable Replacement: OEM cables (e.g., Honda part #46540-T01-A01 or Ford #F4ZZ-7553-A) typically range from $25 to $65. Labor time is a mere 0.3 to 0.8 hours. Total out-the-door cost: $75 - $180.
- Full Clutch Kit & Flywheel Replacement: A premium LuK RepSet or Sachs clutch kit ranges from $250 to $550. Add a flywheel ($150 for standard, $600+ for DMF) and a rear main seal ($15). Labor requires dropping the transmission, subframe, and axles, taking 4.5 to 7.0 hours. Total out-the-door cost: $900 - $2,200+.
'Never pull a transmission based solely on a customer's complaint of a slipping clutch. A $40 frayed clutch cable or a maladjusted firewall stopper can mimic a $1,500 internal failure. Measure the free-play, inspect the Bowden sheath, and verify the actuation geometry before you reach for the transmission jack.' — Master Drivetrain Diagnostic Protocol, 2026 Edition
Summary Checklist for Drivetrain Technicians
- Verify customer complaint via road test (note RPM vs. MPH in top gear under load).
- Measure pedal free-play and over-center spring tension.
- Inspect clutch cable for fraying, sheath binding, and adjuster limits.
- Perform static stall test to isolate friction capacity from actuation faults.
- If internal wear is confirmed, measure flywheel runout and step-height before ordering parts.
- Torque pressure plate bolts to OEM spec (typically 18-22 lb-ft) in a crisscross pattern using a calibrated beam-style torque wrench.
By adhering to these rigorous diagnostic steps, technicians can accurately differentiate between a simple frayed clutch cable and terminal friction wear, saving customers thousands of dollars and preserving the mechanical integrity of the manual transmission.