The Hidden Threat: Why Leaks Sabotage a Rear Differential Flush
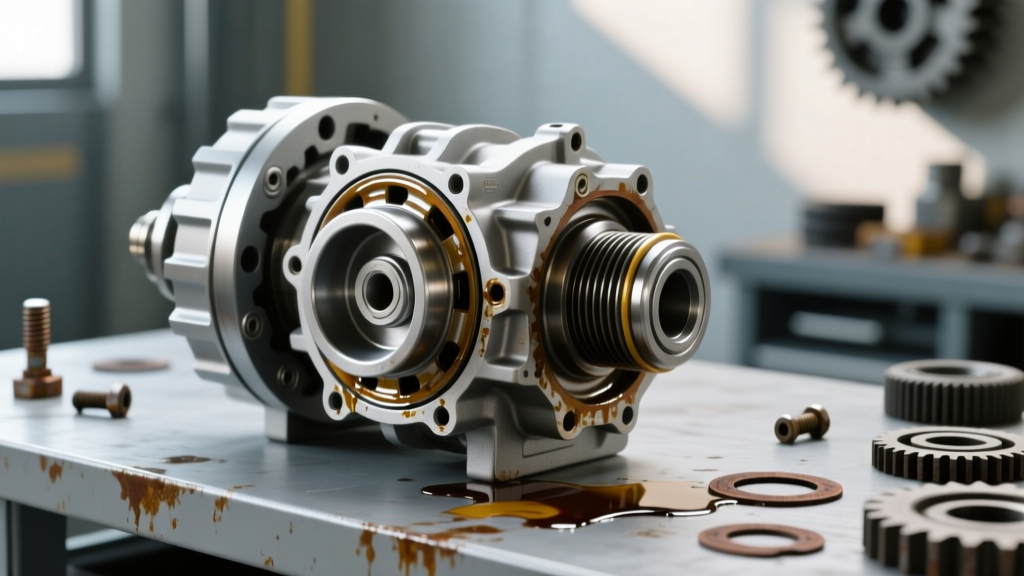
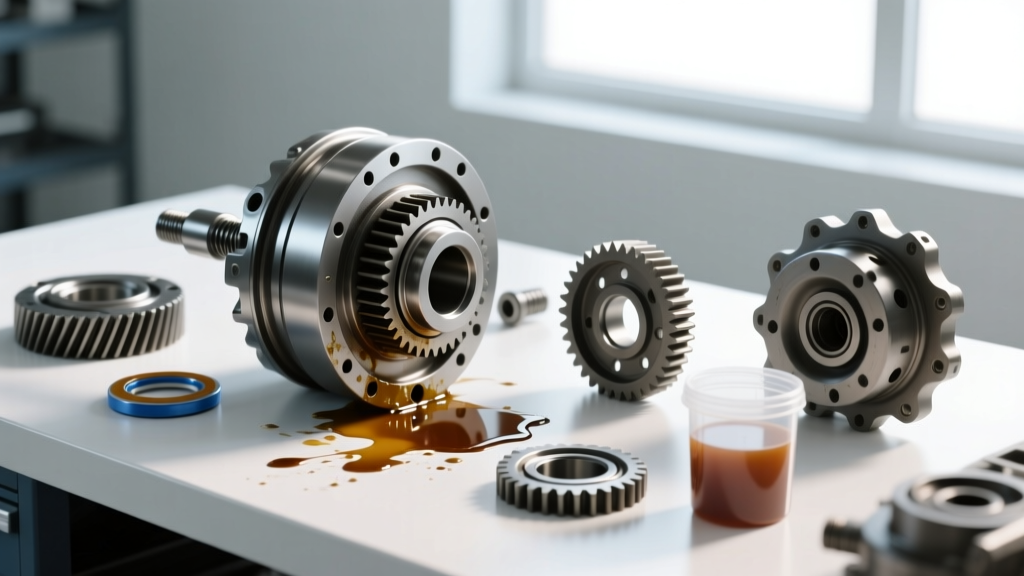
For owners of the Ford F-150 equipped with the robust 9.75-inch rear axle (commonly found behind the 5.0L Coyote V8 and 3.5L EcoBoost engines), drivetrain maintenance is critical for longevity. However, attempting a rear differential flush without first addressing seal integrity is a recipe for wasted synthetic gear oil and catastrophic bearing failure. Gear oil leaks not only deplete the sump level—starving the ring and pinion gears of lubrication—but they also contaminate rear brake components and degrade rubber suspension bushings.
In this model-specific repair guide, we will walk through the precise diagnostic steps for identifying leaks on the Ford 9.75-inch axle, execute a professional-grade pinion seal replacement, and conclude with a complete rear differential flush using the exact fluid specifications and torque values required for 2026 service standards.
Identifying Leak Sources on the Ford 9.75-Inch Axle
Before draining a single drop of fluid, you must identify the origin of the leak. The 9.75-inch axle features three primary seal points, plus a hidden pressure-relief component that is frequently overlooked by amateur mechanics.
The Diagnostic Matrix
| Leak Location | Visual Symptoms | Primary Culprit | Repair Difficulty |
|---|---|---|---|
| Pinion Seal | Wetness on driveshaft yoke; oil flung onto undercarriage and exhaust. | Worn nitrile lip or scored yoke surface. | Moderate (Requires inch-lb drag measurement) |
| Axle Shaft Seal | Inner wheel barrel coated in oil; wet rear brake shoes/pads. | Failing axle shaft seal or clogged axle vent. | High (Requires axle shaft extraction) |
| Differential Cover | Seeping perimeter; low fluid warnings; dripping from bottom bolt. | Degraded RTV silicone or warped stamped-steel cover. | Low (Clean and reseal) |
| Axle Breather | All seals weeping simultaneously; bubbling at the vent hose. | Clogged 5/16" vent tube causing internal pressure blowout. | Very Low (Clean or replace hose) |
Step-by-Step Pinion Seal Replacement
The pinion seal is the most frequent failure point on the F-150 9.75" axle, especially on trucks used for towing. Replacing it requires care, as the pinion nut secures a crush sleeve that sets the bearing preload.
Required Parts and Tools
- Seal: Timken 710942 (or Motorcraft BR3Z-4676-A)
- Tools: OTC 4-in-1 Flange Holder, 3-inch seal driver, 1/2-inch torque wrench, 1/4-inch inch-pound beam torque wrench, 12mm 12-point socket.
- Consumables: Non-hardening gasket maker, brake cleaner, thread locker (Red Loctite 271).
The Repair Procedure
1. Mark and Remove the Driveshaft: Use a paint pen to mark the driveshaft flange and the pinion flange to ensure perfect reinstallation balance. Remove the four 12mm 12-point bolts (Torque spec: 76 lb-ft on reassembly) and secure the driveshaft to the frame with a zip tie.
2. Measure Rotational Drag: Before removing the pinion nut, use your inch-pound beam torque wrench on the pinion nut to measure the rotational drag of the used bearings. For a broken-in 9.75" axle, this should read between 8 and 14 inch-pounds. Write this number down.
3. Extract the Pinion Nut: Mark the exact position of the pinion nut relative to the pinion shaft threads. Secure the flange with the OTC holder and break the nut loose. Never use an impact wrench to remove or reinstall this nut.
Expert Warning: The Ford 9.75-inch axle uses a one-time-use crush sleeve to set bearing preload. If you over-tighten the pinion nut past your original mark during reassembly, you will over-crush the sleeve. This will result in excessive bearing preload, rapid bearing overheating, and total differential failure. If you over-tighten, you must tear down the entire differential to install a new crush sleeve.
4. Swap the Seal: Pry out the old seal using a dedicated seal puller to avoid scoring the aluminum housing. Lightly lubricate the outer rim of the new Timken 710942 seal and tap it flush into the bore using a 3-inch seal driver. Apply a thin film of grease to the inner rubber lip.
5. Reassemble and Verify Preload: Apply a drop of Red Loctite to the pinion threads. Reinstall the nut and tighten it by hand until your alignment marks meet. Re-check the rotational drag with your inch-pound wrench. If the drag is slightly below your original measurement, tighten the nut in 5 lb-ft increments until the original inch-pound drag reading is achieved.
Executing the Rear Differential Flush and Refill
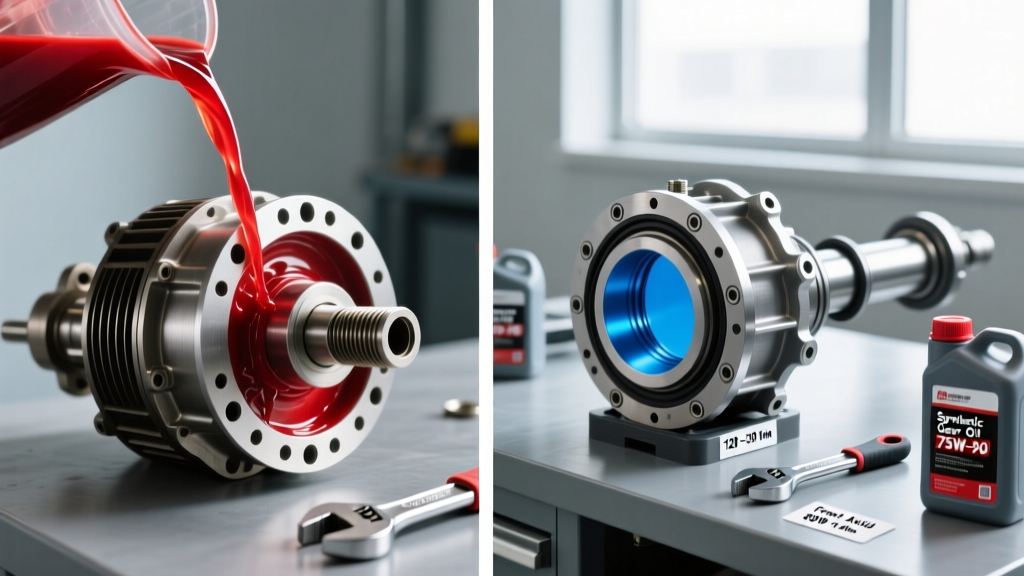
With the leak sealed, it is time to perform the rear differential flush. Flushing removes suspended metallic particulates and degraded friction modifiers that cause clutch-pack chatter in limited-slip setups.
Draining and Sealing the Cover
Place a catch pan capable of holding at least 4 quarts beneath the axle. Remove the 10mm cover bolts. Ford stamped-steel covers are prone to warping; use a dead-blow hammer to gently break the seal rather than prying with a screwdriver, which gouges the mating surface.
Clean the mating surfaces with brake cleaner. Instead of messy, unreliable RTV silicone—which can tear and block the internal oil pickup—we highly recommend installing a LubeLocker LLR-F975 reusable elastomer gasket. Reinstall the cover and torque the bolts to 33 lb-ft in a crisscross star pattern.
The Fluid Debate: ELD vs. Limited Slip
Ford's differential fluid specifications can be confusing, and using the wrong additive package will ruin your drivetrain. According to Ford Motorcraft Maintenance guidelines, the standard fill for most modern F-150s is SAE 75W-85 Premium Synthetic Hypoid Gear Lubricant (Motorcraft XO-75W85-QSP). For heavy towing applications, stepping up to 75W-140 is advisable to maintain film strength under high thermal loads.
The Friction Modifier Trap: You must identify your differential type before adding friction modifiers.
- Electronic Locking Differential (ELD): Found on most off-road and tow-package F-150s. This is a mechanical locking mechanism. It DOES NOT require friction modifier. Adding it will cause the locker to slip and fail to engage.
- Torsen / Trac-Lok (Clutch-Type LSD): Requires the addition of 4 oz of Motorcraft XL-3 Ester-Based Friction Modifier to prevent clutch chatter during low-speed cornering.
Using a high-quality synthetic like those detailed in AMSOIL's Drivetrain Technical Guides ensures superior shear stability. The 9.75" axle capacity is approximately 3.2 to 3.5 pints. Fill until the fluid level is exactly flush with the bottom of the fill hole.
Preventative Maintenance: The Axle Breather Valve
As noted in our diagnostic matrix, a clogged axle breather is a silent killer of differential seals. As the gear oil heats up during driving, the air inside the axle expands. If the 5/16" rubber vent hose (located on the driver-side axle tube or differential cover) is clogged with mud or debris, internal pressure will spike and force gear oil past the pinion and axle shaft seals.
During every rear differential flush, pull the vent hose off the barb, spray carburetor cleaner through it, and ensure it routes high up into the frame rail away from water fording hazards. Replacing a $4 vent hose can save you from a $600 pinion seal and bearing rebuild.
Cost and Time Expectations for 2026
For DIY mechanics, sourcing a Timken seal, LubeLocker gasket, and 3 quarts of full synthetic 75W-140 will cost between $95 and $135. The entire leak repair and rear differential flush process takes approximately 2.5 to 3 hours in a home garage. If you opt for dealership service, expect to pay between $350 and $550 for a pinion seal replacement and fluid exchange, reflecting current 2026 shop labor rates averaging $160-$190 per hour. By mastering this repair, you ensure your F-150's drivetrain remains quiet, cool, and ready for the next heavy haul.