The Intersection of Flushing and Performance Upgrades
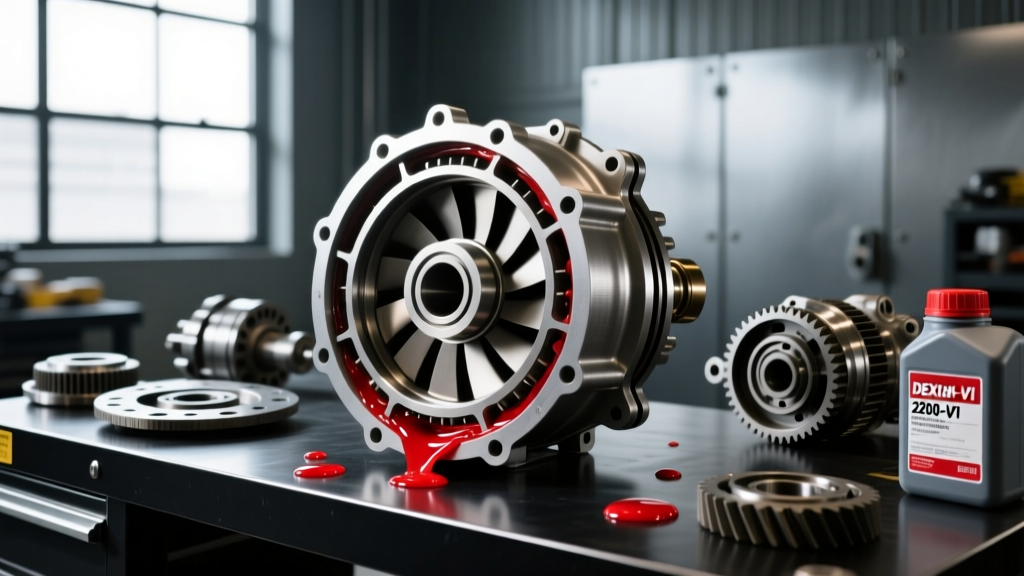
As we navigate the 2026 landscape of high-horsepower LS, LT, and Coyote swaps, upgrading to a high-stall torque converter is one of the most transformative modifications you can make. Whether you are dropping a 3200-RPM stall unit into a classic muscle car or installing a 3600-RPM billet converter into a boosted 6L80-equipped truck, the performance gains in 60-foot times and throttle response are undeniable. However, there is a critical, often overlooked step in the installation process that separates a reliable build from a catastrophic failure: understanding how to flush a torque converter and its associated cooling circuit before the new unit goes in.
Many enthusiasts mistakenly believe that dropping the transmission pan and replacing the filter is sufficient when swapping converters. This is a dangerous misconception. The torque converter itself acts as the primary fluid reservoir for your automatic transmission, holding anywhere from 30% to 50% of the system's total fluid capacity. If you fail to properly flush the old converter, cooler lines, and external radiator cooler, you are guaranteed to introduce degraded fluid, microscopic clutch friction material, and metallic debris directly into your brand-new, precision-balanced performance converter.
The Hidden Danger: Debris and the Stator Assembly
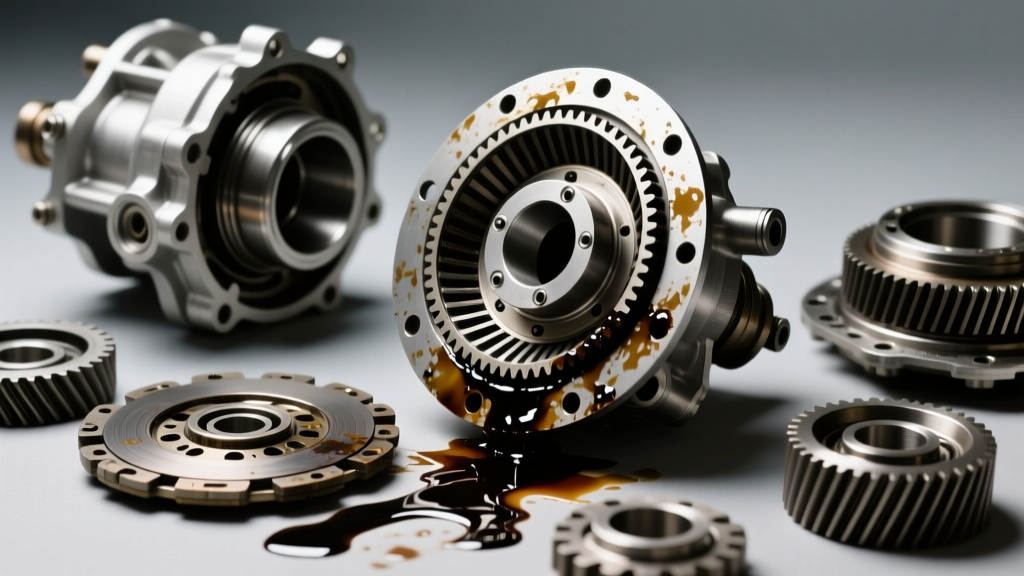
Why is old fluid so detrimental to a performance torque converter? High-stall converters from reputable builders like Circle D Specialties or Vigilante feature tightly toleranced stator assemblies, specialized Torrington bearings, and finely machined turbine fins designed to maximize fluid coupling efficiency. When old, sheared-down fluid mixed with suspended clutch material enters this environment, it acts like liquid sandpaper.
- Stator Clutch Contamination: Debris can lodge in the one-way stator clutch, preventing it from freewheeling at higher RPMs. This results in severe fluid churning, massive heat spikes, and a noticeable loss of top-end horsepower.
- TCC Apply Valve Wear: If your performance converter features a lockup clutch (common in modern 6L80 or ZF 8HP swaps), debris will score the TCC apply valve in the valve body, leading to converter shudder and eventual lockup failure.
- Bearing Failure: Abrasive particles will quickly destroy the internal thrust bearings, causing the turbine to contact the cover, resulting in a catastrophic mechanical lockup while driving.
Step-by-Step: How to Flush a Torque Converter and Cooler Circuit
When upgrading, you are typically removing the old torque converter entirely. Therefore, 'flushing the torque converter' in this context actually means flushing the transmission case, the cooler lines, and the external heat exchanger to ensure the new converter receives pristine fluid upon startup. Here is the professional methodology for executing a DIY cooler and case flush.
Phase 1: The Pan and Filter Service
Begin by dropping the transmission pan. For a GM 4L60E, you will need an ACDelco TF-328 filter; for a 6L80, an AC Delco TF-958 is required. Clean the pan thoroughly with brake cleaner, ensuring no old RTV sealant or magnets are left behind. Reinstall the pan with a new gasket and torque the bolts to 9-12 ft-lbs. Do not over-torque, as you will warp the thin stamped steel pan and cause leaks.
Phase 2: The Cooler Line Flush
This is where the actual flushing occurs. You must clear the external cooler and the hard lines.
- Disconnect the Lines: Locate the transmission cooler lines at the transmission case. Disconnect the 'return' line (the line bringing fluid back from the cooler to the transmission).
- Direct the Flow: Attach a clear vinyl hose to the disconnected return line fitting on the transmission and route it into a large, graduated drain pan.
- The Startup Burst Method: Have an assistant start the engine and immediately shut it off after 1 to 2 seconds. The transmission pump will push old fluid out of the return line. Warning: Never let the transmission pump run dry for more than a second or two, or you risk scoring the pump gears and destroying line pressure.
- Top Off and Repeat: Add 1-2 quarts of fresh, high-performance ATF through the dipstick tube or fill plug. Repeat the 1-second startup bursts until the fluid exiting the clear hose is bright red and completely free of air bubbles or dark particulate.
- Reconnect: Reconnect the return line, ensuring the quick-disconnect fittings (if equipped) click firmly into place. Use a pick to verify the retaining clips are fully seated.
Phase 3: External Cooler Evacuation
If you are retaining the factory radiator cooler or an auxiliary fin-and-tube cooler, it must be blown out. Use compressed air regulated to a maximum of 30-40 PSI. Do not exceed 40 PSI, as high pressure can rupture the internal brazed joints of aluminum plate-style coolers. Blow air through the cooler in the reverse direction of normal fluid flow to dislodge trapped sediment, followed by a flush of fresh ATF.
Fluid Selection for High-Stall Applications
Understanding how to flush a torque converter is only half the battle; selecting the correct fluid to fill it with is equally critical. High-stall converters generate immense slip-heat, particularly in the 1500-2500 RPM range before the vehicle catches up to the engine speed. Standard, budget-tier Dexron III or generic MERCON fluids will rapidly shear down, losing their viscosity and film strength under these extreme thermal loads.
For 2026 performance builds, synthetic fluids with high shear stability and robust friction modifier packages are mandatory. We highly recommend AMSOIL Signature Series Multi-Vehicle ATF or Red Line D6 Synthetic ATF. These fluids maintain their viscosity index even when converter slip temperatures exceed 230°F, protecting the internal Torrington bearings and the stator clutch.
Heat Management: Stock vs. Performance Converter Data
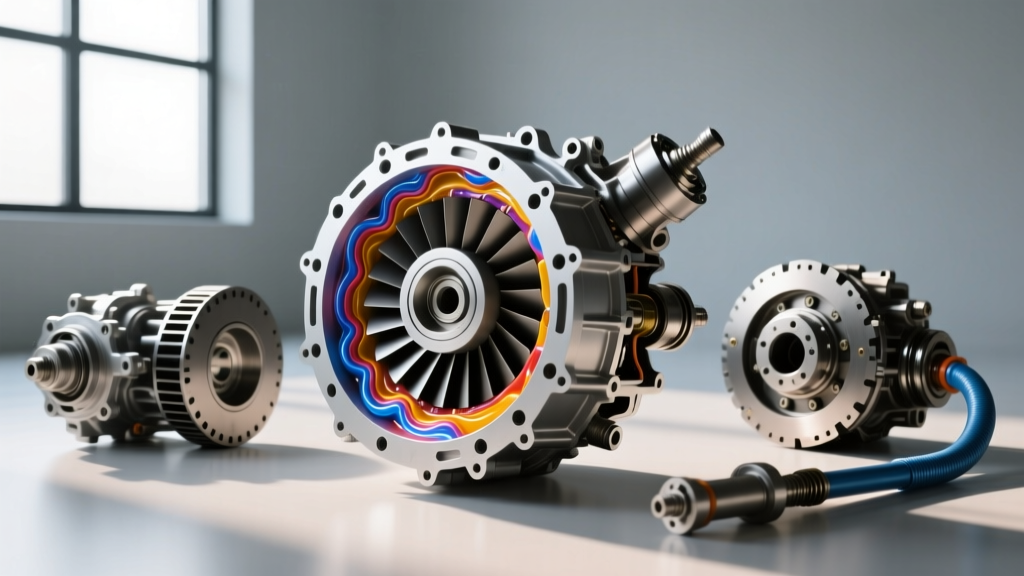
Upgrading your torque converter fundamentally changes the thermal dynamics of your drivetrain. The table below illustrates why upgrading your cooling system alongside your torque converter is non-negotiable.
| Metric | OEM Stock Converter (1800 RPM Stall) | Performance Converter (3400 RPM Stall) |
|---|---|---|
| Average Slip Heat Generated (Stoplight to 45 MPH) | 12,000 BTUs | 38,500 BTUs |
| Optimal Sump Temperature Range | 160°F - 180°F | 180°F - 200°F |
| Critical Failure Temperature Threshold | 250°F (Seal degradation) | 240°F (Fluid shear & bearing failure) |
| Recommended Cooler Setup | Factory Radiator Cooler | Radiator Cooler + Auxiliary 24,000 GVW Tru-Cool |
Model-Specific Nuances: 4L60E vs. 6L80 Swaps
When applying these flushing and upgrade techniques, you must account for the specific architecture of your transmission.
The GM 4L60E / 4L80E Architecture
These older, proven units are relatively straightforward to flush. However, when installing a high-stall converter, you must verify the pump hub engagement depth. The converter hub must engage the transmission oil pump gears by a minimum of 1.0 inch to 1.25 inches. Failure to fully seat the converter before bolting it to the flexplate will result in immediate pump destruction upon engine startup. Always measure the distance from the bellhousing mounting surface to the converter pad; it should be at least 1/8 to 3/16 of an inch 'in' the bellhousing.
The GM 6L80 / 6L90 Architecture
The 6L80 presents a unique challenge: the factory thermal bypass valve. Located in the cooler line circuit, this valve prevents fluid from flowing to the external cooler until the fluid reaches roughly 185°F. While great for cold-start emissions and fuel economy, it is a death sentence for a high-stall performance converter, which needs immediate cooling upon startup. When upgrading a 6L80, it is highly recommended to install a thermal bypass delete kit (such as those offered by Sonnax, detailed in their technical resource library) to ensure constant, unrestricted fluid flow to the cooler from the moment the engine fires.
Final Installation: Torque Specs and Clearances
Once the system is flushed, the cooler is clear, and the new performance converter is fully seated into the pump, the final step is securing it to the flexplate. Never use standard hardware store bolts. Use the Grade 8 or ARP flexplate bolts provided by the converter manufacturer. Apply a medium-strength thread locker (blue Loctite) to the threads to prevent backing out under high-RPM centrifugal force. Torque the converter-to-flexplate bolts to 35-45 ft-lbs in a star pattern, ensuring the converter spins freely without binding against the pump stator support tube.
Pro-Tip for 2026 EFI Tuners: After installing a high-stall converter and completing your flush, your idle air control (IAC) or electronic throttle body (ETB) parameters will need recalibration. The increased parasitic drag of a tight, high-stall converter at idle will often cause the engine to lug or stall. Increase your base idle airflow and adjust your idle spark timing to compensate for the new load.
Conclusion
Knowing how to flush a torque converter and its cooling circuit is a foundational skill for any performance drivetrain build. By taking the extra 45 minutes to properly evacuate old fluid, blow out the cooler lines, and fill the system with a high-shear synthetic ATF, you are protecting your investment. Whether you are building a weekend bracket racer or a street-driven Pro-Touring monster, a clean fluid circuit ensures your high-stall converter delivers maximum torque multiplication and years of reliable, hook-hard performance.