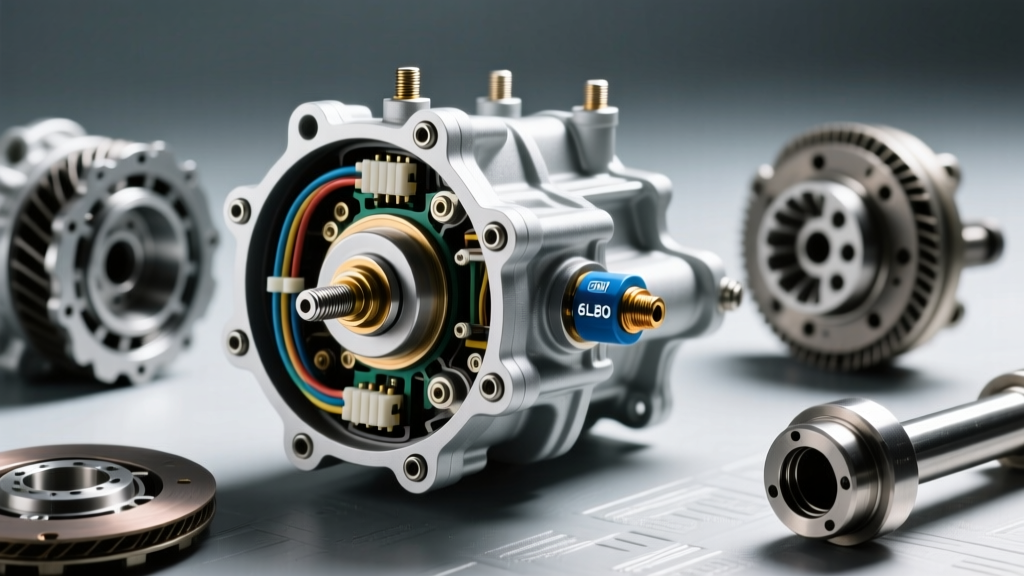
Diagnosing the Transmission Fluid Pressure Sensor Switch B Circuit Low Fault
When your vehicle's Transmission Control Module (TCM) detects an anomaly in the hydraulic monitoring network, it triggers a failsafe protocol. One of the most critical and common faults we see in modern drivetrains is the transmission fluid pressure sensor switch b circuit low diagnostic trouble code (typically OBD-II code P0847). This code indicates that the voltage signal from the 'B' pressure sensor has dropped below the normal operating threshold (usually under 0.2 volts), signaling a short to ground, an open circuit, or a catastrophic sensor failure.
Because the TCM relies on this data to modulate clutch apply pressure and prevent slip, a 'Circuit Low' reading forces the module into transmission limp mode diagnosis protocols. The vehicle will default to maximum line pressure, lock the torque converter clutch (TCC), and restrict gear selection—often locking you in 3rd or 4th gear to protect the friction elements from burning up. In this step-by-step guide, we will walk through the exact diagnostic procedures, electrical testing parameters, and mechanical verifications required to resolve this limp mode condition in 2026's most common transmissions.
Understanding Sensor 'B' and Limp Mode Logic
In multi-clutch and planetary automatic transmissions (such as the GM 6L80, Ford 6R80, and ZF 8HP), pressure sensors are mapped to specific hydraulic circuits. While Sensor 'A' typically monitors main line pressure, Sensor 'B' is frequently dedicated to monitoring specific clutch apply circuits, such as the 4-5-6 clutch or the torque converter lockup circuit.
When the TCM registers a 'Circuit Low' condition, it assumes the sensor is reading 0 PSI. To compensate and prevent the clutches from slipping under load, the TCM commands the variable force solenoids (VFS) to maximum duty cycle. This results in the harsh, bone-jarring shifts characteristic of limp mode. According to the Automatic Transmission Rebuilders Association (ATRA), ignoring this code and continuing to drive in limp mode can lead to blown clutch seals and fractured snap rings due to the extreme hydraulic shock.
Tools Required for Diagnosis
- Bi-Directional Scan Tool: Must support OEM-specific TCM PID data (e.g., GM GDS2, Ford IDS, or an advanced aftermarket tool like Autel MaxiSys).
- Digital Multimeter (DMM): A high-impedance meter like the Fluke 87V for testing the 5V reference and signal return circuits.
- Back-Probe Pin Set: Essential for testing TCM connectors without damaging the weather-pack seals.
- Manual Transmission Pressure Gauge: 0-300 PSI or 0-500 PSI kit with the correct adapter for your transmission's clutch tap port.
Step-by-Step Limp Mode Diagnostic Procedure
Step 1: Verify the Code and Analyze Freeze Frame Data
Before turning a single wrench, connect your scan tool and verify the presence of the P0847 (or manufacturer-specific equivalent) code. Look at the Freeze Frame data. Pay close attention to the Transmission Fluid Temperature (TFT) and Vehicle Speed Sensor (VSS) readings at the time of the fault. If the TFT reads -40°F or an illogical number, you may have a shared 5V reference circuit failure taking down multiple sensors, not just Sensor B.
Step 2: The Visual Harness and 'Chafing' Inspection
The most common cause of a 'Circuit Low' code is physical damage to the wiring harness. On rear-wheel-drive applications like the GM 6L80 and Ford 6R80, the internal transmission harness routes through the case and often sits perilously close to the exhaust crossover or the bellhousing.
- Safely elevate the vehicle and remove the transmission pan.
- Trace the internal wiring harness from the TEHCM (Transmission Electro-Hydraulic Control Module) or Mechatronic unit to the Sensor B location.
- Inspect for melted insulation, brittle wires, or harnesses rubbing against the valve body casting.
- Check the main case connector for signs of ATF capillary wicking (fluid traveling up the copper strands into the TCM).
Pro-Tip: If you find automatic transmission fluid inside the external TCM connector, the harness has wicked fluid from a leaking internal sensor. Replacing the sensor without replacing the entire harness pigtail will result in a repeat failure and eventual TCM destruction.
Step 3: Electrical Circuit Testing (Voltage & Continuity)
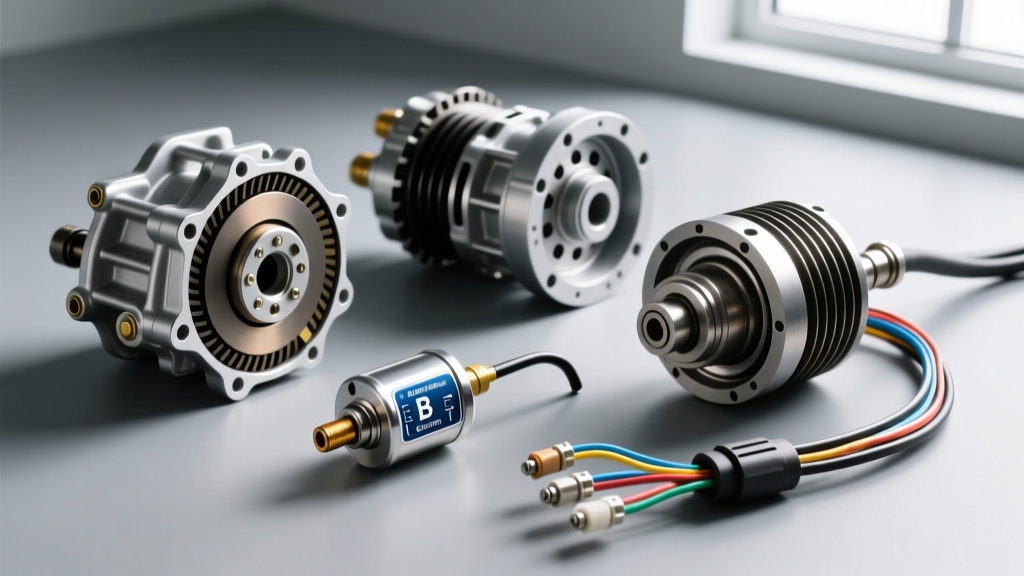
If the visual inspection is clean, you must verify the electrical integrity of the circuit. The sensor operates on a standard 3-wire topology: a 5-Volt Reference, a Low Reference (Ground), and a Signal Return wire.
- Test the 5V Reference: Back-probe the reference wire at the sensor connector with the key ON, engine OFF (KOEO). You should read exactly 4.8V to 5.1V. If it reads 0V, you have an open circuit or a shorted 5V reference bus.
- Test the Ground: Measure resistance between the sensor ground wire and the battery negative terminal. It should be less than 0.5 ohms.
- Test the Signal Wire: With the sensor connected and back-probed, the signal voltage should sit around 0.5V at 0 PSI (key on, engine off). If the scan tool shows 'Circuit Low' and your multimeter reads 0.05V at the signal wire, the sensor is internally shorted. If the multimeter reads 2.5V but the TCM sees 0V, the wire is broken between the sensor and the TCM.
Step 4: Mechanical Pressure Verification
Electrical diagnosis only tells half the story. You must verify if the mechanical pressure matches the electrical signal. Install a manual pressure gauge into the specific clutch tap port designated for Sensor B (refer to your OEM service manual for the exact port location). Start the engine and compare the mechanical gauge reading to the scan tool PID. If the mechanical gauge reads 120 PSI but the scan tool reads 0 PSI (and wiring is confirmed good), the sensor's internal piezoresistive bridge has failed.
Component Replacement Data & Torque Specifications
Replacing the sensor requires strict adherence to torque specifications. Over-torquing can crack the sensor housing or distort the valve body casting, leading to internal hydraulic leaks. Below is a comparison chart for common platforms requiring this repair.
| Transmission Model | Sensor B Location | OEM Part Number | Torque Spec | Est. Part Cost (2026) |
|---|---|---|---|---|
| GM 6L80 / 6L90 | Valve Body (Rear) | AC Delco 24253343 | 11 Nm (97 in-lbs) | $65 - $95 |
| Ford 6R80 | Mechatronic Unit | Motorcraft BL3Z-7G276-A | 10 Nm (89 in-lbs) | $85 - $125 |
| ZF 8HP (Chrysler/BMW) | Integrated in Mechatronic | ZF 0501 216 247 (Sleeve) | N/A (Replace Sleeve) | $180 - $260 |
Note: On the ZF 8HP series, the pressure sensors are largely integrated into the mechatronic unit or the adapter sleeve. If Sensor B fails, you are often required to replace the entire mechatronic adapter sleeve or the valve body assembly, as detailed in TransGo's technical bulletins.
Clearing Codes and TCM Adaptive Relearn
Once the faulty sensor or damaged harness is replaced, simply clearing the code is not enough. The TCM has been operating in limp mode, which drastically alters the adaptive volume and pressure tables.
- Clear the DTCs using your scan tool.
- Perform a Transmission Adaptive Pressure Reset via the scan tool's special functions menu. This zeroes out the learned clutch volume indices (CVI).
- Execute the OEM drive cycle relearn. This typically involves driving the vehicle until the TFT reaches at least 160°F (71°C), followed by 15-20 minutes of mixed city driving with light throttle (15-20% TPS) to allow the TCM to relearn the apply times for each clutch circuit.
Final Thoughts on Drivetrain Electronics
A transmission fluid pressure sensor switch b circuit low code is a definitive roadblock that triggers immediate limp mode to save your hardware. By methodically isolating the fault to either the wiring harness, the 5V reference circuit, or the sensor itself, you can avoid unnecessary valve body replacements. Always rely on live PID data and manual pressure cross-referencing to confirm your diagnosis before ordering parts. For further electrical schematics and connector pinouts, consult the OBD-Codes P0847 technical database to ensure your pin testing aligns with your specific vehicle's architecture.