Understanding CVT Drag and Release Failures in Gas Golf Carts
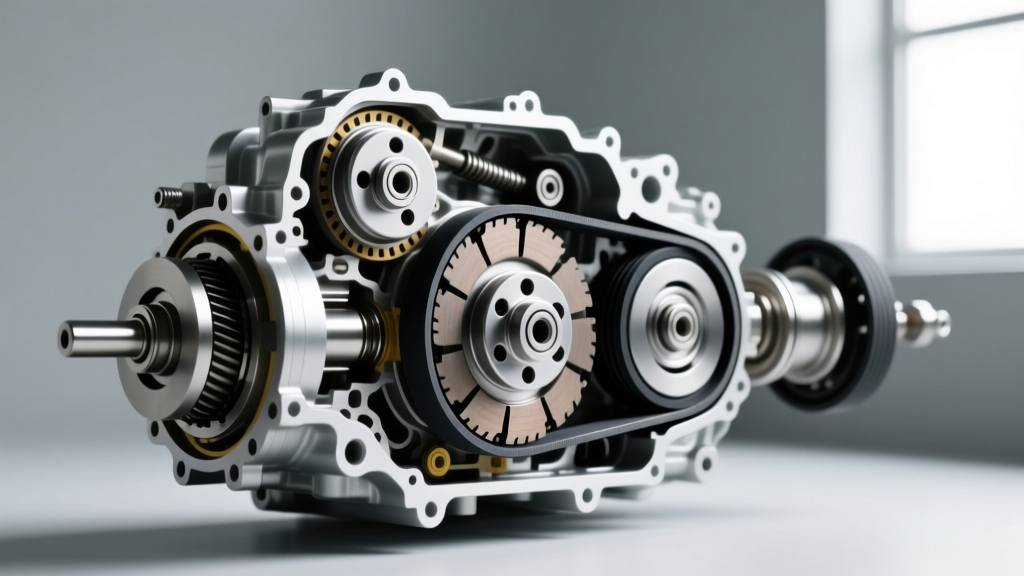
When owners report a 'slipping' or 'dragging' transmission in a gas-powered golf cart, they are rarely dealing with a traditional wet or dry friction clutch. Instead, gas models like the Club Car DS and Precedent (equipped with Kawasaki FE290 or Honda EXL-290 engines) utilize a Continuously Variable Transmission (CVT). In this system, the 'clutch' actually refers to the primary (drive) and secondary (driven) sheave assemblies.
Clutch drag occurs when the primary clutch engages at too low of an RPM, causing the cart to creep forward at idle. Conversely, release problems happen when you lift off the throttle, but the primary clutch fails to close, keeping the belt under tension and causing the engine to bog down or stall. As of 2026, the influx of low-quality aftermarket CVT components has made precise diagnosis more critical than ever. This step-by-step guide will walk you through isolating and repairing Club Car clutch drag and release issues with factory-level precision.
Phase 1: Tooling and Safety Preparation
Before tearing into the CVT housing, gather the correct tooling. Using improper pullers can strip the crankshaft threads or crack the cast aluminum sheaves.
- Primary Clutch Puller: You need a specific threaded CVT puller (often M10x1.25 or M12x1.25 depending on the exact crankshaft taper) designed to push off the primary clutch. Never use a standard 3-jaw gear puller, as it will warp the movable sheave.
- Torque Wrench: Capable of measuring 10 to 80 ft-lbs.
- Digital Calipers: For measuring belt width and sheave bushing tolerances.
- CVT-Specific Grease: Use only lightweight CVT grease (e.g., Yamaha Yamalube CVT grease or OEM Club Car CVT grease). Standard lithium chassis grease is too viscous and will attract clutch dust, leading to immediate binding.
- Safety Gear: Chock the rear wheels, place the cart in tow/maintenance mode (if equipped with an IQ system, though gas models simply require the key off and spark plug wire disconnected).
Phase 2: The Drive Belt Variable (Eliminating False Positives)
Before removing any hardware, you must rule out the drive belt. A worn, glazed, or out-of-spec belt is the leading cause of false clutch drag symptoms. If the belt cannot drop deep into the secondary clutch sheave at idle, it will remain wedged in the primary clutch, forcing the movable sheave to stay partially closed and dragging the cart forward.
Measuring Belt Specifications
Remove the CVT cover and inspect the belt (OEM Part # 101577701 or equivalent). Use your digital calipers to measure the belt width at its widest point. A brand-new Club Car drive belt measures exactly 1.18 inches (30mm). If your belt measures 1.12 inches or less, it has worn past its service limit. A narrow belt will sit too deep in the primary sheave at idle, mimicking a mechanical release failure. Furthermore, check the belt deflection. Press down on the top span of the belt with moderate thumb pressure; you should see exactly 1.25 to 1.5 inches of deflection. If the belt is stretched beyond 1.5 inches, it will slip under load and fail to force the secondary clutch open during deceleration.
Phase 3: Primary Clutch (Drive) Teardown and Inspection
If the belt is within specification, the issue lies within the mechanical components of the primary clutch assembly (OEM Part # 102026701 for Precedent models).
Step 1: Removal and Disassembly
Remove the primary clutch retaining bolt (usually a 15mm or 17mm head). Thread your CVT puller into the face of the clutch and tighten it until the clutch pops off the crankshaft taper. Once on the bench, use a large set of snap-ring pliers or a specialized spider removal tool to unthread the spider from the main body. Carefully slide the movable sheave off the hub.
Step 2: Inspecting the Movable Sheave Bushing
The most common root cause of primary clutch binding is a worn movable sheave bushing. This brass or polymer bushing allows the sheave to slide smoothly along the spider hub. Over time, clutch dust and heat degrade the bushing.
The Test: Reinsert the movable sheave onto the spider hub without the spring or rollers. Grab the sheave and attempt to tilt it side-to-side. If you detect any lateral play greater than 0.005 inches, the bushing is worn. A worn bushing causes the sheave to tilt under load, wedging it against the hub and preventing it from releasing when RPMs drop. Replace the bushing and ream it to the exact factory tolerance if necessary.
Step 3: Spider Ramps and Rollers
Inspect the plastic or UHMW rollers that ride inside the spider ramps. If the rollers have developed flat spots or the spider ramps show deep gouging, the clutch will not open or close linearly. This results in a 'sticky' release. Clean all old grease and clutch dust using a dedicated brake parts cleaner, then apply a very thin film of CVT-specific grease to the spider hub and button. Over-greasing is a fatal mistake; excess grease will fling onto the belt friction surfaces, causing catastrophic slip.
Phase 4: Secondary Clutch (Driven) Binding Diagnostics
If the primary clutch is mechanically sound and the belt is new, but the cart still drags or stalls upon deceleration, your secondary clutch (OEM Part # 101538701) is likely binding. The secondary clutch relies on a helix ramp and a torsion spring to force the sheave open at low RPMs, pushing the belt outward and allowing the primary clutch to close.
Remove the secondary clutch using a secondary puller and a strap wrench to hold the sheave while you remove the retaining bolt (Torque spec: 65-70 ft-lbs). Disassemble the secondary clutch and inspect the helix ramp for wear grooves. If the plastic buttons that ride in the helix are worn, or if the helix itself is scored, the secondary clutch will bind shut. This traps the belt, preventing the primary clutch from releasing. Additionally, check the secondary spring for sagging. A fatigued spring will not provide enough torsional force to open the sheave at idle.
Symptom vs. Root Cause Matrix
Use the following diagnostic table to quickly cross-reference your specific symptoms with the likely mechanical failure points.
| Observed Symptom | Primary Suspect | Secondary Suspect | Required Action |
|---|---|---|---|
| Cart creeps forward at idle (Drag) | Worn primary sheave bushing | Out-of-spec (narrow) drive belt | Measure belt width; replace bushing if tilt >0.005" |
| Engine stalls when stopping (Release Failure) | Heavy/incorrect grease on spider | Binding secondary helix or weak spring | Clean spider; inspect secondary helix ramps |
| Clutch engages too early (High RPM creep) | Incorrect primary spring rate | Stuck primary rollers | Verify spring color code; replace flat-spotted rollers |
| Loud squealing at idle, no movement | Glazed belt surfaces | Secondary sheave stuck open | Replace belt; clean secondary sheave faces |
Phase 5: Reassembly, Torque Specs, and Calibration
Proper reassembly is just as critical as the diagnosis. When reinstalling the primary clutch onto the crankshaft, ensure the taper is completely free of oil, grease, and debris. Any lubricant on the taper will cause the clutch to spin on the shaft, destroying the crankshaft threads.
Apply a single drop of Blue Loctite (242) to the primary retaining bolt threads. Torque the primary clutch retaining bolt to exactly 50 to 55 ft-lbs. Do not exceed this specification, as the Kawasaki and Honda crankshafts used in these applications are relatively soft and prone to stripping. For the secondary clutch, torque the retaining bolt to 65 to 70 ft-lbs.
Pro-Tip for 2026 CVT Maintenance: After installing a new drive belt, you must perform a heat-cycling break-in procedure. Drive the cart at half-throttle for 15 minutes, then allow the CVT to cool completely. Repeat this twice. This allows the belt's aramid cords to seat properly into the sheave angles, establishing the correct deflection and preventing premature glazing that leads to false drag symptoms.
By methodically eliminating the belt variables, inspecting the microscopic tolerances of the sheave bushings, and verifying the secondary helix operation, you can permanently resolve Club Car clutch drag and release problems. For further reference on OEM part numbers and factory service intervals, consult the official Club Car Owner's Manuals and Support Documentation, or verify aftermarket CVT component compatibility through specialized suppliers like Buggies Unlimited. Proper diagnosis saves you from unnecessarily replacing entire clutch assemblies when a simple bushing or belt correction is all that is required.