The Intersection of Preventive Maintenance and Drivetrain Regearing
Upgrading to larger off-road tires, increasing towing capacity, or restoring a classic truck often necessitates a drivetrain overhaul. However, before you order a new ring and pinion set, you must establish your mechanical baseline. Understanding how to figure gear ratio on rear ends is the critical first step in any preventive maintenance or regearing project. As of 2026, with the widespread integration of complex 8-speed and 10-speed automatic transmissions (like the GM 10L90 and ZF 8HP), altering your final drive ratio without knowing your starting point can lead to catastrophic shift-mapping errors, excessive transmission heat, and premature torque converter failure.
This guide bridges the gap between identifying your current axle ratio and executing a ratio swap through the lens of long-term preventive maintenance. We will cover identification methods, teardown inspections, precision setup specifications, and post-swap break-in protocols to ensure your differential survives the next 150,000 miles.
How to Figure Gear Ratio on Rear Ends: 3 Proven Methods
Before unbolting the differential cover, you need to verify the existing ratio. Relying on previous owner claims or outdated window stickers is a recipe for ordering the wrong master install kit. Use these three methods to confirm your baseline.
1. The RPO Code and VIN Decoding Method
For General Motors and Ford vehicles, the factory axle ratio is encoded in the RPO (Regular Production Option) codes or the VIN axle code. For example, in a GM Silverado, finding the code GU6 in the glovebox indicates a 3.42 ratio, while GT4 indicates a 3.73. Ford F-150s utilize a two-digit axle code on the driver’s door jamb sticker (e.g., code B6 correlates to a 3.55 electronic-locking axle). While this is the least invasive method, it only confirms the factory ratio. If the truck is used, a previous owner may have already swapped the gears.
2. The Tire Spin Method (Driveshaft Rotation Count)
This is the most reliable non-invasive method to determine your current effective ratio.
- Safely jack up the rear of the vehicle so both rear tires are off the ground. Ensure the transmission is in Neutral.
- Make a chalk mark on the bottom of the driver-side tire and a corresponding mark on the driveshaft.
- Rotate the tire exactly two full revolutions (for an open differential) or one full revolution (for a posi-traction/locking differential).
- Count the number of times the driveshaft rotates. If the driveshaft turns roughly 4.10 times, you have a 4.10 gear set. If it turns 3.5 times, you are running 3.55s.
3. The Physical Tooth Count (The Teardown Method)
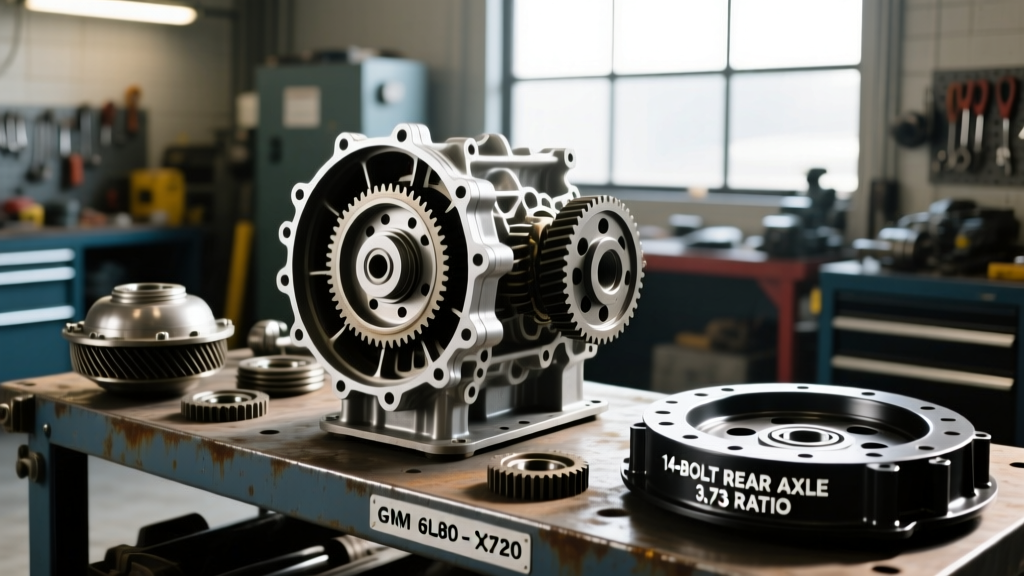
The only 100% definitive way to figure gear ratio on rear ends is to drain the fluid, remove the differential cover, and count the teeth. The formula is simple: Ring Gear Teeth ÷ Pinion Gear Teeth = Gear Ratio. If your ring gear has 41 teeth and the pinion has 11, your ratio is 3.73 (41 ÷ 11 = 3.727). Most manufacturers also stamp this ratio directly onto the outer edge of the ring gear (e.g., "41 11").
The Preventive Maintenance Teardown Inspection
When you open the differential to count the teeth or prepare for a ratio swap, you are presented with a prime opportunity for deep preventive maintenance. Do not simply swap the gears and reuse old, fatigued hardware. According to setup guides from Yukon Gear and Axle, reusing old carrier bearings or crush sleeves is the leading cause of premature ring and pinion failure.
During your teardown, inspect the following wear indicators:
- Differential Fluid Analysis: Look for "glitter" (fine metallic paste), which is normal wear for high-mileage differentials. However, if you find actual metal chunks or shattered needle bearings, the carrier and pinion bearings must be replaced immediately.
- Spider and Side Gears: Check the cross-pin shaft for grooving. If the pin has worn a groove deeper than 0.010 inches, the entire carrier assembly is compromised and will cause premature wear on your new ratio setup.
- Ring Gear Bolt Stretch: Factory ring gear bolts are often torque-to-yield. Never reuse them. Always install new Grade 8 or OEM-equivalent ring gear bolts with red Loctite (threadlocker) during reassembly.
Differential Preventive Maintenance Matrix for Regearing
When changing the gear ratio in vehicles, you must address the supporting components. Below is a preventive maintenance checklist and cost estimate for a standard semi-floating rear axle (e.g., Dana 44, Ford 8.8, GM 10-Bolt 8.5).
| Component | Preventive Action | Failure Mode if Ignored | Est. Cost (2026) |
|---|---|---|---|
| Master Install Kit | Replace carrier & pinion bearings, races, shims, and crush sleeve. | Whining noise, pinion seal leaks, catastrophic gear binding. | $160 - $240 |
| Pinion Seal & Yoke | Install new OEM seal (e.g., Spicer 706988X); inspect yoke for grooves. | Fluid leaks onto brakes, bearing preload loss. | $25 - $65 |
| Ring Gear Bolts | Discard old bolts; use new ARP or OEM bolts with Red Loctite. | Bolt shear under high torque, ring gear separation. | $30 - $50 |
| Axle Seals & Bearings | Press in new axle seals; inspect axle shaft bearings for pitting. | Inner wheel bearing failure, gear oil contaminating brake pads. | $80 - $120 |
| Gear Oil & Additive | Fill with 75W-90 or 75W-140 synthetic; add limited-slip modifier. | Chatter, overheating, accelerated gear tooth wear. | $60 - $90 |
Precision Setup Specs: Backlash and Preload
Changing a gear ratio is not a simple bolt-on job; it requires precision measurement. If you are setting up a new 4.56 ratio in a Dana 44 or a Ford 8.8, you must adhere to strict tolerances to prevent the gears from destroying themselves within the first 1,000 miles.
Backlash Tolerances
Backlash is the amount of "play" between the ring gear and the pinion gear. Using a dial indicator mounted to the differential housing, measure the runout at the ring gear's outer edge.
- Dana 44 / Dana 60: Target 0.006" to 0.010" of backlash.
- Ford 8.8 / GM 10-Bolt: Target 0.005" to 0.009" of backlash.
- Toyota 8" (V6/Tacoma): Target 0.005" to 0.007" of backlash.
Expert Note: Backlash must be consistent around the entire rotation of the ring gear. If it varies by more than 0.002" from spot to spot, your ring gear is warped, or the carrier bearings are seated improperly.
Pinion Bearing Preload
Pinion preload is the rotational resistance of the pinion gear without the carrier installed. This is achieved by crushing a new steel crush sleeve (or using solid spacer shims). For new bearings, the rotating torque should typically read between 25 and 35 inch-pounds on a beam-style torque wrench. For used bearings (if you are doing a ratio swap but inexplicably reusing bearings, which is not recommended), the spec drops to 15 to 25 inch-pounds. Overtightening the pinion nut will overheat and destroy the pinion bearing within 50 miles.
Modern Transmission Considerations for Ratio Swaps
In older vehicles with 3- or 4-speed automatics, changing the rear end ratio simply altered your cruising RPM. Today, modern transmissions rely on the Transmission Control Module (TCM) to calculate shift points based on wheel speed, engine load, and the programmed final drive ratio. If you change your rear end from a 3.08 to a 4.10 to accommodate 35-inch tires, the TCM will experience "shift hunting" and delayed upshifts because the actual wheel speed no longer matches the internal transmission speed calculations.
Preventive Action: You must reprogram the TCM using tuning software (such as HP Tuners or custom calibration files) to reflect the new tire diameter and axle ratio. Failing to do so will cause excessive slip in the clutch packs, leading to burnt transmission fluid and eventual failure of units like the 6L80 or 10R80.
Post-Swap Break-In and Long-Term Maintenance Schedule
The first 500 miles after changing your gear ratio are the most critical for the longevity of your drivetrain. New ring and pinion gears generate immense friction and heat as the machined surfaces mate and polish each other.
The 500-Mile Break-In Rule: Drive conservatively for the first 500 miles. Avoid sustained highway speeds over 65 MPH, and do not tow heavy loads. Every 10-15 miles, pull over and let the differential cool for 15 minutes to prevent the gear oil from breaking down and the gears from warping due to thermal expansion.
At exactly 500 miles, drain the differential fluid. You will notice the oil is dark and contains a fine metallic paste—this is the break-in lapping compound shedding from the new gears. Clean the magnetic drain plug (or the differential cover magnet) thoroughly, and refill with a high-quality synthetic gear oil like Amsoil Severe Gear 75W-90 or Red Line 75W-140. If your vehicle features a clutch-type limited-slip differential (like Ford's Traction-Lok or GM's Eaton Posi), ensure you add the required 4 oz of friction modifier additive to prevent low-speed chatter.
After the break-in fluid change, your new gear ratio setup enters its standard preventive maintenance cycle. For daily drivers, inspect the fluid level every 30,000 miles and perform a complete drain and fill every 60,000 miles. For vehicles subjected to heavy towing, water fording, or extreme off-road use, halve those intervals to 30,000 miles. By mastering how to figure gear ratio on rear ends and treating the swap as a comprehensive preventive maintenance event, you ensure your drivetrain delivers reliable torque to the pavement for years to come.
For further technical specifications on differential setup and bearing tolerances, always consult the engineering data provided by Spicer Parts or your specific axle manufacturer's service manual.