Introduction to Heavy-Duty Clutch Diagnostics
If you are stepping into the world of commercial truck maintenance, few components are as intimidating—or as critical—as the heavy-duty manual clutch. As we navigate the 2026 landscape of heavy-duty diesel engines, where torque outputs routinely exceed 2,050 lb-ft, the stress placed on drivetrain components is immense. When a driver complains of grinding gears, a stiff pedal, or a truck that creeps forward when the clutch is depressed, you are looking at classic engagement and disengagement issues.
For trucks equipped with industry-standard Eaton Solo, Advantage, or Ceramix clutches, the solution often does not require a complete teardown. Instead, it requires precision calibration using an Eaton clutch adjustment tool. This beginner-friendly guide will demystify how these clutches work, why they fall out of adjustment, and exactly how to use the proper tooling to restore flawless engagement.
Understanding Eaton Clutch Engagement and Disengagement
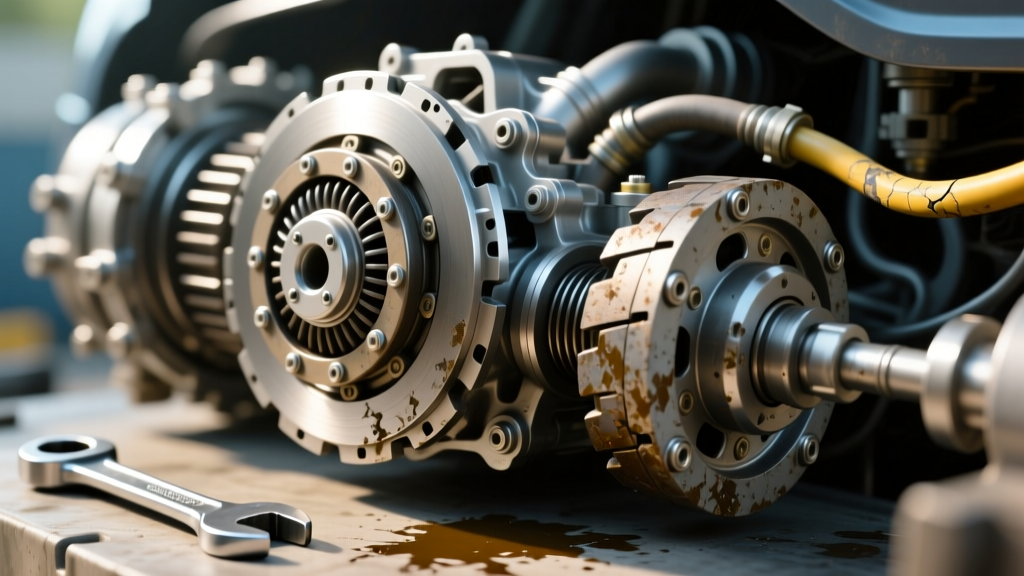
Before grabbing your tools, you need to understand the mechanical ballet happening inside the bell housing. A heavy-duty Eaton clutch relies on a massive diaphragm spring to clamp the friction facings against the flywheel. This is engagement. When the driver presses the pedal, the clutch fork pushes the release bearing forward. This bearing presses against the diaphragm spring's fingers, lifting the pressure plate away from the flywheel. This is disengagement.
Unlike passenger cars, heavy-duty trucks also feature a clutch brake. This is a small friction disc located at the base of the transmission input shaft. When the clutch pedal is pushed all the way to the floor, the clutch brake squeezes against the bottom of the bell housing, rapidly stopping the transmission gears from spinning so the driver can shift into first or reverse without grinding.
The Golden Rule: Free Travel
The most common cause of premature clutch failure is a lack of 'free travel.' Free travel is the distance the release bearing can move forward before it actually begins to push against the diaphragm spring fingers. According to the Commercial Vehicle Safety Alliance (CVSA) and Eaton engineering guidelines, this free travel must be exactly 1/2 inch to 9/16 inch (13 to 15 mm).
Expert Insight: If there is zero free travel, the release bearing constantly rides against the spinning diaphragm spring. This generates extreme heat, melts the bearing's internal grease, and leads to catastrophic clutch failure in a matter of weeks.
Why You Need the Official Eaton Clutch Adjustment Tool
Many novice mechanics attempt to adjust an Eaton Solo clutch by prying the internal adjusting ring with a flathead screwdriver or a makeshift pry bar. This is a critical mistake. The internal adjusting ring is made of cast iron and features precisely machined notches. Slipping with a screwdriver can chip a notch, rendering the pressure plate assembly useless and forcing a $2,500+ premature replacement.
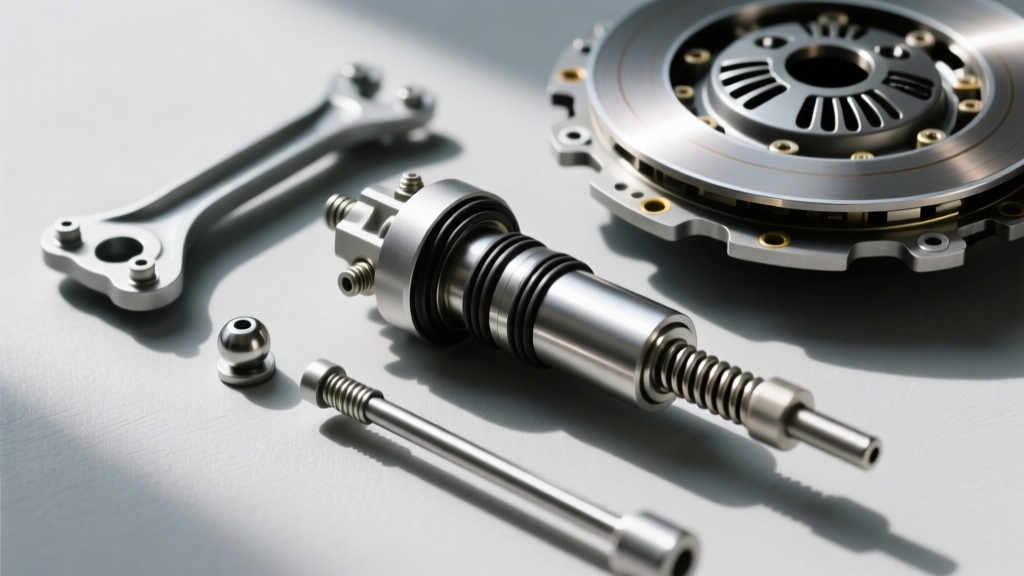
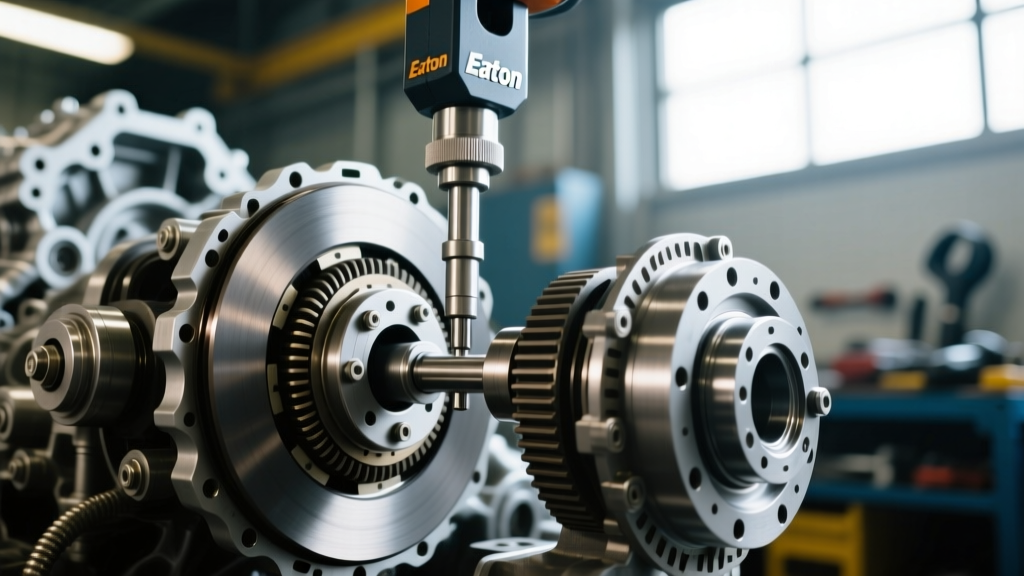
The official Eaton clutch adjustment tool (commonly part number K-3459-1 or the wedge-style tool 523058) is designed to perfectly mate with these notches. It allows you to apply rotational force to the internal ring without damaging the casting or slipping off the adjustment teeth.
Tool Cost and Sourcing
- OEM Eaton Adjustment Tool (K-3459-1): Typically costs between $45 and $85. Made from hardened steel, it is a lifetime investment for any HD truck shop.
- Aftermarket Spanner/Wedge Tools: Available for $20 to $40, but often suffer from poor metallurgy that can bend under heavy torque.
- Makeshift Pry Bars: Cost: $0. Risk: High probability of damaging a $1,800 clutch assembly.
Step-by-Step: Adjusting the Eaton Solo Clutch
Adjusting the clutch is a straightforward process if you follow the correct sequence. Always refer to the Eaton Vehicle Group service literature for your specific model, but the general procedure for an Eaton Solo clutch remains consistent.
Step 1: System Preparation and Safety
Park the truck on a level surface, set the parking brakes, and chock the wheels. If your truck features a pneumatically assisted clutch (like the Eaton Advantage series), ensure the vehicle's air system is fully charged to 120 PSI. The air assist cylinder must be fully extended to give you an accurate reading of the mechanical linkage.
Step 2: Accessing the Bell Housing
Crawl under the truck and remove the clutch inspection cover on the bottom of the bell housing. Clean the area thoroughly; heavy-duty trucks accumulate thick layers of road grime and oil that can hide the wear indicator and adjusting ring.
Step 3: Checking the Wear Indicator
Locate the Eaton Kwik-Pak wear indicator tab. On a properly adjusted, new clutch, this tab will sit flush or slightly recessed. If the tab is protruding more than 1/8 inch past the release bearing housing, the clutch facings are worn beyond service limits, and no amount of adjustment will fix it. A replacement is required.
Step 4: Using the Eaton Clutch Adjustment Tool
If the wear indicator is within spec, locate the internal adjusting ring through the inspection window. Insert the Eaton clutch adjustment tool into the notches of the ring.
- To Increase Free Travel (Pedal feels too high/slipping): Rotate the adjusting ring counter-clockwise (when facing the front of the truck). This moves the release bearing away from the clutch brake, increasing the gap.
- To Decrease Free Travel (Pedal feels too low/grinding gears): Rotate the adjusting ring clockwise. This pushes the bearing closer to the clutch brake.
Make adjustments in small increments (two or three notches at a time), then have an assistant measure the gap between the release bearing and the clutch brake using a 1/2-inch dowel or specialized feeler gauge.
Troubleshooting Matrix: Symptoms vs. Solutions
Diagnosing clutch issues requires matching the driver's complaint to a mechanical reality. Use this table to guide your diagnostic process before reaching for the adjustment tool.
| Driver Symptom | Likely Mechanical Cause | Diagnostic Action & Tool Fix |
|---|---|---|
| Grinding into 1st or Reverse | Insufficient free travel; clutch brake not engaging. | Measure gap. Use tool to rotate ring clockwise to achieve 1/2' free travel. |
| Clutch Slipping on Hills | Excessive free travel; diaphragm spring not fully clamping. | Check Kwik-Pak wear indicator. If OK, rotate ring counter-clockwise. |
| High-Speed Vibration | Release bearing riding the brake; zero free travel. | Immediately adjust counter-clockwise to restore 1/2' gap to prevent heat damage. |
| Pedal Squeaks or Binds | Dry clutch fork pivot ball or worn cross-shaft bushings. | Do not adjust ring. Grease pivot ball and inspect external linkage. |
Clutch Brake Squeeze and Pedal Geometry
Once the 1/2-inch free travel is set at the bell housing, you must verify the pedal geometry inside the cab. The industry standard for heavy-duty trucks is that the clutch brake should begin to 'squeeze' (you will feel a distinct increase in pedal resistance) when the pedal is exactly 1 inch to 1.5 inches from the floor.
If the brake engages too early (e.g., 3 inches from the floor), the driver will unintentionally drag the clutch brake while stopped in traffic, burning up the brake disc. If it engages too late (touching the floor), the driver cannot fully stop the transmission gears, resulting in gear clash. Adjust the external firewall linkage or pedal stop bolt to fine-tune this cab feel after the internal Eaton clutch adjustment tool has done its job.
When Adjustment Is Not Enough: Replacement Thresholds
While the Eaton clutch adjustment tool is a miracle worker for normal wear, it cannot fix physical degradation. According to Heavy Duty Trucking industry maintenance standards, you must recommend a full clutch replacement if you observe any of the following during your inspection:
- Friction Facing Thickness: If the clutch disc facings are worn down to less than 0.310 inches (or flush with the rivet heads on older non-rigid designs), the clutch must be replaced.
- Heat Checking: Deep, radial cracks on the flywheel or pressure plate friction surfaces indicate severe thermal abuse. These cannot be machined out safely on modern HD setups.
- Broken Damper Springs: If you hear a metallic rattling at idle that disappears when the clutch is depressed, the torsional damper springs inside the friction disc have likely failed.
- Contamination: Oil or grease on the facings from a leaking rear main seal or transmission input shaft seal will cause irreversible slipping. The leak must be fixed and the clutch assembly replaced.
Final Thoughts for the Aspiring Drivetrain Tech
Mastering the use of an Eaton clutch adjustment tool is a rite of passage for any heavy-duty mechanic. By respecting the precise 1/2-inch free travel specification, using the correct hardened tooling, and understanding the relationship between the release bearing and the clutch brake, you will save your fleet thousands of dollars in premature replacements. Keep your tools clean, your measurements exact, and always prioritize the manufacturer's torque and travel specifications over 'gut feelings.' Your drivetrain—and your drivers' shifting arms—will thank you.